Removal & Installation (Ascender 5.3L)
- Loosen air cleaner outlet duct clamps at throttle body and at mass airflow/intake air temperature (MAF/IAT) sensor.
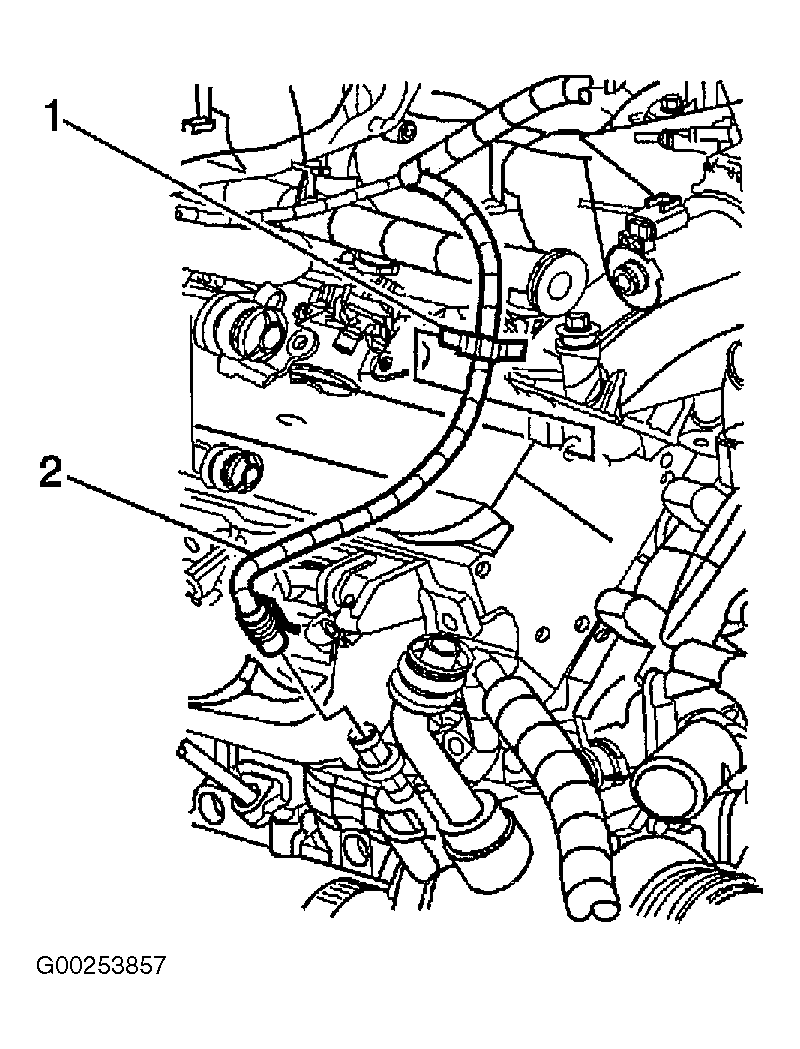
- Remove outlet duct bolt. Remove air cleaner outlet duct. See Figure
.
- Relieve fuel system pressure. See FUEL SYSTEM PRESSURE RELEASE
.
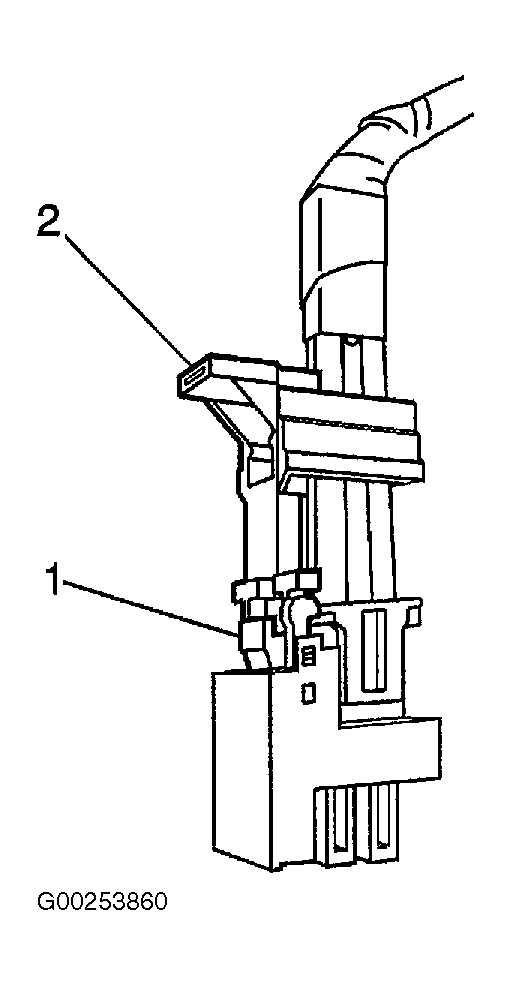
- Disconnect air conditioning (A/C) compressor pressure switch electrical connector (2). See Fig 1
.
- Remove harness clip from cylinder head.
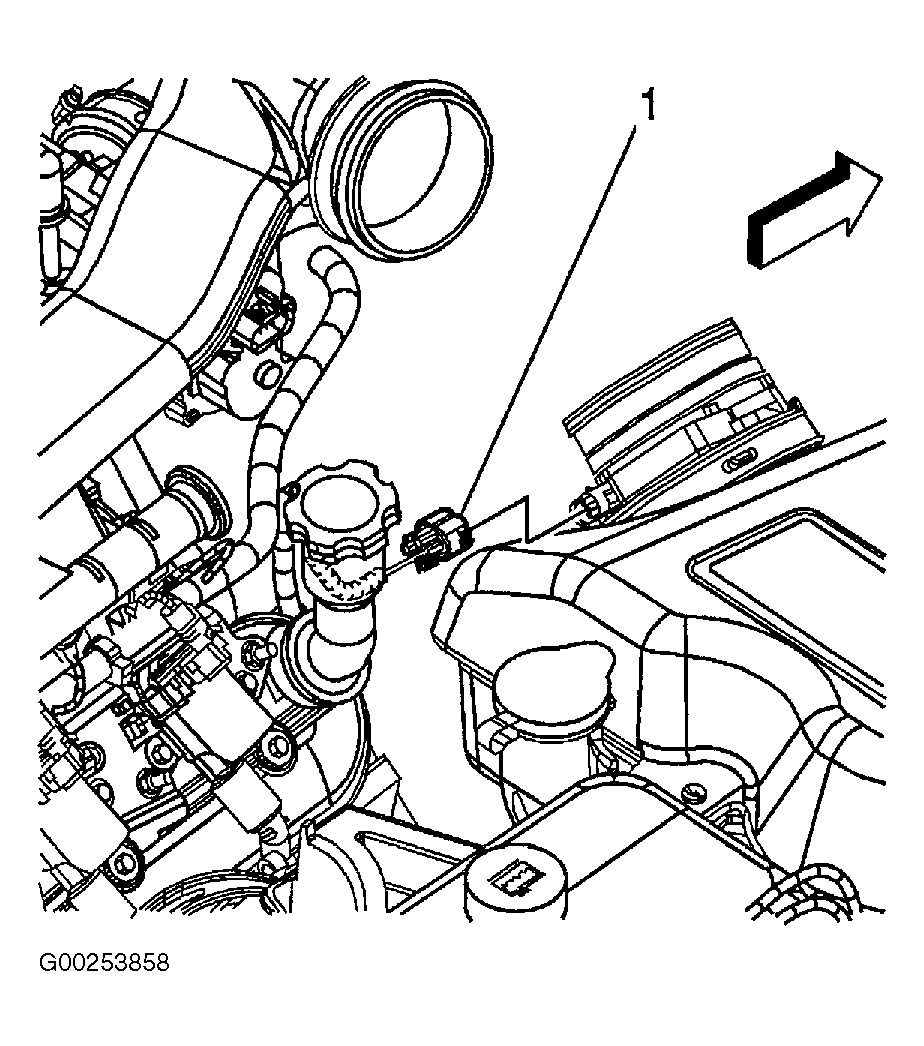
- Disconnect the MAF/IAT sensor electrical connector (1). See Fig 2
.
- Remove the harness clips from the fuel rail.
- Disconnect the following electrical connectors:
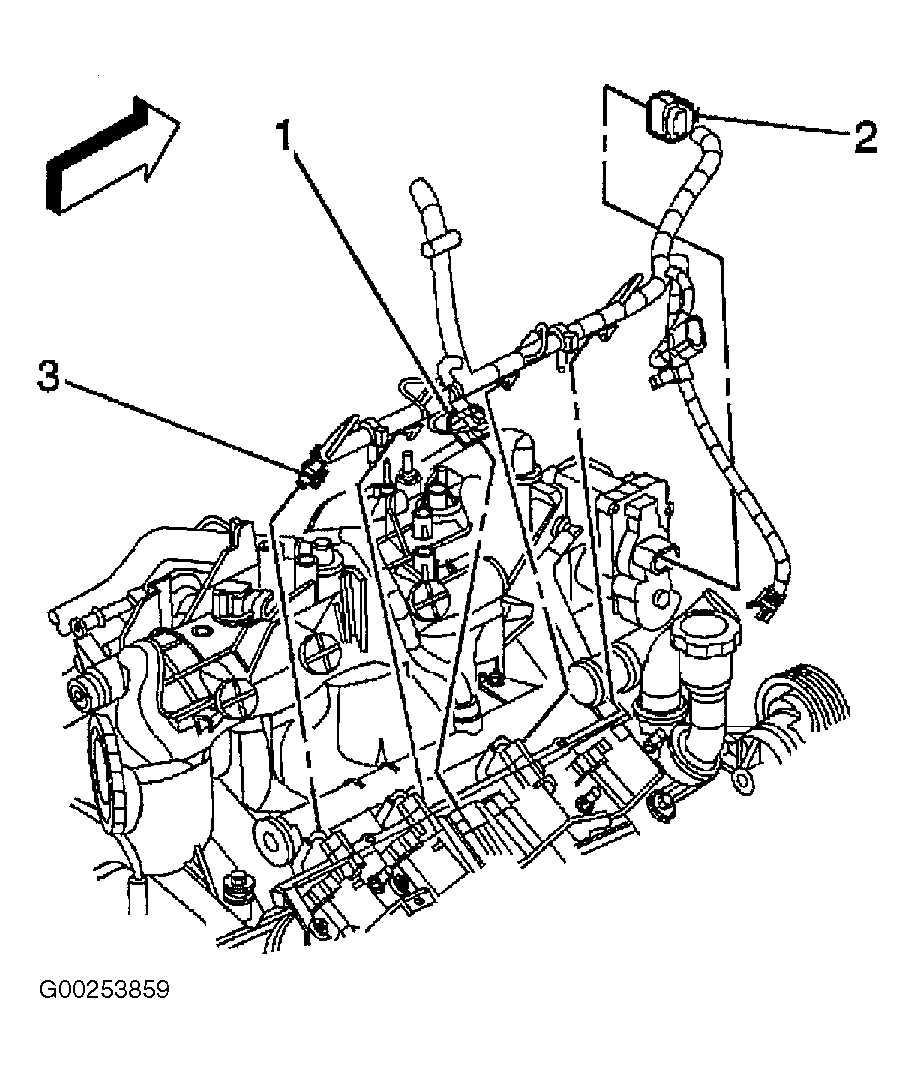
- Main coil (1). See Fig 3
.
- Electronic throttle control (ETC) (2).
- Fuel injectors (3).
- Perform the following steps in order to disconnect the fuel injector electrical connector:
- Mark the connectors to their corresponding injectors to ensure correct reassembly.
- Pull the Connector Position Assurance (CPA) retainer (2) on the connector up 1 click. See Fig 5
.
- Push the tab (1) on the connector in.
- Disconnect the fuel injector electrical connector.
- Repeat the steps for each injector electrical connector.
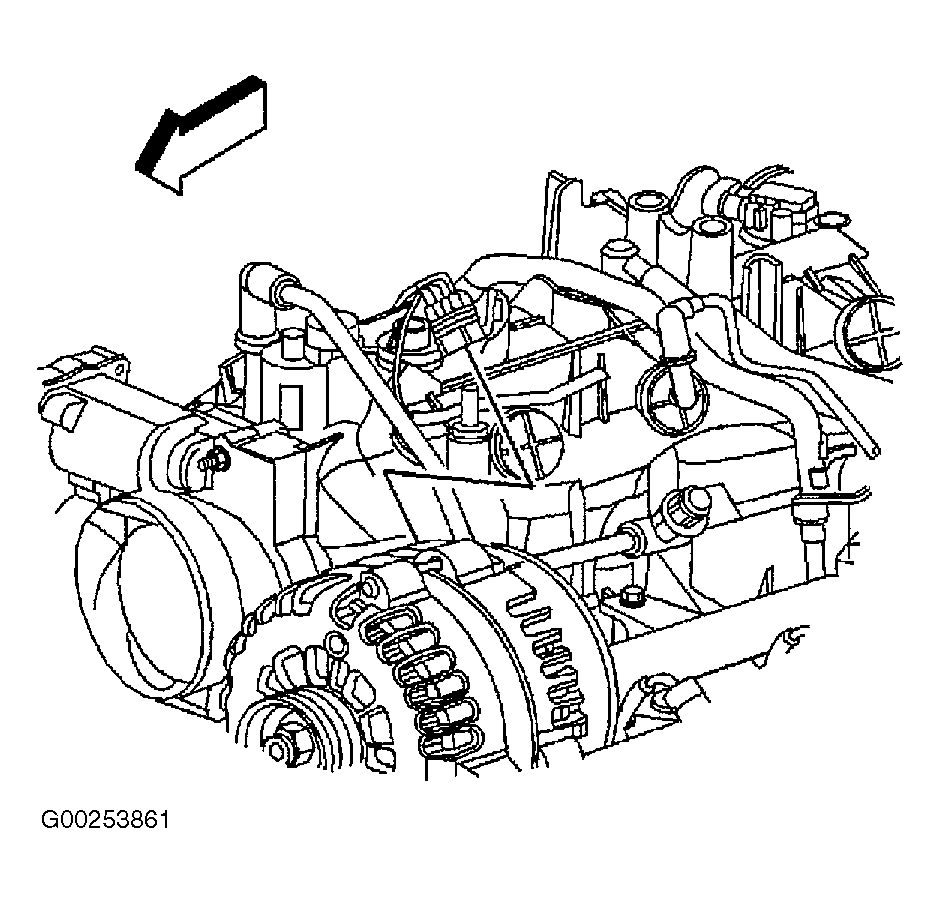
- Disconnect the generator electrical connector. See Fig 6
.
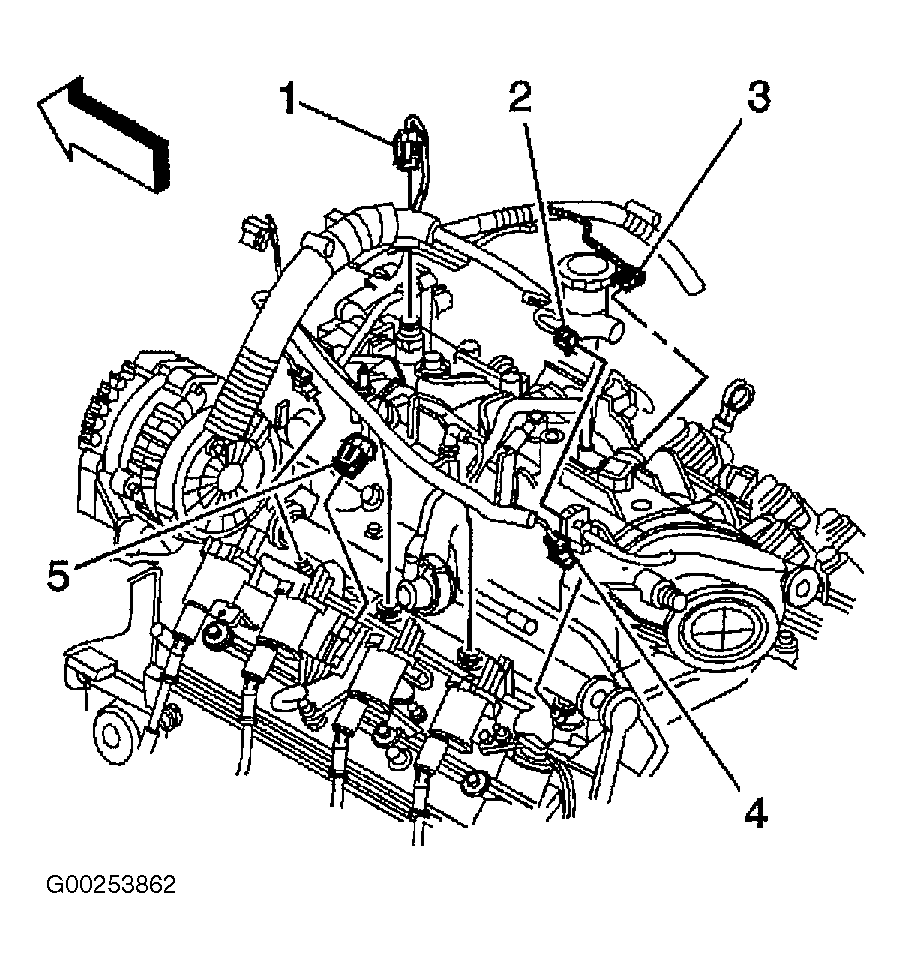
- Disconnect the following electrical connectors:
- Evaporative emission (EVAP) purge solenoid (1). See Fig 4
.
- Knock sensor (2).
- Manifold Absolute Pressure (MAP) sensor (3).
- Main coil (5).
- Fuel injectors (4).
- Remove the electrical harness clips from the fuel rail.
- Remove the knock sensor harness electrical connector from the intake manifold.
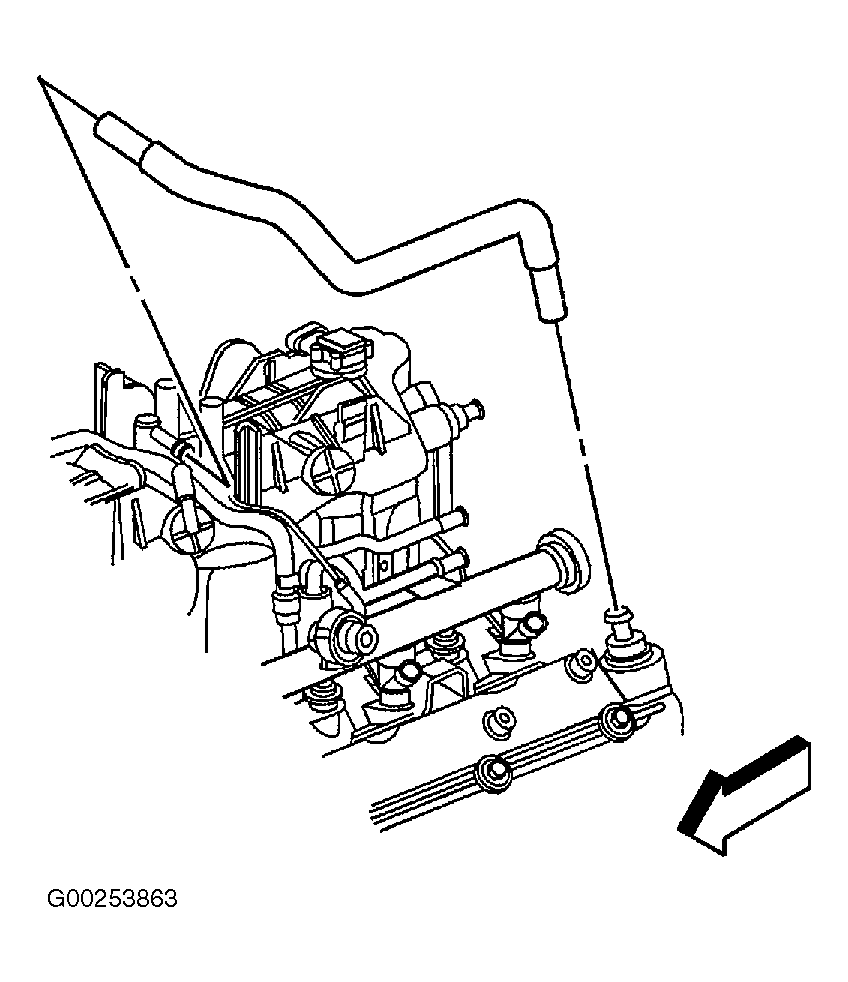
- Remove the Positive Crankcase Ventilation (PCV) hose. See Fig 7
.
- Remove the heater water shutoff valve actuator inlet hose from the intake manifold. See Fig 8
.
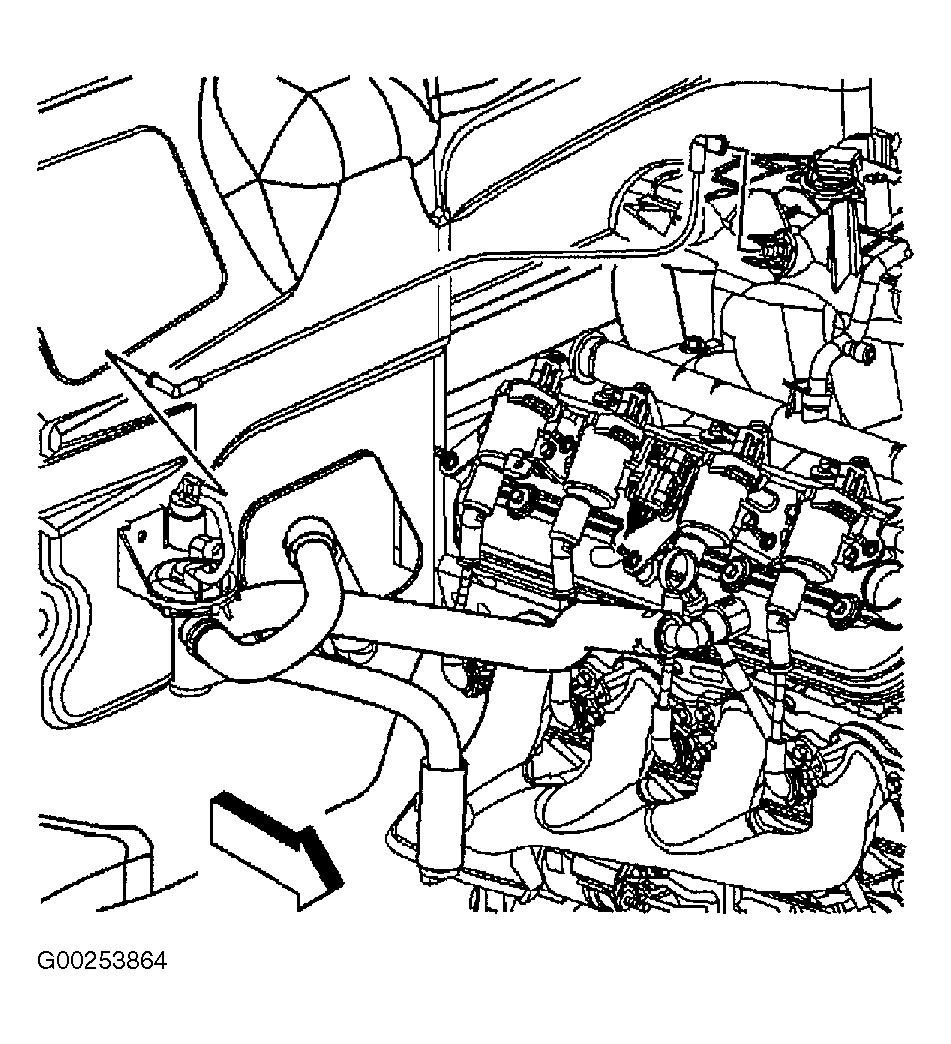
- Remove the Evaporative emission (EVAP) purge solenoid vent tube by performing the following:
- Remove the EVAP tube end from the solenoid. See Fig 9
.
- Squeeze the EVAP pipe quick connect fitting retainer together.
- Remove the EVAP tube end from the vapor pipe.
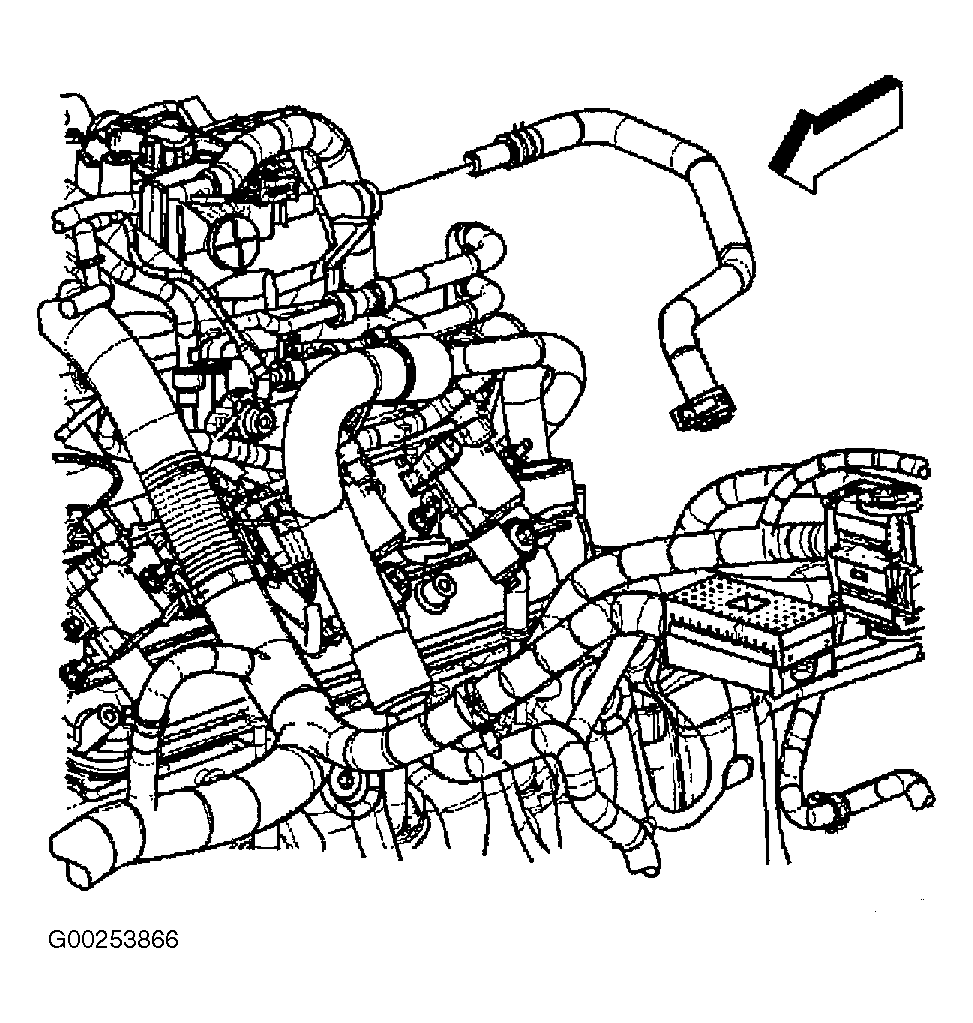
- Remove the vacuum brake booster hose from the rear of the intake manifold. See Fig 10
.
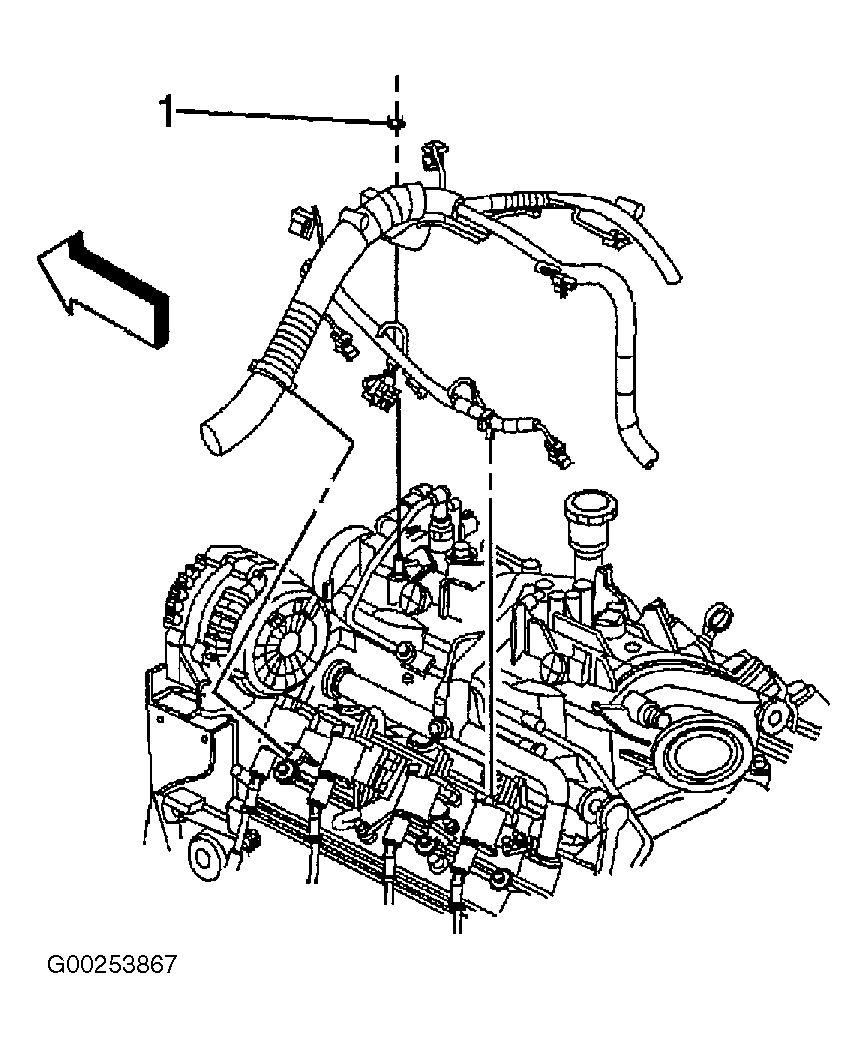
- Remove the upper engine wire harness retainer nut (1). See Fig 11
.
- Reposition the upper engine wire harness aside.
- Remove the intake manifold bolts.
- Remove the intake manifold. See Fig 12
.
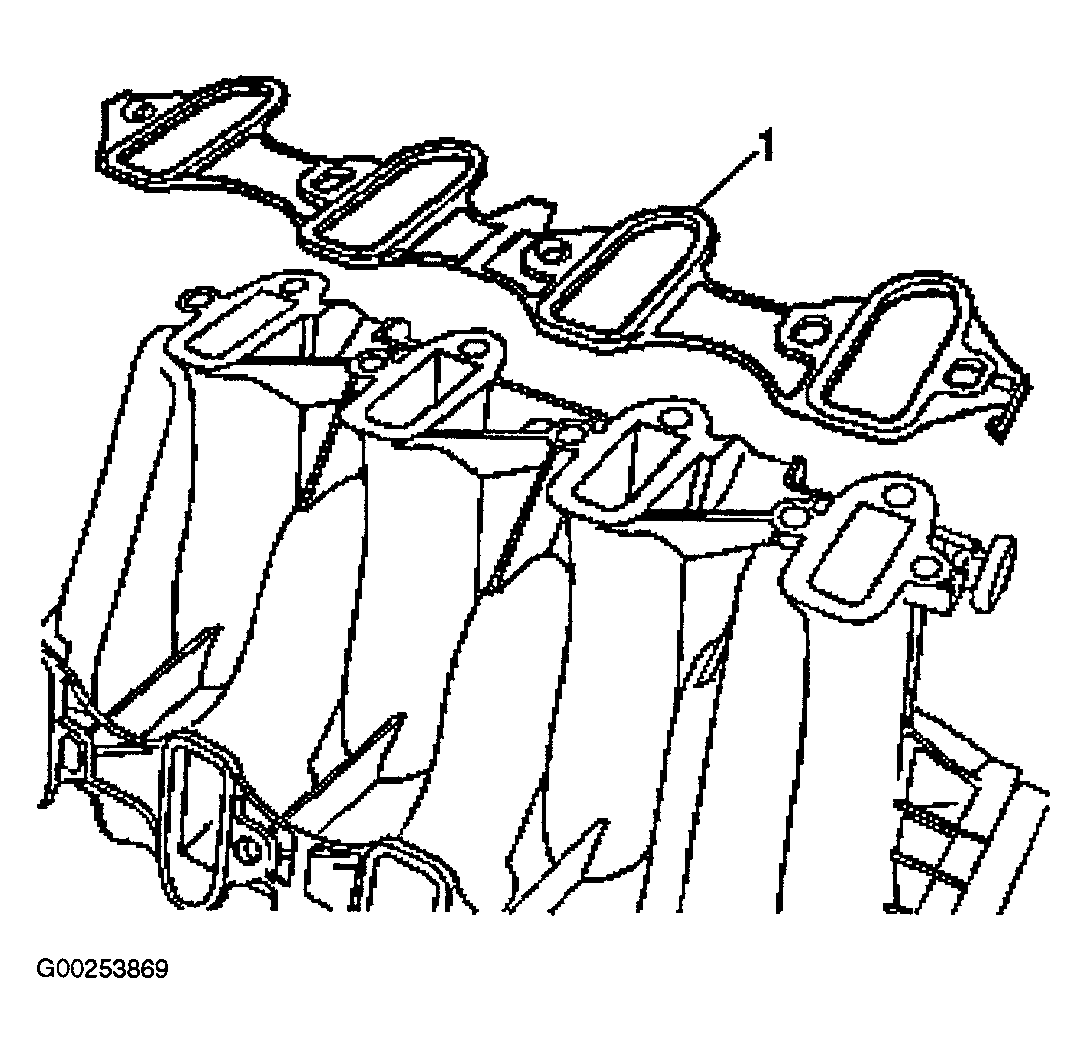
- Remove the intake manifold gaskets (1) from the intake manifold. See Fig 13
.
- Discard the old intake manifold gaskets.
- If necessary, clean and inspect the intake manifold.
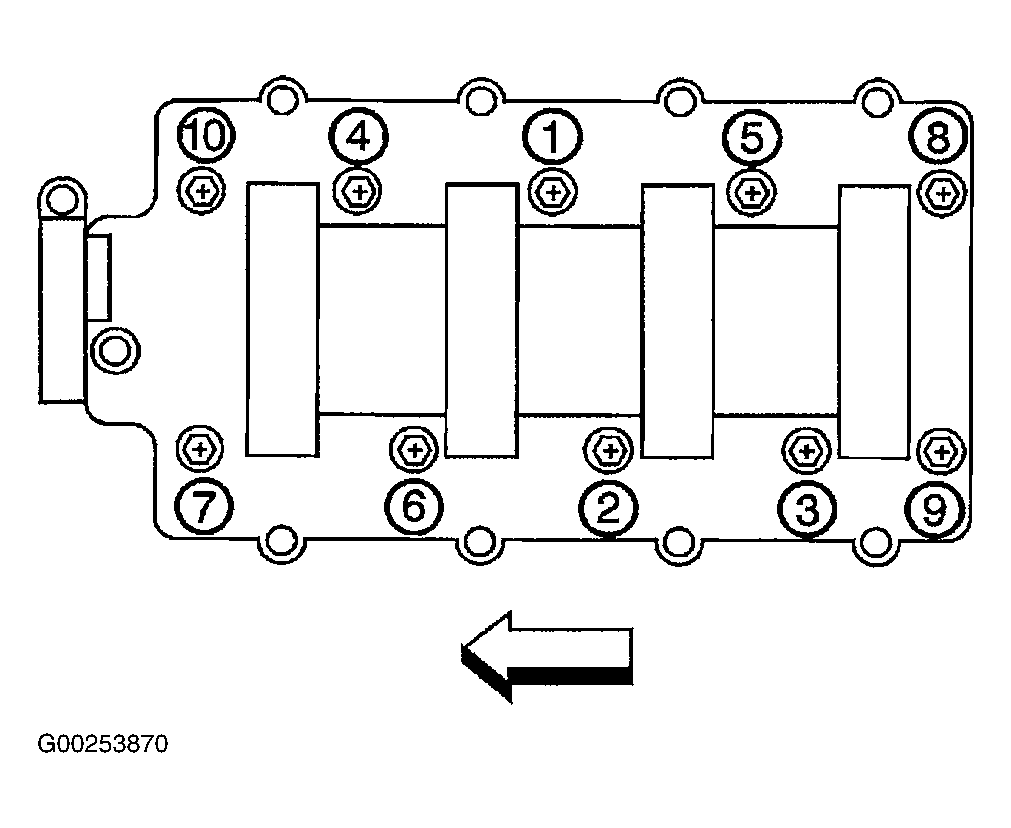
- To install, use new intake manifold gasket when installing intake manifold. Apply a 0.20 in (5 mm) bead of threadlock (GM P/N 12345382), or equivalent, to threads of intake manifold bolts. Install intake manifold bolts and tighten in two passes to specification. See Fig 14
. See TORQUE SPECIFICATIONS
. To complete installation, reverse removal procedure.
 Courtesy of GENERAL MOTORS CORP.
 Courtesy of GENERAL MOTORS CORP.
 Courtesy of GENERAL MOTORS CORP.
 Courtesy of GENERAL MOTORS CORP.
 Courtesy of GENERAL MOTORS CORP.
 Courtesy of GENERAL MOTORS CORP.
 Courtesy of GENERAL MOTORS CORP.
 Courtesy of GENERAL MOTORS CORP.
 Courtesy of GENERAL MOTORS CORP.
 Courtesy of GENERAL MOTORS CORP.
 Courtesy of GENERAL MOTORS CORP.
 Courtesy of GENERAL MOTORS CORP.
 Courtesy of GENERAL MOTORS CORP.
 Courtesy of GENERAL MOTORS CORP.