Reduction Drive Gear: Removal
- Remove the transmission assembly from the vehicle. Refer to
REMOVAL .
- Remove the air breather hose. Refer to
REMOVAL .
- Remove the control valve body. Refer to
REMOVAL .
- Remove the transmission harness. Refer to
REMOVAL .
- Remove the turbine speed sensor. Refer to
REMOVAL .
- Remove the secondary speed sensor. Refer to
REMOVAL .
- Remove the primary speed sensor. Refer to
REMOVAL .
- Remove the inhibitor switch. Refer to
REMOVAL .
- Remove the extension case. Refer to
REMOVAL .
- Remove the transfer clutch assembly. Refer to
REMOVAL .
- Remove the transfer driven gear assembly. Refer to
REMOVAL .
- Remove the parking pawl. Refer to
REMOVAL .
- Remove the reduction driven gear assembly. Refer to
REMOVAL .
- Remove the oil pan and oil strainer. Refer to
REMOVAL .
- Remove the transmission control device. Refer to
REMOVAL .
- Remove the transmission case. Refer to
REMOVAL .
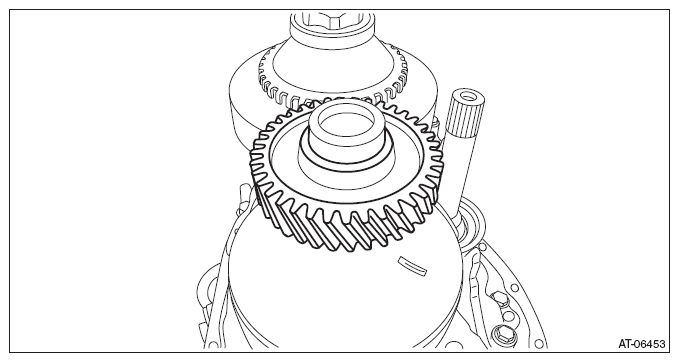
- Remove the reduction drive gear.
 Courtesy of SUBARU OF AMERICA, INC.