Torque Converter Clutch Case: Removal
- Remove the transmission assembly from the vehicle. Refer to
REMOVAL , Automatic Transmission Assembly.
- Extract the torque converter clutch assembly. Refer to
REMOVAL , Torque Converter Clutch Assembly.
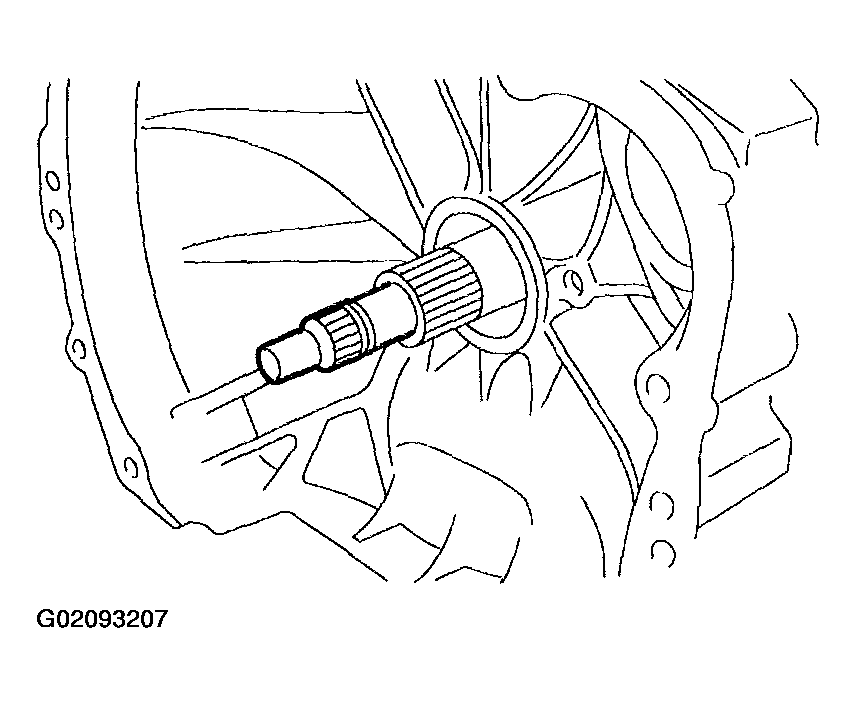
- Remove the input shaft.
 Courtesy of SUBARU OF AMERICA, INC.
- Remove air breather hose. Refer to
REMOVAL , Air Breather Hose.
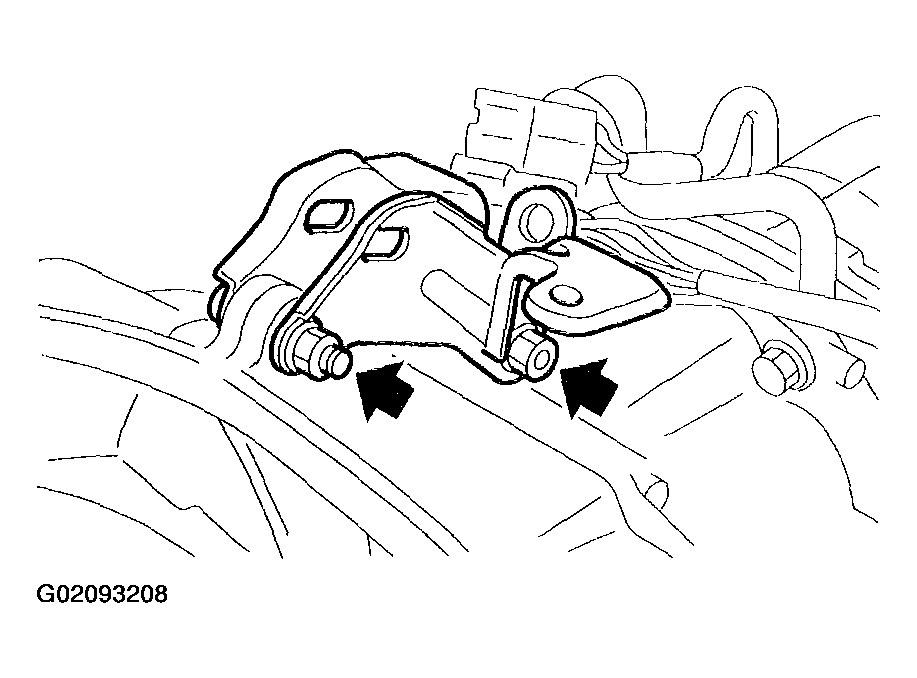
- Remove pitching stopper bracket.
 Courtesy of SUBARU OF AMERICA, INC.
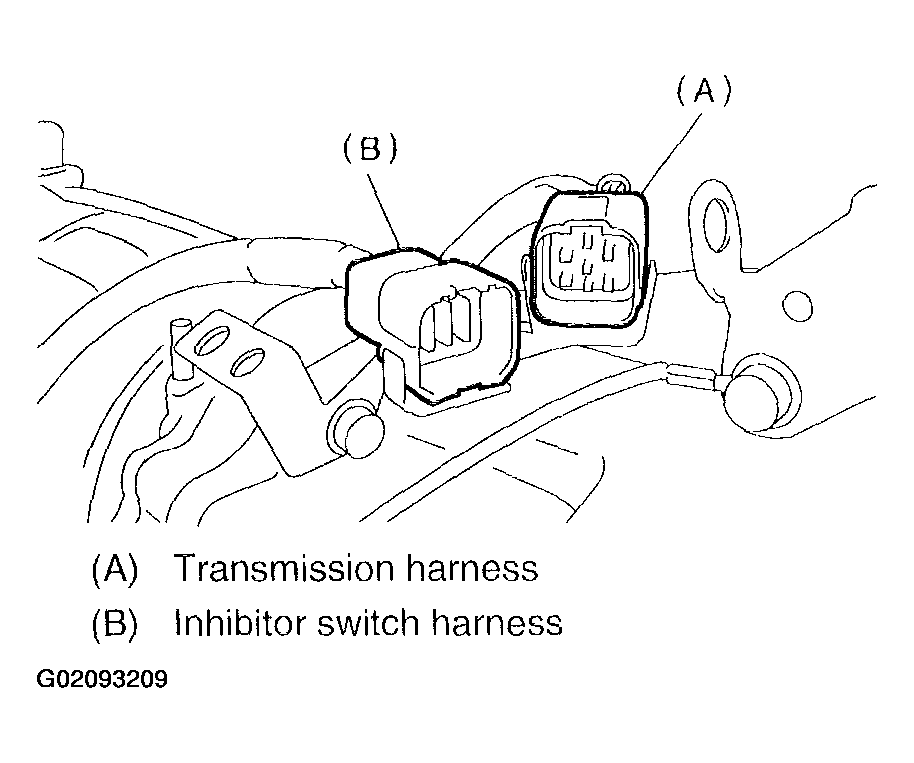
- Lift-up lever behind the connector and disconnect it from stay.
- Disconnect inhibitor switch connector from stay.
 Courtesy of SUBARU OF AMERICA, INC.
- Remove the oil charger pipe. Refer to
REMOVAL , Oil Charger Pipe.
- Remove the oil cooler inlet and outlet pipes. Refer to
REMOVAL , ATF Cooler Pipe and Hose.
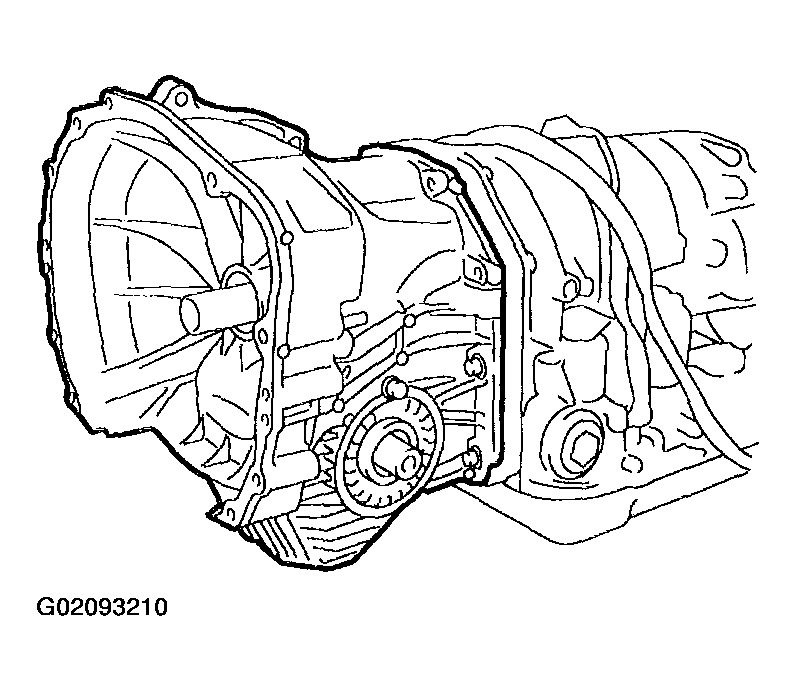
- Lightly tapping the torque converter clutch case with plastic hammer, separate the transmission case and torque converter clutch case.
NOTE:
- Be careful not to damage the oil seal and bushing inside the torque converter clutch case by the oil pump cover.
- Be careful not to lose the rubber seal.
 Courtesy of SUBARU OF AMERICA, INC.
- Remove the seal pipe if it is attached. (Reusing is not allowed.)
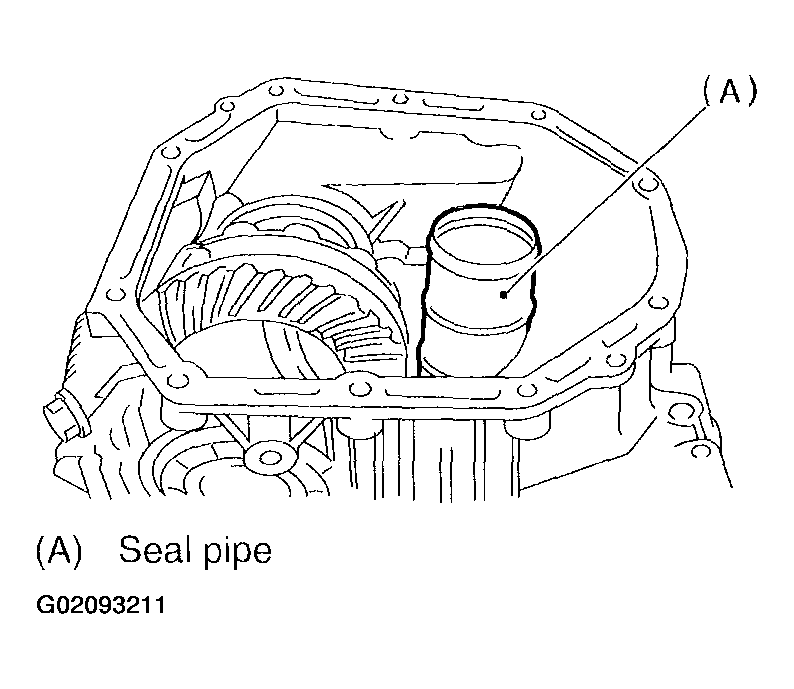 Courtesy of SUBARU OF AMERICA, INC.
- Remove the differential assembly. Refer to
REMOVAL , Front Differential.
- Remove the oil seal from torque converter clutch case.