Installation Note
- Install the digital TR sensor.
- Position the digital TR sensor.
- Loosely install the bolts.
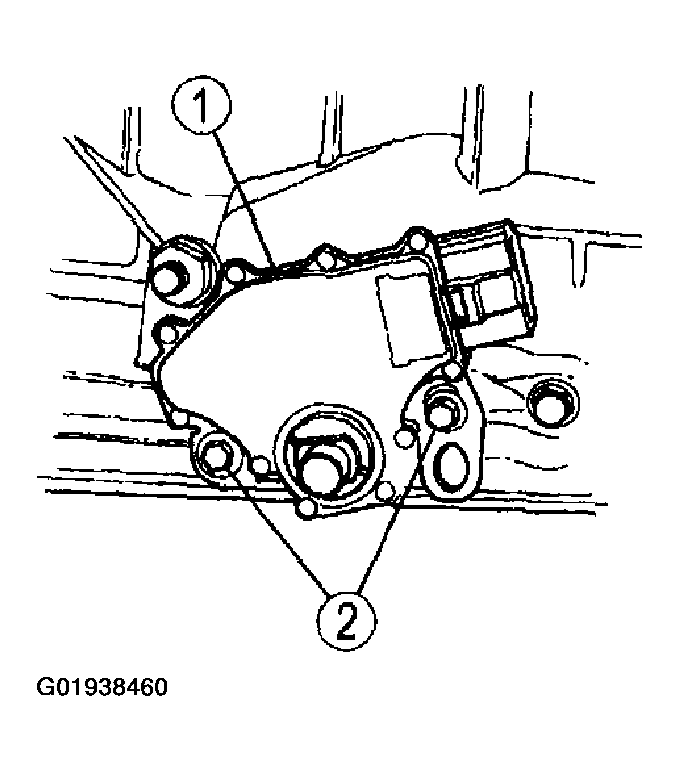 Courtesy of MAZDA MOTORS CORP.
NOTE:
- The manual lever must be in neutral.
- Adjust the digital TR sensor.
- Install SST
into the three slots on the digital TR sensor.
- Tighten the bolts.
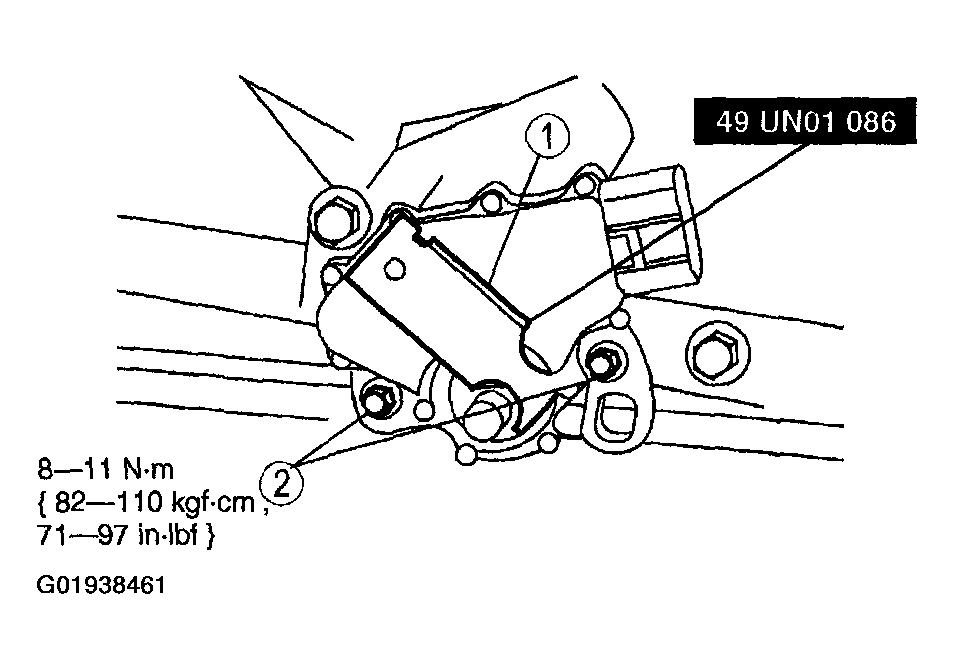 Courtesy of MAZDA MOTORS CORP.
- Install the manual control outer lever.
- Install the manual control outer lever.
- Install the manual control outer lever nut.
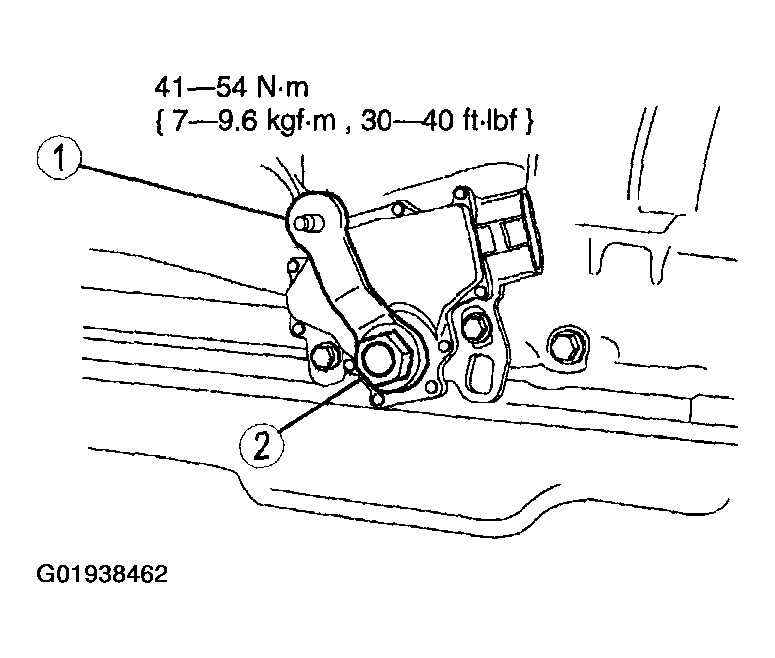 Courtesy of MAZDA MOTORS CORP.
- Connect the TR sensor electrical connector.
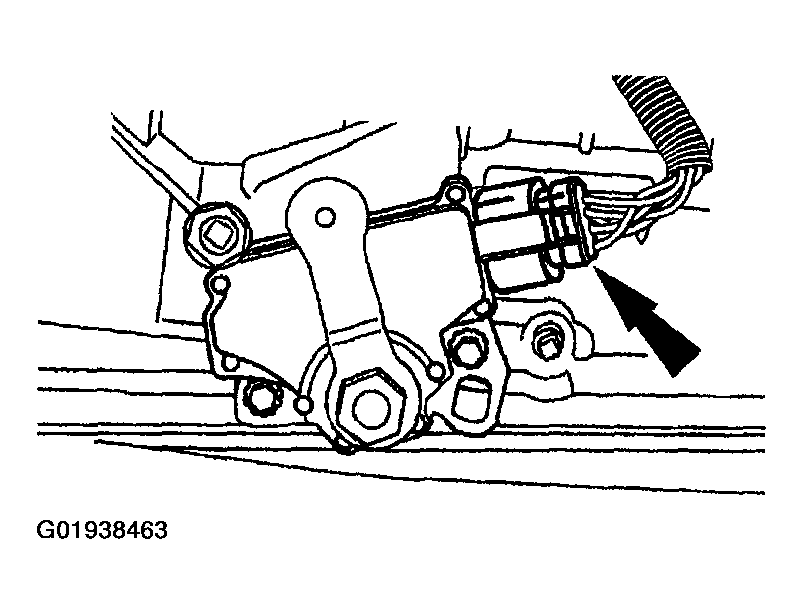 Courtesy of MAZDA MOTORS CORP.
- Connect the shift cable to the manual control outer lever.
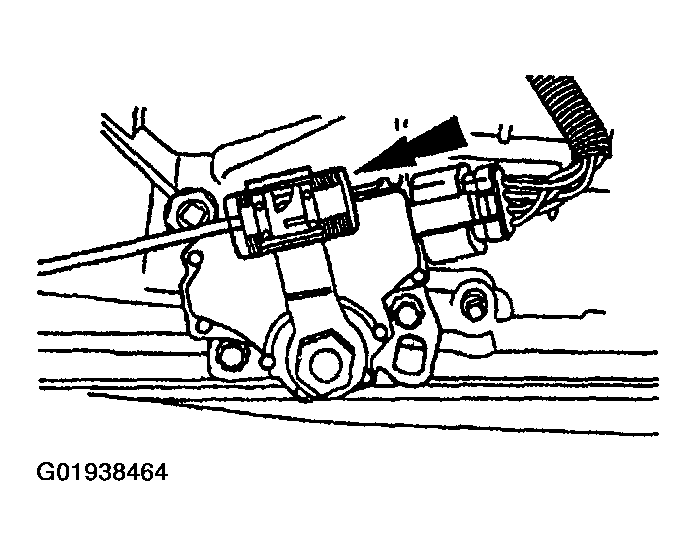 Courtesy of MAZDA MOTORS CORP.
- Adjust the shift cable; see SHIFT CABLE AND BRACKET ADJUSTMENT
.
- Lower the vehicle.
NOTE:
- When the battery has been disconnected and reconnected, some abnormal drive symptoms can occur while the vehicle re-learns its adaptive strategy. The customer needs to be notified that they may experience slightly different upshifts either soft or firm and this is a temporary condition and will eventually return to normal operating condition.
- Connect the negative battery cable.