Floor Shift Assembly: Reassembly
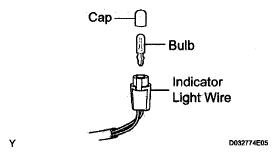
- INSTALL INDICATOR LIGHT WIRE SUB-ASSEMBLY
- Install the bulb and cap onto the indicator light wire.
 Courtesy of © TOYOTA, LICENSE AGREEMENT TMS1002
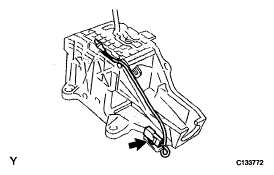
- Connect the indicator light wire connector onto the shift lever assembly.
 Courtesy of © TOYOTA, LICENSE AGREEMENT TMS1002
- INSTALL SHIFT LOCK RELEASE BUTTON
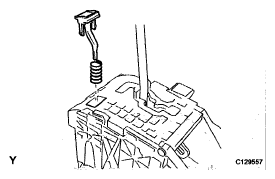
- Apply MP grease to the shift lock release button and m spring.
- Install the shift lock release button and spring onto the shift lever.
 Courtesy of © TOYOTA, LICENSE AGREEMENT TMS1002
- INSTALL POSITION INDICATOR HOUSING LOWER
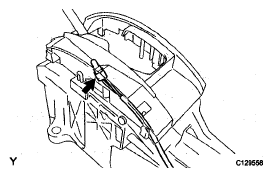
- Connect the indicator light wire connector onto the position indicator housing lower.
 Courtesy of © TOYOTA, LICENSE AGREEMENT TMS1002
- Engage the 4 claws to install the position indicator housing lower.
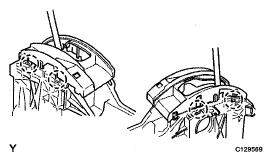 Courtesy of © TOYOTA, LICENSE AGREEMENT TMS1002
- INSTALL NO. 2 POSITION INDICATOR SLIDE COVER
- INSTALL POSITION INDICATOR SLIDE COVER
- INSTALL FLOOR SHIFT POSITION INDICATOR HOUSING SUB-ASSEMBLY
- Engage the 4 claws to install the position indicator housing.
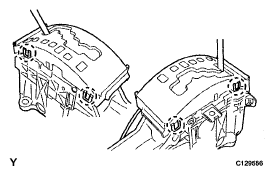 Courtesy of © TOYOTA, LICENSE AGREEMENT TMS1002
- INSTALL SHIFT LEVER KNOB SUB-ASSEMBLY