Shift Lever: Reassembly
- Install shift lock solenoid using the following steps:
- Install the link to the plunger. See Figure.
- Using a plastic-faced hammer, tap in a new slotted spring pin. Protrusion of pin should be .24" (6 mm).
- Install the compression spring and the link assembly to the shift lock solenoid.
- Install the shift lock solenoid assembly with the bolt. See Figure.
- Disconnect the connector from the shift lock ECU.
- Install the 2 terminals to the connector. See Fig 1.
- Reconnect the connector to the shift lock ECU.
- Install the shift lock ECU with the bolt. See Figure.
- Install shift illumination lamp wire sub-assembly using the following steps:
- Connect the 2 terminals to the connector. See Fig 2.
- Lock the secondary locking device.
- Connect the clamp to the shift lever assembly.
- Install the bulb to the shift illumination lamp wire sub-assembly.
- Install the shift illumination lamp wire subassembly to the shift lever subassembly.
- Install shift position sensor with 3 bolts. Move the shift lever into the "S" position and then install the shift position sensor. See Fig 3.
- Install slide cover. See Figure.
- Install shift lever housing.
- Install shift lever knob.
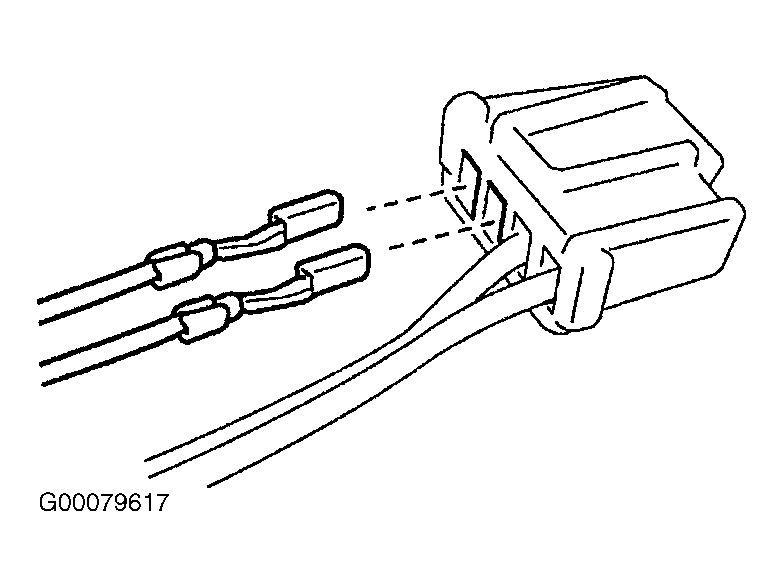 Courtesy of © TOYOTA, LICENSE AGREEMENT TMS1002
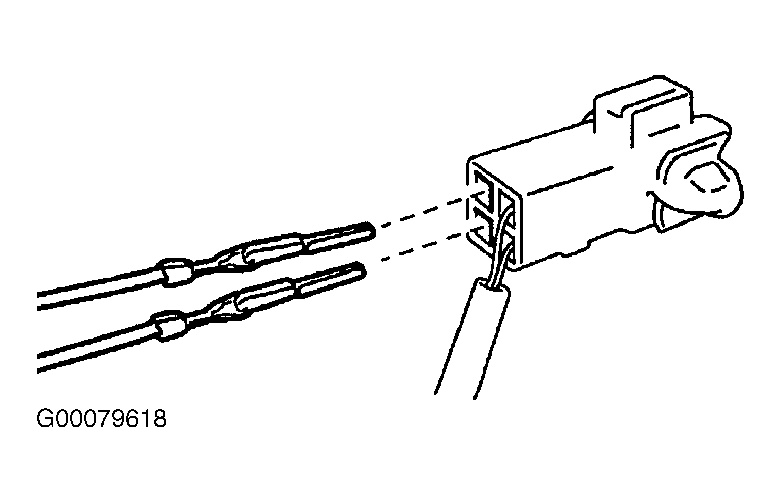 Courtesy of © TOYOTA, LICENSE AGREEMENT TMS1002
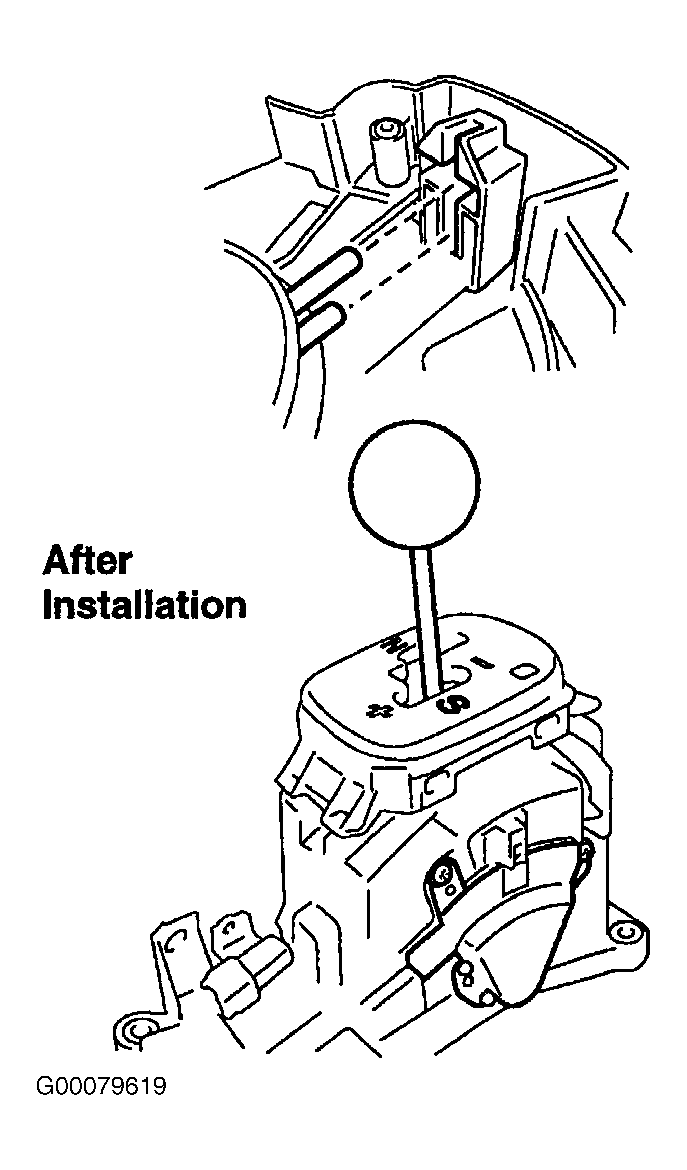 Courtesy of © TOYOTA, LICENSE AGREEMENT TMS1002