Body Controllers - Assembly, Right Controller - Remove And Replace: Install
- Maneuver the RH body controller module into position under the IP carrier, and align the W clip with body cut out.
 Courtesy of TESLA, INC. Courtesy of TESLA, INC.
|
 Courtesy of TESLA, INC. Courtesy of TESLA, INC.
|
- Install the nut that attaches the RH body controller module to the body.
 4.75 N.m (3.5 lbs-ft)
 Courtesy of TESLA, INC. Courtesy of TESLA, INC.
|
- Secure the clips (x3) that attach the RH body harness to the RH body controller and A-pillar.
 Courtesy of TESLA, INC. Courtesy of TESLA, INC.
|
 Courtesy of TESLA, INC. Courtesy of TESLA, INC.
|
- Connect the clip that attaches the RH front carpet to the body at the RH A-pillar.
 Courtesy of TESLA, INC. Courtesy of TESLA, INC.
|
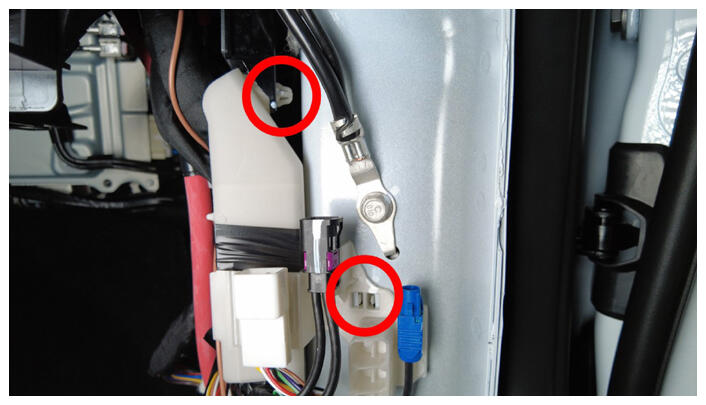
- Connect the J6 underhood storage unit electrical connector to the RH body controller module.
 Courtesy of TESLA, INC. Courtesy of TESLA, INC.
|
- Connect the J5 body electrical connector to the RH body controller module.
 Courtesy of TESLA, INC. Courtesy of TESLA, INC.
|
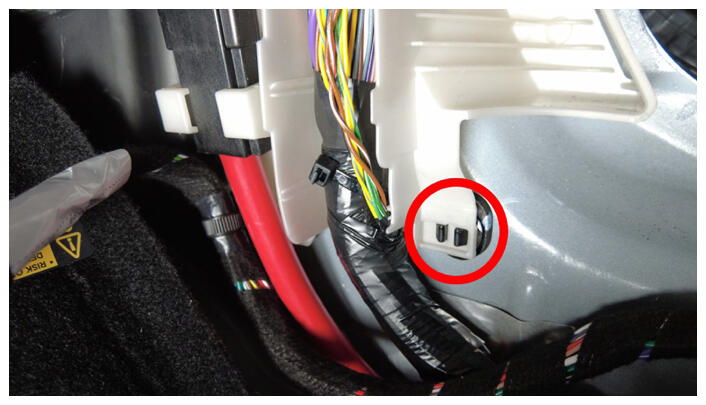
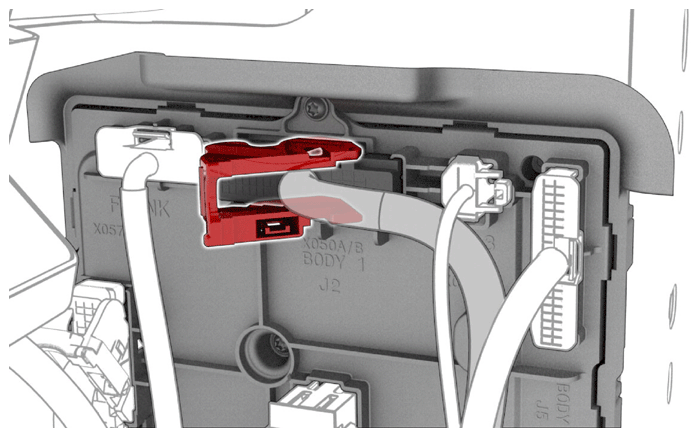
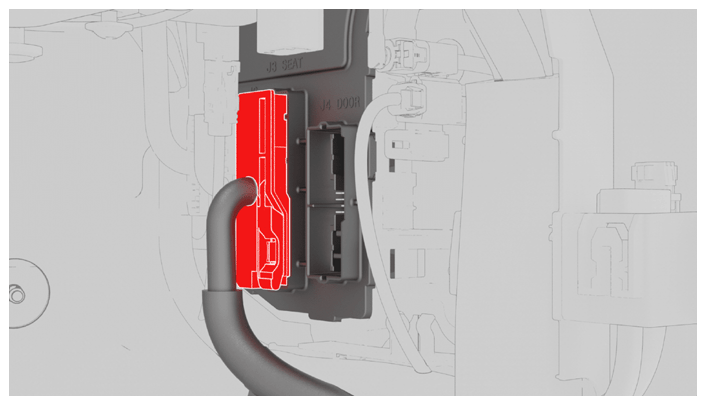
- Secure the connector lock, and then connect the J2 body electrical connector to the RH body controller module.
 Courtesy of TESLA, INC. Courtesy of TESLA, INC.
|
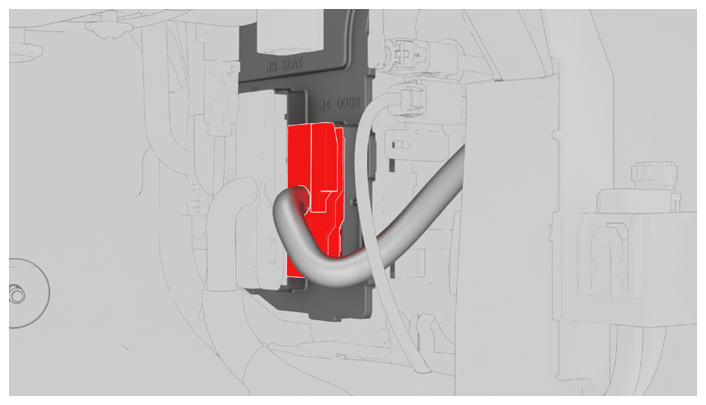
- Secure the connector lock, and then connect the J4 body electrical connector to the RH body controller module.
 Courtesy of TESLA, INC. Courtesy of TESLA, INC.
|
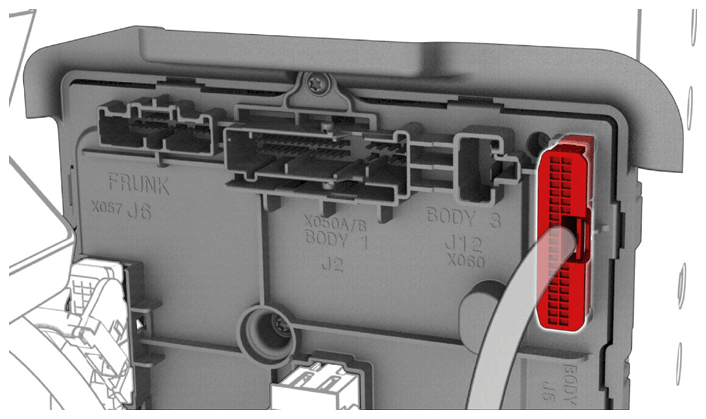
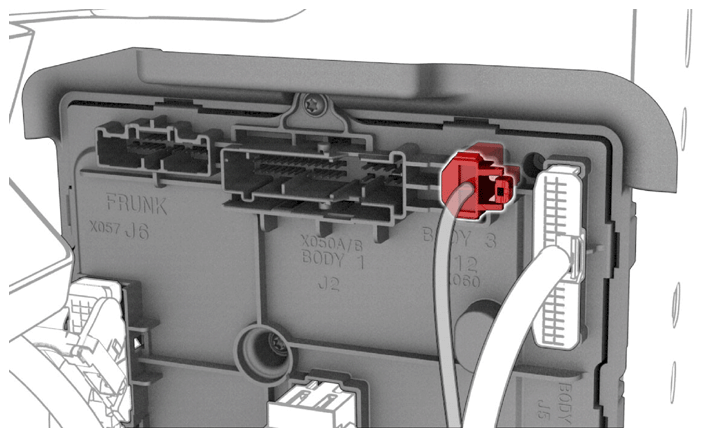
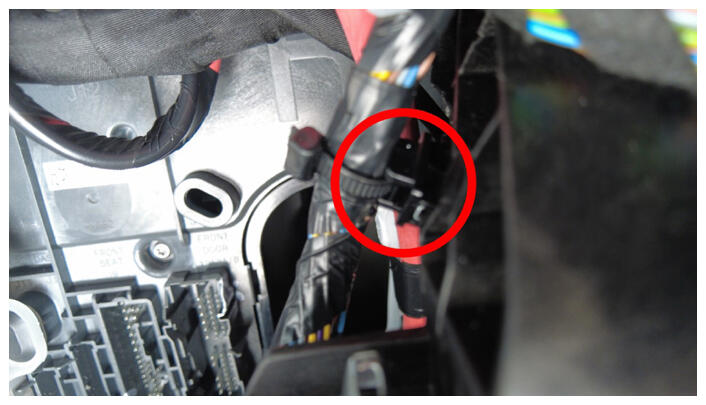
- Connect the J12 body electrical connector to the RH body controller module.
 Courtesy of TESLA, INC. Courtesy of TESLA, INC.
|
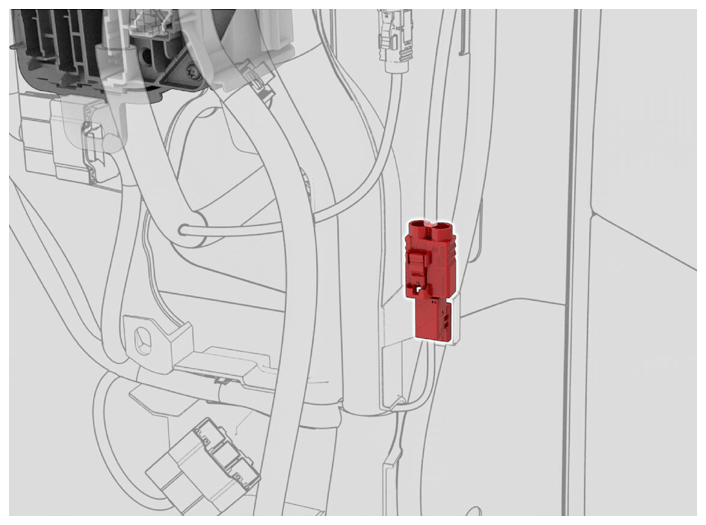
- Secure the connector lock, and then connect the J1 power electrical connector to the RH body controller module.
 Courtesy of TESLA, INC. Courtesy of TESLA, INC.
|
- Secure harness clip to RH body controller.
 Courtesy of TESLA, INC. Courtesy of TESLA, INC.
|
- Connect connector to the right body harness.
 Courtesy of TESLA, INC. Courtesy of TESLA, INC.
|
- Secure harness clip to car computer.
 Courtesy of TESLA, INC. Courtesy of TESLA, INC.
|
- Disconnect connectors from car computer.
 Courtesy of TESLA, INC. Courtesy of TESLA, INC.
|
- Unfold back the RH front carpet.
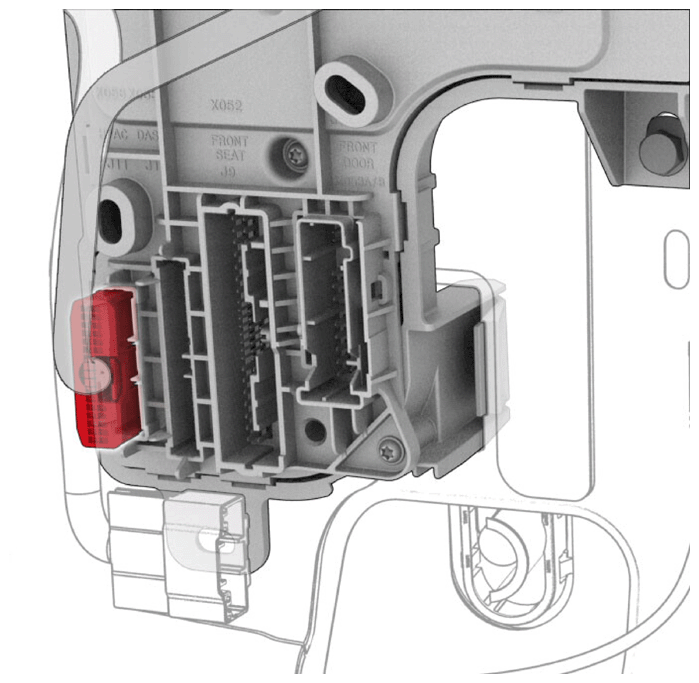
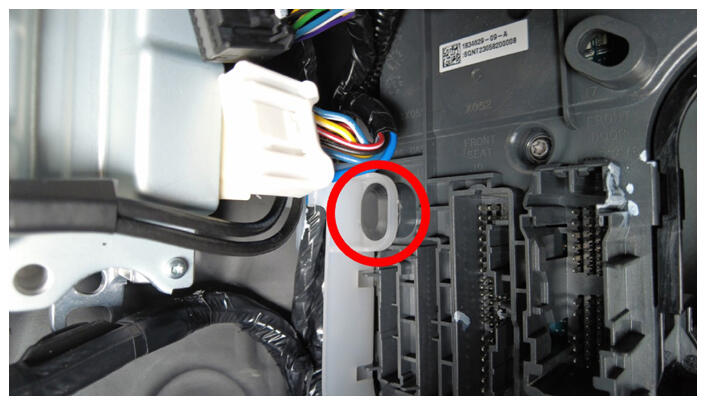
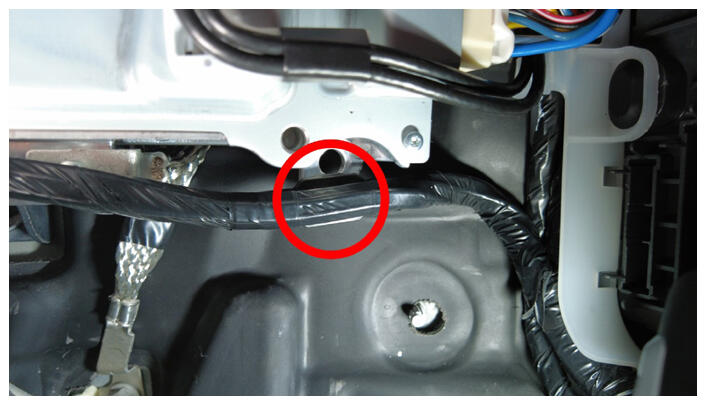
- Secure the electrical harness clips (x2) to underneath the IP carrier.
 Courtesy of TESLA, INC. Courtesy of TESLA, INC.
|
 Courtesy of TESLA, INC. Courtesy of TESLA, INC.
|
- Connect the J11 HVAC electrical connector to the RH body controller module.
 Courtesy of TESLA, INC. Courtesy of TESLA, INC.
|
- Connect the J10 instrument panel electrical connector to the RH body controller module.
 Courtesy of TESLA, INC. Courtesy of TESLA, INC.
|
- Secure the connector lock, and then connect the front passenger seat electrical connector to the RH body controller module.
 Courtesy of TESLA, INC. Courtesy of TESLA, INC.
|
- Secure the connector lock, and then connect the front passenger seat electrical connector to the RH body controller module.
 Courtesy of TESLA, INC. Courtesy of TESLA, INC.
|
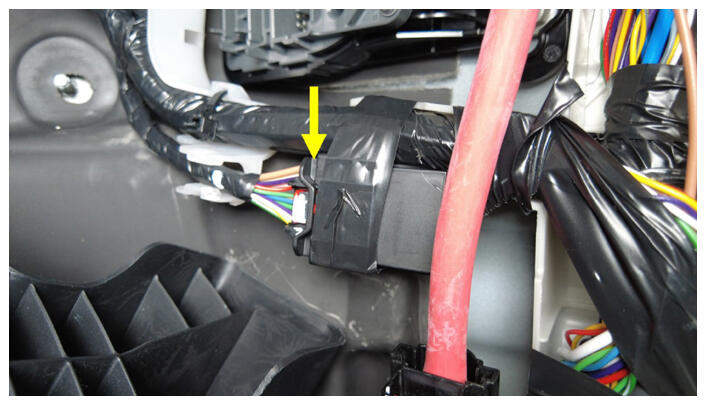
- Secure the lock, and then connect the RH front door electrical connector to the RH body controller module.
 Courtesy of TESLA, INC. Courtesy of TESLA, INC.
|
- Install the LH lower A-pillar trim. See A - B - C POST INTERIOR TRIM - A - PILLAR LOWER ASSEMBLY, LH - REMOVE AND REPLACE
.
- Install the glove box. See DASH PANEL - GLOVE BOX WITH USB ASSEMBLY - REMOVE AND REPLACE
.
- Install the RH instrument panel end cap. See DASH PANEL - END CAP, LH - REMOVE AND REPLACE
.
- Install the driver footwell cover. See DASH PANEL - DRIVER FOOTWELL COVER ASSEMBLY - REMOVE AND REPLACE
.
- Install the rear underhood apron. See UNDERHOOD TRIM - REAR APRON ASSEMBLY - REMOVE AND REPLACE
.
- Move RH front seat to original position, and close RH front door.
- Reinstall the vehicle firmware. See SOFTWARE REINSTALL - TOUCHSCREEN
.
- Locally connect a laptop with Toolbox 3 to the vehicle. See TOOLBOX 3 - CONNECT AND DISCONNECT
.
- In Toolbox, click the Actions
tab, type "PROC_VCRIGHT_X-POST-REPLACEMENT-PROCEDURE" into the search field, click(i)
, click Run
, and allow the routine to complete.
- Click the Actions
tab, type "PROC_DI_X_PAIR-IMMOBILIZER-AND-VEHICLE-ODOMETER" into the search field, click(i)
, click Run
, and allow the routine to complete.
- Disconnect the laptop from the vehicle.
- Disable Service Mode. See SERVICE MODE
.
- Raise all windows and close the LH front door.