- Install frunk corner bracket to vehicle
NOTE:
New part is equipped with double-sided tape
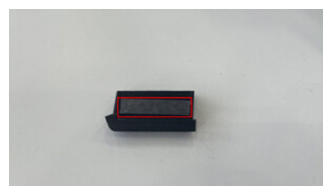 Courtesy of TESLA, INC. Courtesy of TESLA, INC.
|
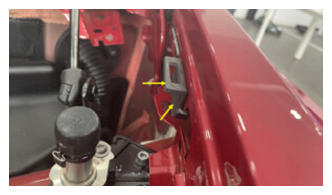 Courtesy of TESLA, INC. Courtesy of TESLA, INC.
|
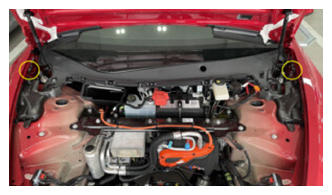 Courtesy of TESLA, INC. Courtesy of TESLA, INC.
|
- Install frunk assembly to vehicle
NOTE:
12x clips, Make sure frunk assembly is fully seated onto the clips, Number of clips may vary on older vehicles
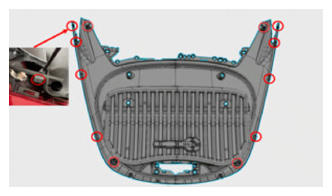 Courtesy of TESLA, INC. Courtesy of TESLA, INC.
|
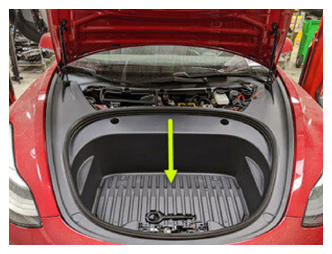 Courtesy of TESLA, INC. Courtesy of TESLA, INC.
|
- Install fasteners securing the frunk assembly
NOTE:
7x bolts, 10 mm, 5 N.m, Lower the RBN covers after installing upper fasteners, Newer vehicles may not be equipped with covers
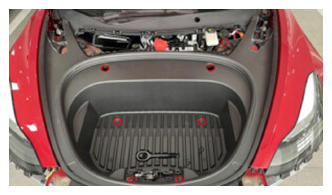 Courtesy of TESLA, INC. Courtesy of TESLA, INC.
|
- Install frunk close out panel
NOTE:
4x clips, 1x connector, Frunk safety switch, 3x guide tabs, Align the 3x tabs then push downward to secure clips
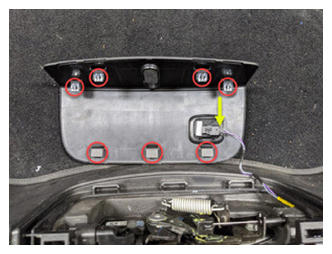 Courtesy of TESLA, INC. Courtesy of TESLA, INC.
|
- Install cabin intake upper duct assembly
NOTE:
3x clips, Older vehicles may be equipped with 4x clips
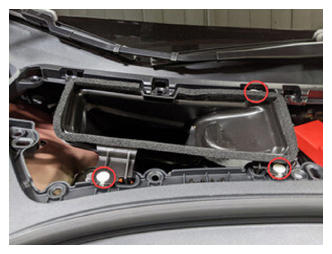 Courtesy of TESLA, INC. Courtesy of TESLA, INC.
|
- Install rear apron
NOTE:
12x clips, If present untuck cut loop label and make sure it is still visible after apron is installed, Later builds may not have label
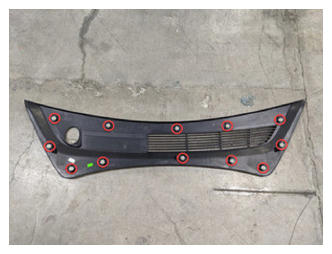 Courtesy of TESLA, INC. Courtesy of TESLA, INC.
|
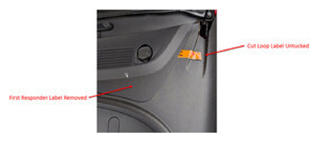 Courtesy of TESLA, INC. Courtesy of TESLA, INC.
|
- Close hood
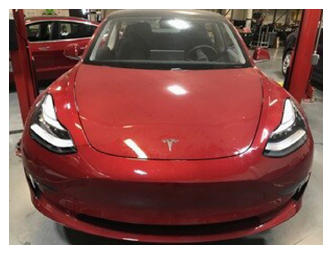 Courtesy of TESLA, INC. Courtesy of TESLA, INC.
|
- Raise LH front window
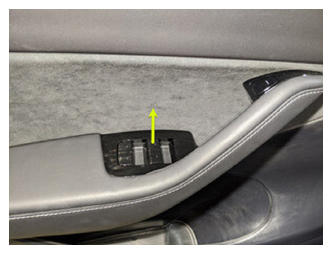 Courtesy of TESLA, INC. Courtesy of TESLA, INC.
|
- Close LH front door
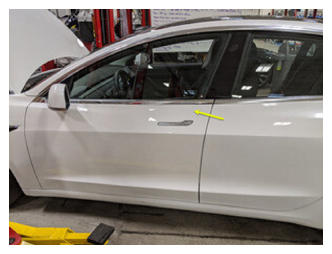 Courtesy of TESLA, INC. Courtesy of TESLA, INC.
|