- Place alignment marks on the shaft assembly and outer race.
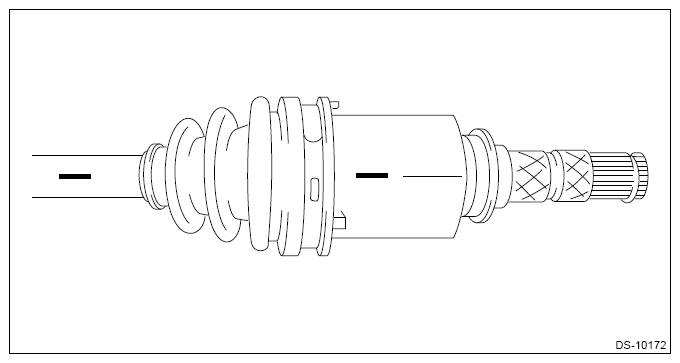 Courtesy of SUBARU OF AMERICA, INC. Courtesy of SUBARU OF AMERICA, INC.
|
- Remove the boot band (large) and boot band (small) and move the boot (IN side) to the central side of the shaft assembly.
CAUTION:
Be careful not to damage the boot (IN side).
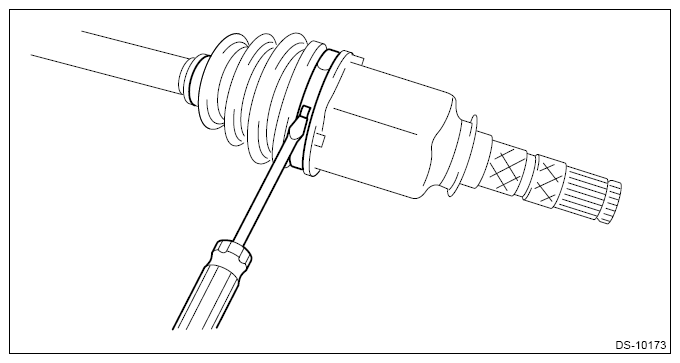 Courtesy of SUBARU OF AMERICA, INC. Courtesy of SUBARU OF AMERICA, INC.
|
- Remove the snap ring, and remove the outer race.
CAUTION:
Be careful not to drop the bearing.
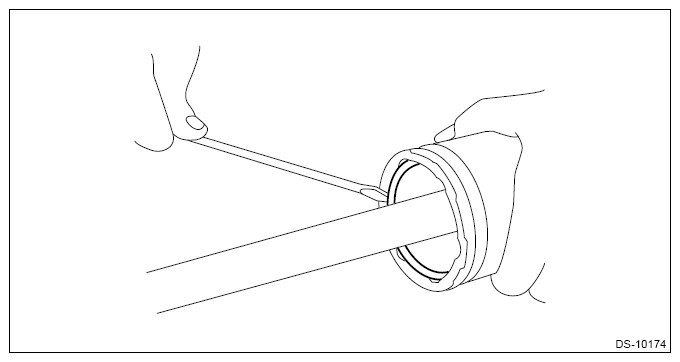 Courtesy of SUBARU OF AMERICA, INC. Courtesy of SUBARU OF AMERICA, INC.
|
- Remove the grease and place alignment marks on the bearing and trunnion.
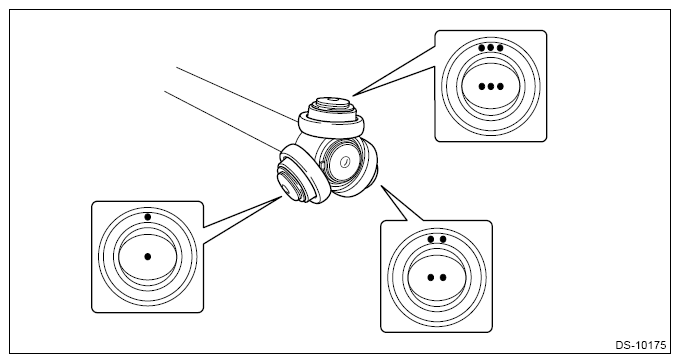 Courtesy of SUBARU OF AMERICA, INC. Courtesy of SUBARU OF AMERICA, INC.
|
- Remove the bearing.
- Wipe off the grease and place alignment marks on the trunnion and shaft assembly.
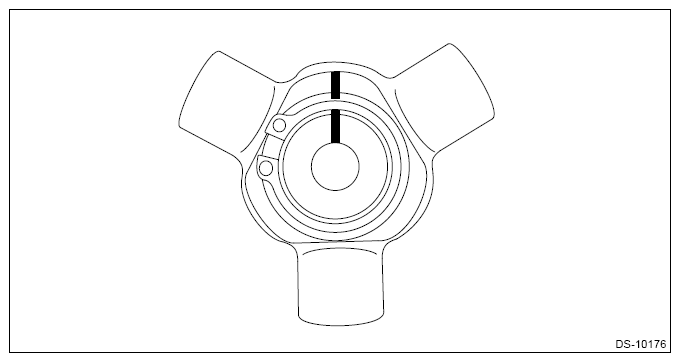 Courtesy of SUBARU OF AMERICA, INC. Courtesy of SUBARU OF AMERICA, INC.
|
- Remove the snap ring and remove the trunnion.
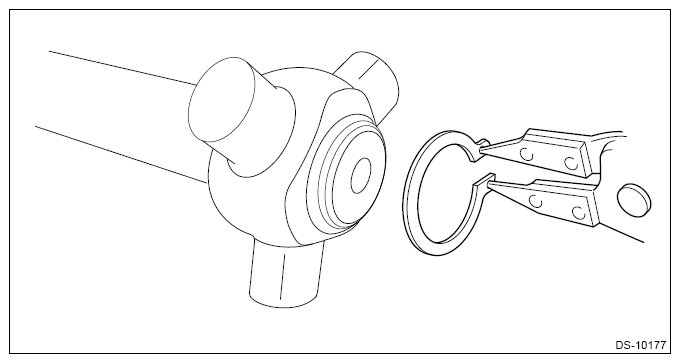 Courtesy of SUBARU OF AMERICA, INC. Courtesy of SUBARU OF AMERICA, INC.
|
- Remove the boot (IN side).
CAUTION:
Be sure to wrap the shaft assembly splines with vinyl tape, etc. to protect the boot (IN side) from scratches.
- Remove the O-ring from the shaft assembly.
- Remove the boot band (large) and boot band (small) and remove the boot (OUT side).
CAUTION:
Be sure to wrap the shaft assembly splines with vinyl tape, etc. to protect the boot (OUT side) from scratches.
NOTE:
Rzeppa constant velocity joint cannot be disassembled.
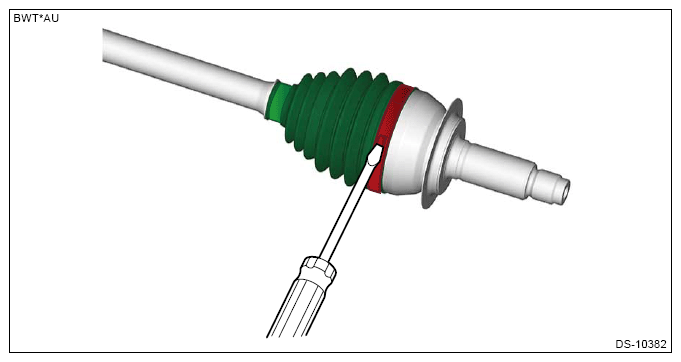 Courtesy of SUBARU OF AMERICA, INC. Courtesy of SUBARU OF AMERICA, INC.
|
- Clean each part.
CAUTION:
Be careful not to erase the alignment marks.