Oil Pump Assembly (Fa20): Disassembly
- Oil filter removal (Refer to OIL & OIL FILTER (FA20)
)
- Oil filter union removal (Refer to OIL & OIL FILTER (FA20)
)
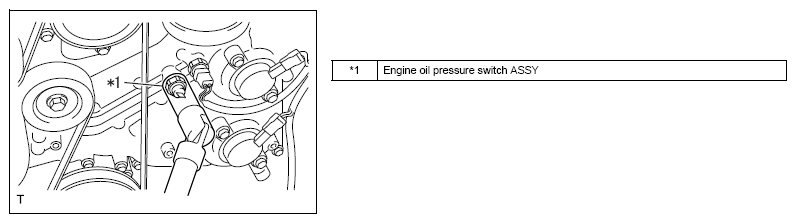 Courtesy of SUBARU OF AMERICA, INC.
- Engine oil pressure switch assembly removal
- Remove the engine oil pressure switch assembly.
 Courtesy of SUBARU OF AMERICA, INC.
- Engine oil temperature sensor removal
- Remove the engine oil temperature sensor.
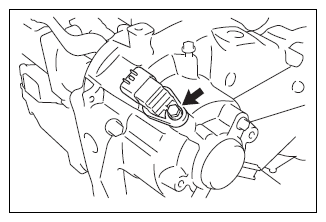 Courtesy of SUBARU OF AMERICA, INC.
- Cam position sensor removal (bank 1 intake side)
- Remove the bolt, and remove the camshaft position sensor.
- Remove the O-ring from the camshaft position sensor.
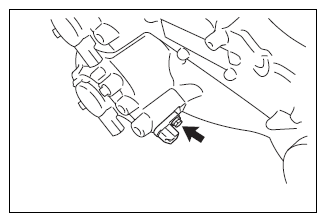 Courtesy of SUBARU OF AMERICA, INC.
- Cam position sensor removal (bank 1 exhaust side)
- Remove the bolt, and remove the camshaft position sensor.
- Remove the O-ring from the camshaft position sensor.
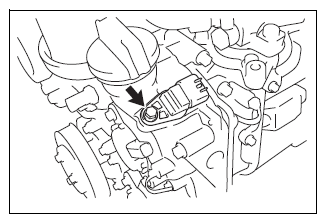 Courtesy of SUBARU OF AMERICA, INC.
- Cam position sensor removal (bank 2 intake side)
- Remove the bolt, and remove the camshaft position sensor.
- Remove the O-ring from the camshaft position sensor.
 Courtesy of SUBARU OF AMERICA, INC.
- Cam position sensor removal (bank 2 exhaust side)
- Remove the bolt, and remove the camshaft position sensor.
- Remove the O-ring from the camshaft position sensor.
 Courtesy of SUBARU OF AMERICA, INC.
- Removal of camshaft timing oil control valve assembly (bank 1 intake side)
- Remove the two bolts and remove the cam timing oil control valve assembly (bank 1 intake side).
 Courtesy of SUBARU OF AMERICA, INC.
- Remove the O-ring from the camshaft timing oil control valve assembly.
 Courtesy of SUBARU OF AMERICA, INC.
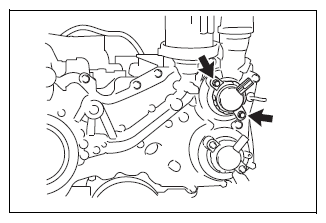
- Removal of camshaft timing oil control valve assembly (bank 1 exhaust side)
- Remove the two bolts and remove the cam timing oil control valve assembly (bank 1 intake side).
 Courtesy of SUBARU OF AMERICA, INC.
- Remove the O-ring from the camshaft timing oil control valve assembly.
 Courtesy of SUBARU OF AMERICA, INC.
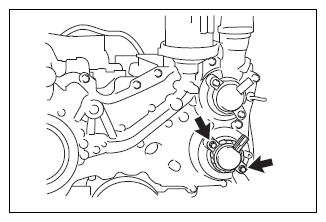
- Removal of camshaft timing oil control valve assembly (bank 2 intake side)
- Remove the two bolts and remove the cam timing oil control valve assembly (bank 1 intake side).
 Courtesy of SUBARU OF AMERICA, INC.
- Remove the O-ring from the camshaft timing oil control valve assembly.
 Courtesy of SUBARU OF AMERICA, INC.
- Removal of camshaft timing oil control valve assembly (bank 2 exhaust side)
- Remove the two bolts and remove the cam timing oil control valve assembly (bank 1 intake side).
 Courtesy of SUBARU OF AMERICA, INC.
- Remove the O-ring from the camshaft timing oil control valve assembly.