Drive Pinion Shaft Assembly: Removal
- Remove the transmission assembly from the vehicle. < Ref. to
REMOVAL , Automatic Transmission Assembly. >
- Pull out the torque converter clutch assembly. < Ref. to
REMOVAL , Torque Converter Clutch Assembly. >
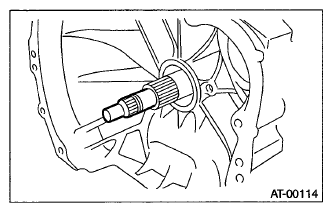
- Remove the input shaft.
 Courtesy of SUBARU OF AMERICA, INC.
- Lift up the lever on the rear side of transmission harness connector, and then disconnect it from the stay.
- Disconnect the inhibitor switch connector from the stay.
- Disconnect the air breather hose. < Ref. to
REMOVAL , Air Breather Hose. >
- Remove the oil charge pipe. < Ref. to
REMOVAL , Oil Charge Pipe. >
- Remove the ATF cooler inlet pipe and outlet pipe. < Ref. to
REMOVAL , ATF Cooler Pipe and Hose. >
- Separate the converter case and transmission case. < Ref. to
REMOVAL , Converter Case. >
- Separate the transmission case and extension case section. < Ref. to
REMOVAL , Extension Case. >
- Remove the reduction drive gear. < Ref. to
REMOVAL , Reduction Drive Gear. >
- Remove the reduction driven gear. < Ref. to
REMOVAL , Reduction Driven Gear. >
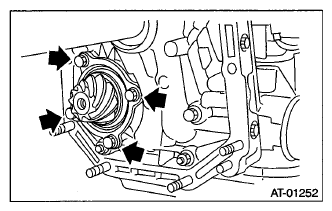
- Remove the drive pinion shaft mounting bolt and remove the drive shaft assembly from oil pump housing.
 Courtesy of SUBARU OF AMERICA, INC.