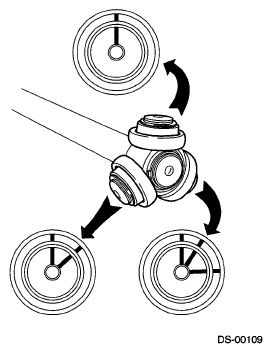
- Place alignment marks on the shaft and outer race.
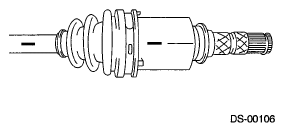 Courtesy of SUBARU OF AMERICA, INC.
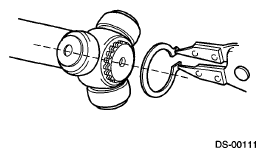
- Remove the AAR boot band and boot.
CAUTION:
Be careful not to damage the boot.
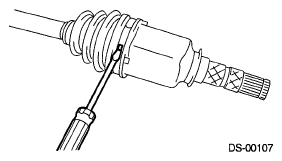 Courtesy of SUBARU OF AMERICA, INC.
- Place the drive shaft between wooden blocks etc, and secure it with a vise.
CAUTION:
Do not clamp the drive shaft directly with vise.
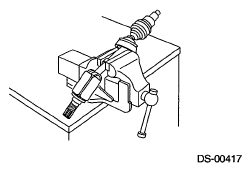 Courtesy of SUBARU OF AMERICA, INC.
- Tap the staked part of outer race one after the other using the plastic or wooden bar to remove the roller one by one.
 Courtesy of SUBARU OF AMERICA, INC.
CAUTION:
- Tap the staked part (A) of outer race.
- Do not use the metal rod because it may deform the outer race.
- Be careful not to damage the roller parts.
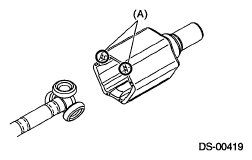 Courtesy of SUBARU OF AMERICA, INC.
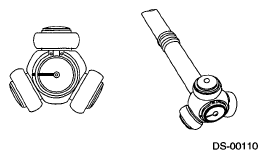
- Take out the outer race from the shaft assembly.
CAUTION:
To prevent the outer race from dropping, have the work assistant to support the outer race when removing the 3rd roller.
- Wipe off grease.
CAUTION:
The grease is a special type of grease. Do not mix with other grease.
- Place alignment marks on the roller kit and trunnion.
 Courtesy of SUBARU OF AMERICA, INC.
- Remove the roller kit from trunnion.
CAUTION:
Be careful with the roller kit position.
- Place alignment marks on the trunnion and shaft.
 Courtesy of SUBARU OF AMERICA, INC.
- Remove the snap ring and trunnion.
 Courtesy of SUBARU OF AMERICA, INC.
CAUTION:
Be sure to wrap shaft splines with vinyl tape to protect the boot from scratches.
- Remove the AAR boot.
NOTE:
Further disassembly of the drive shaft is impossible because the AC cannot be disassembled.