AT Shift Lock Solenoid and "P" Range Switch: Removal
- Remove the console box. Ref. to
REMOVAL
, Console Box.
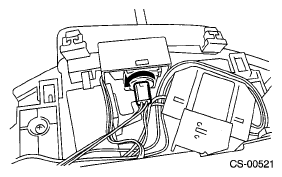
- Disconnect the connector.
- Remove the indicator bulb.
 Courtesy of SUBARU OF AMERICA, INC.
- Remove the grip.
- Remove the indicator cover.
 Courtesy of SUBARU OF AMERICA, INC.
- Disconnect the connector from the guide plate upper.
 Courtesy of SUBARU OF AMERICA, INC.
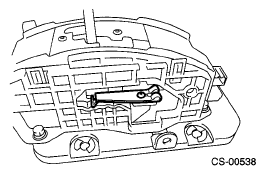
- Shift the select lever to the "N" range, and then remove the detent spring.
 Courtesy of SUBARU OF AMERICA, INC.
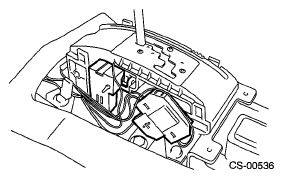
- Remove the switch assembly and shift lock solenoid assembly.
 Courtesy of SUBARU OF AMERICA, INC.
- Remove the bolts, then remove the guide plate upper from the plate lower.
 Courtesy of SUBARU OF AMERICA, INC.
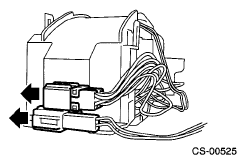
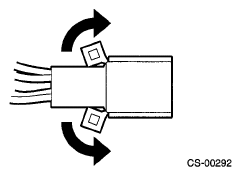
- Raise the claw of the connector.
 Courtesy of SUBARU OF AMERICA, INC.
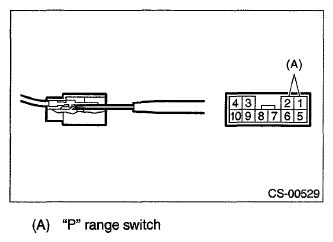
- Disconnect the terminal of the "P" range switch from connector, using a flat tip screwdriver with a thin tip.
 Courtesy of SUBARU OF AMERICA, INC.