Air Conditioning Unit: Disassembly
- REMOVE DEFROSTER DAMPER CONTROL CABLE SUB-ASSEMBLY
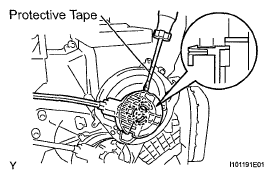
- Using a screwdriver with its tip wrapped in protective tape, disengage the claw and remove the defroster damper control cable.
 Courtesy of © TOYOTA, LICENSE AGREEMENT TMS1002
- REMOVE AIR MIX DAMPER CONTROL CABLE SUB-ASSEMBLY
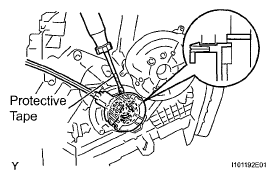
- Using a screwdriver with its tip wrapped in protective tape, disengage the claw and remove the air mix damper control cable.
 Courtesy of © TOYOTA, LICENSE AGREEMENT TMS1002
- REMOVE NO. 1 AIR DUCT
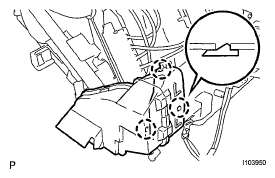
- Disengage the 3 claws and remove the air duct.
 Courtesy of © TOYOTA, LICENSE AGREEMENT TMS1002
- REMOVE NO. 2 AIR DUCT
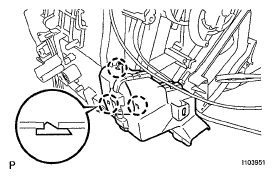
- Disengage the 3 claws and remove the air duct.
 Courtesy of © TOYOTA, LICENSE AGREEMENT TMS1002
- REMOVE PTC HEATER ASSEMBLY
- Disengage the clamp.
- Remove the 2 screws and PTC heater from the air conditioning unit.
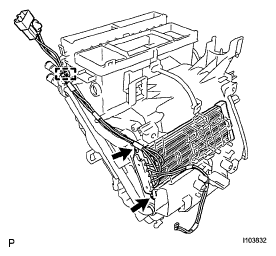 Courtesy of © TOYOTA, LICENSE AGREEMENT TMS1002
- REMOVE HEATER RADIATOR UNIT SUB-ASSEMBLY
- Disengage the 3 claws and remove the clamp.
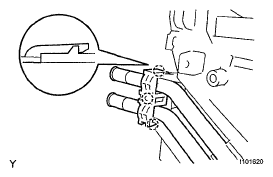 Courtesy of © TOYOTA, LICENSE AGREEMENT TMS1002
- Remove the heater radiator unit from the air conditioning unit.
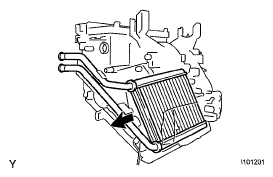 Courtesy of © TOYOTA, LICENSE AGREEMENT TMS1002
- REMOVE COOLER EXPANSION VALVE
- Using a 4 mm hexagon wrench, remove the 2 hexagon bolts and detach the cooler expansion valve.
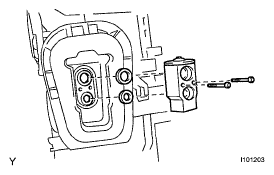 Courtesy of © TOYOTA, LICENSE AGREEMENT TMS1002
- Remove the 2 O-rings from the cooler evaporator.
- REMOVE NO. 1 COOLER EVAPORATOR SUB-ASSEMBLY
- Disengage the evaporator temperature sensor connector clamp.
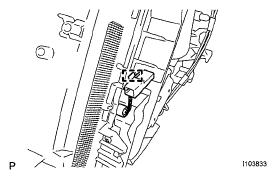 Courtesy of © TOYOTA, LICENSE AGREEMENT TMS1002
- Remove the 3 screws.
- Disengage the 4 claws and remove the heater case lower.
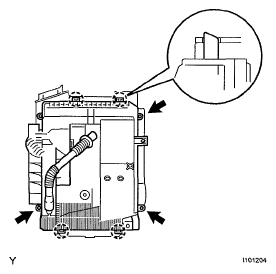 Courtesy of © TOYOTA, LICENSE AGREEMENT TMS1002
- Remove the cooler evaporator.
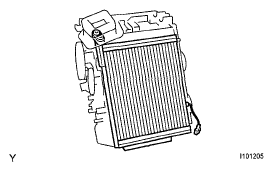 Courtesy of © TOYOTA, LICENSE AGREEMENT TMS1002
- REMOVE DRAIN COOLER HOSE
- Remove the drain cooler hose.
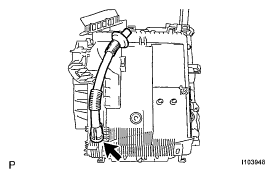 Courtesy of © TOYOTA, LICENSE AGREEMENT TMS1002
- REMOVE FRONT EVAPORATOR TEMPERATURE SENSOR
(See REMOVAL
)