Removal Procedure
- Remove the upper trim panels. Refer to Sit-N-Lift Upper Trim Replacement .
 Courtesy of GENERAL MOTORS CORP.
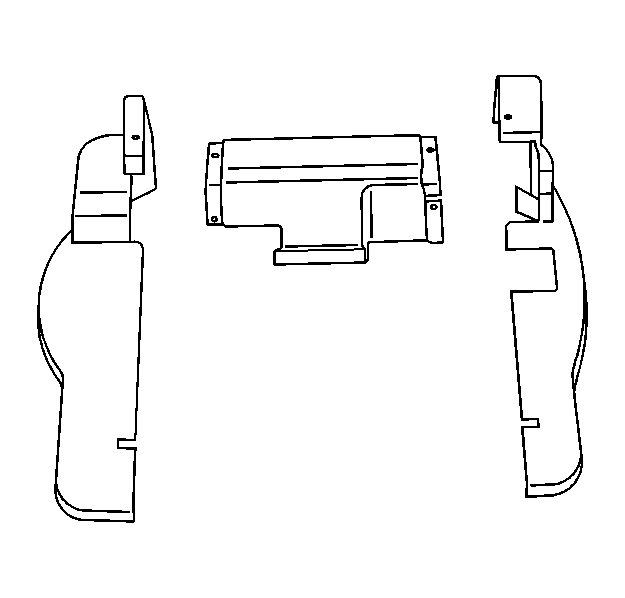
- Remove the left side seat base trim cover and retainers.
 Courtesy of GENERAL MOTORS CORP.
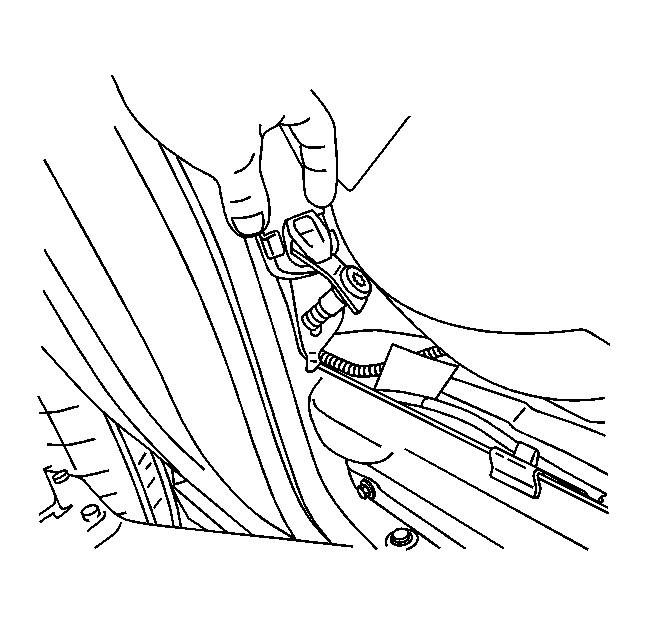
- Remove the lower anchor bolt from the seat belt.
 Courtesy of GENERAL MOTORS CORP.
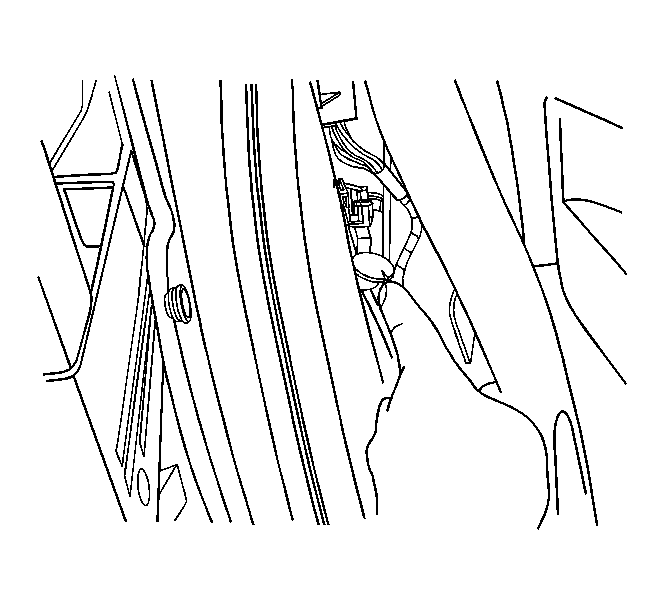
- Pull back on the quarter trim panel to access the electrical connection for the power seat.
- Disconnect the electrical connector.
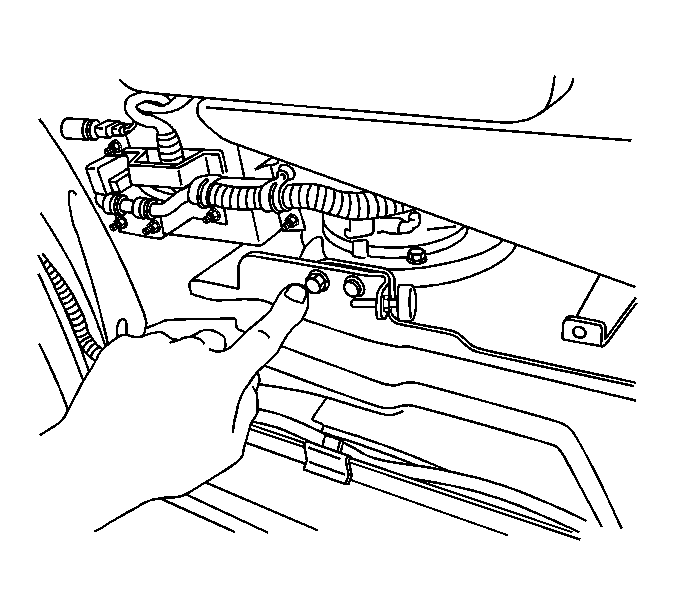
- Disconnect the remote electrical connector at the seat base.
 Courtesy of GENERAL MOTORS CORP.
- Remove the lock bolts that secure the seat base rear hooks to the floor.
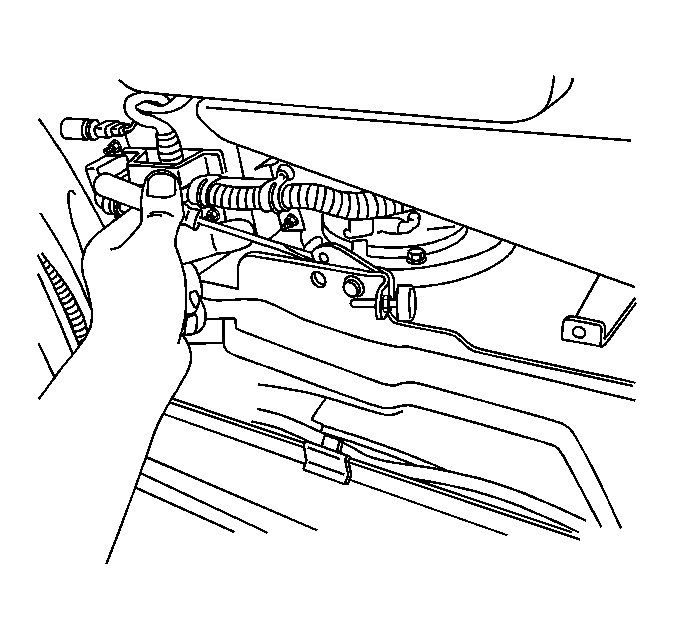 Courtesy of GENERAL MOTORS CORP.
- Use a flat-bladed tool to disengage the locking hooks from the floor anchor.
- Tilt the seat base forward about 45 degrees to disengage the front hooks.
- Remove the seat from the vehicle.