Removing TIPTRONIC Transmission
- Disconnect battery. Refer to WORK INSTRUCTIONS AFTER DISCONNECTING THE BATTERY
.
- Remove starter. Refer to REMOVING AND INSTALLING STARTER - BOXSTER S
.
- Remove rear wall cover in the passenger compartment.
- Turn crankshaft to the extent that one of the U4, U5 or U6 bores in the belt pulley is aligned with the centering bore in the crankcase.
- Insert special tool fixing pins 9595/1 (short) into the crankcase bore through the belt pulley.
 Courtesy of PORSCHE OF NORTH AMERICA, INC.
NOTE:
- This fixes a defined position for the crankshaft.
- If the special tool cannot be inserted, it must be checked whether the belt pulley is in the correct position in relation to the crankcase.
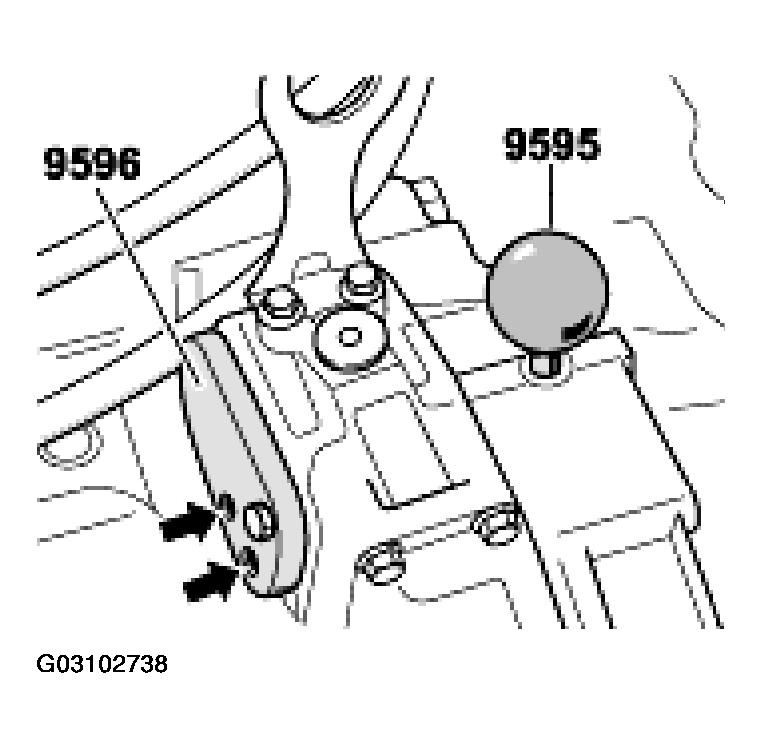
- Insert special tool assembly aid 9596 into starter opening.
- Turn converter fastening screws outwards through the openings in the special tool assembly aid 9596 -arrow-
with 6-mm hexagon socket. See Fig 2
.
 Courtesy of PORSCHE OF NORTH AMERICA, INC.
NOTE:
- Steps 6
and 7
are to be repeated another 2 times. Before each repetition, the fixing pin (short) is to be removed out of the belt pulley, the crankshaft is to be turned by a further 120°C and the fixing pin is to be reinserted. All 6 converter fastening screws are to be removed in this way.
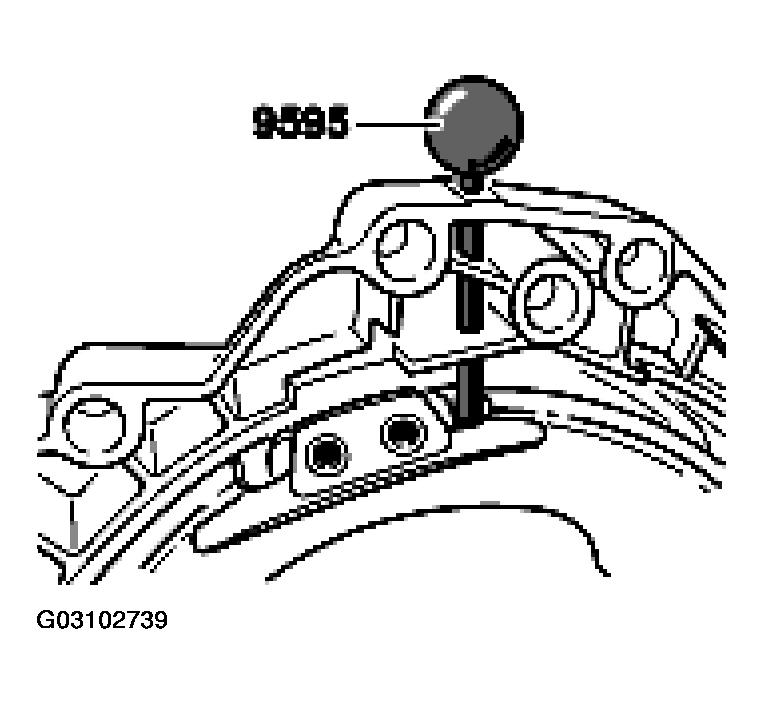
- Push special tool fixing pins 9595/1 (long) through the opening in the transmission housing in order to secure the torque converter from falling out.
 Courtesy of PORSCHE OF NORTH AMERICA, INC.
- Pull vacuum pipe -B-
off the switch-over valve.
 Courtesy of PORSCHE OF NORTH AMERICA, INC.
- Unscrew vent line off the engine transport eyebolt.
- Secure engine to transport eyebolt with special tool support device 9591/1.
 Courtesy of PORSCHE OF NORTH AMERICA, INC.
NOTE:
- The engine is kept in the installation position with the support device 9591/1.
- Remove the diagonal braces. Refer to REMOVING AND INSTALLING DIAGONAL BRACE
.
- Remove sheetmetal brace. Refer to REMOVING AND INSTALLING SHEETMETAL BRACE
.
- Remove stabilizer. Refer to REMOVING AND INSTALLING REAR STABILIZER
.
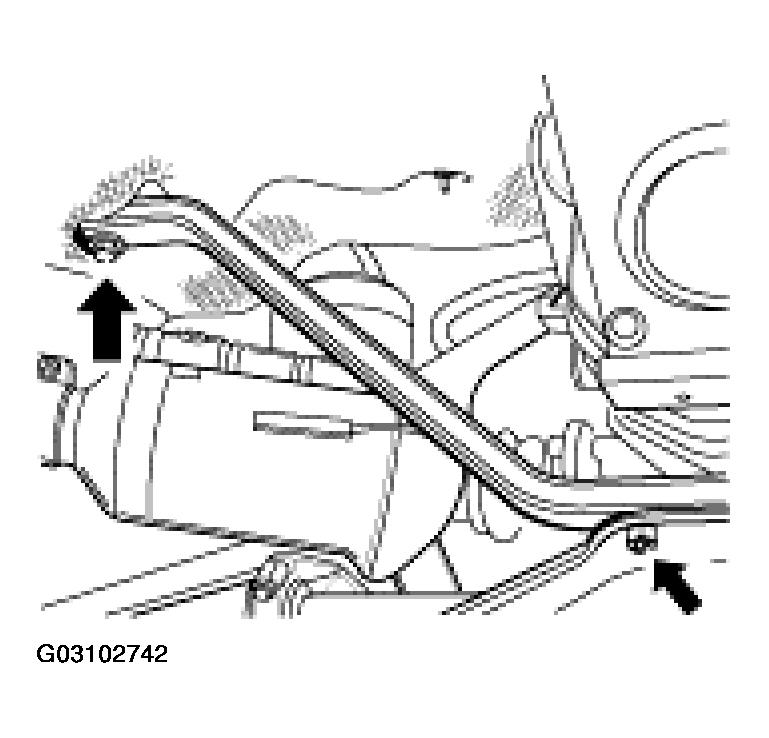
- Release rear cross member (V strut).
 Courtesy of PORSCHE OF NORTH AMERICA, INC.
- Remove rear muffler. Refer to REMOVING AND INSTALLING REAR MUFFLER -AUTOMATIC
.
- Remove rear cross member (V strut).
- Remove catalytic converters. Refer to REMOVING AND INSTALLING CATALYTIC CONVERTER
.
- Remove rear-axle cross member. Refer to REMOVING AND INSTALLING THE REAR-AXLE CROSS MEMBER
.
NOTE:
- In order to protect the drive shafts, it is possible, for instance, to use a length of hose which has a diameter of 30 mm.
- Remove drive shafts on the transmission and protect shafts from damage.
- Disconnect coolant supply hose with special tool hose clamp 3094.
 Courtesy of PORSCHE OF NORTH AMERICA, INC.
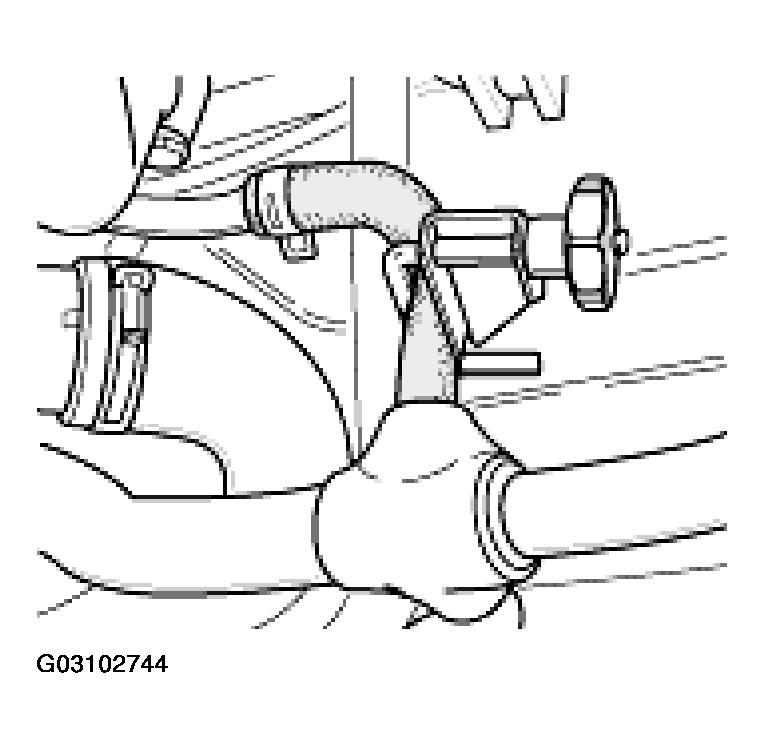
- Disconnect coolant return hose with special tool hose clamp 3094.
 Courtesy of PORSCHE OF NORTH AMERICA, INC.
- Slacken spring-band clamps.
NOTE:
- Collect emerging coolant in a suitable pan.
- Pull off coolant supply and return hoses.
- Disconnect plug connection for multifunction switch.
- Disconnect plug of transmission socket. To do this, turn plug anticlockwise and pull off.
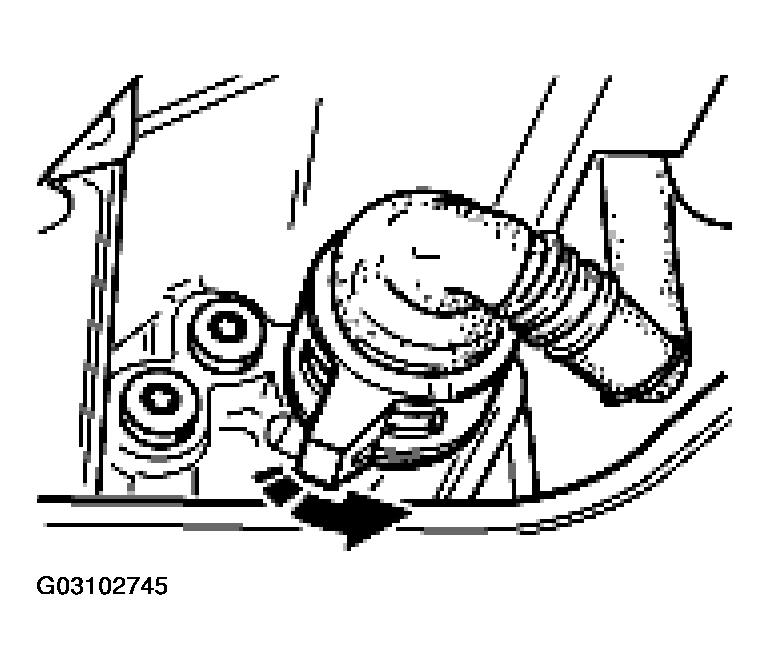 Courtesy of PORSCHE OF NORTH AMERICA, INC.
- Detach selector lever cable at deflection lever and at the transmission support. -Arrows-
see Fig 10
.
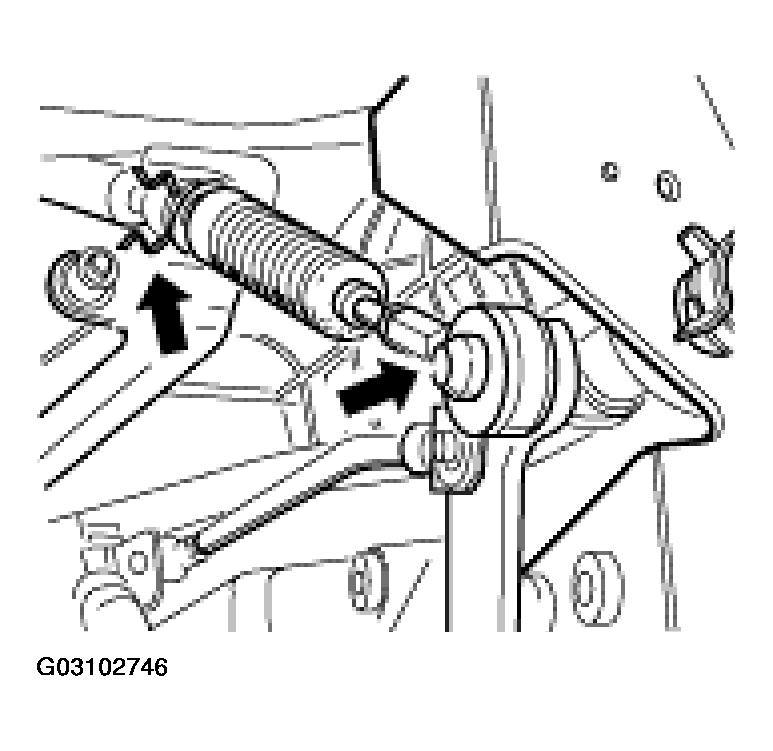 Courtesy of PORSCHE OF NORTH AMERICA, INC.
- Place transmission jack under the transmission and fasten fixing strap.
NOTE:
- The transmission support can be damaged by releasing the fastening nut -C-. Do not undo fastening nut -C- !
- Release transmission support with left and right hydraulic mounts. To do this, turn both fastening screws outwards-arrow-
. See Fig 11
.
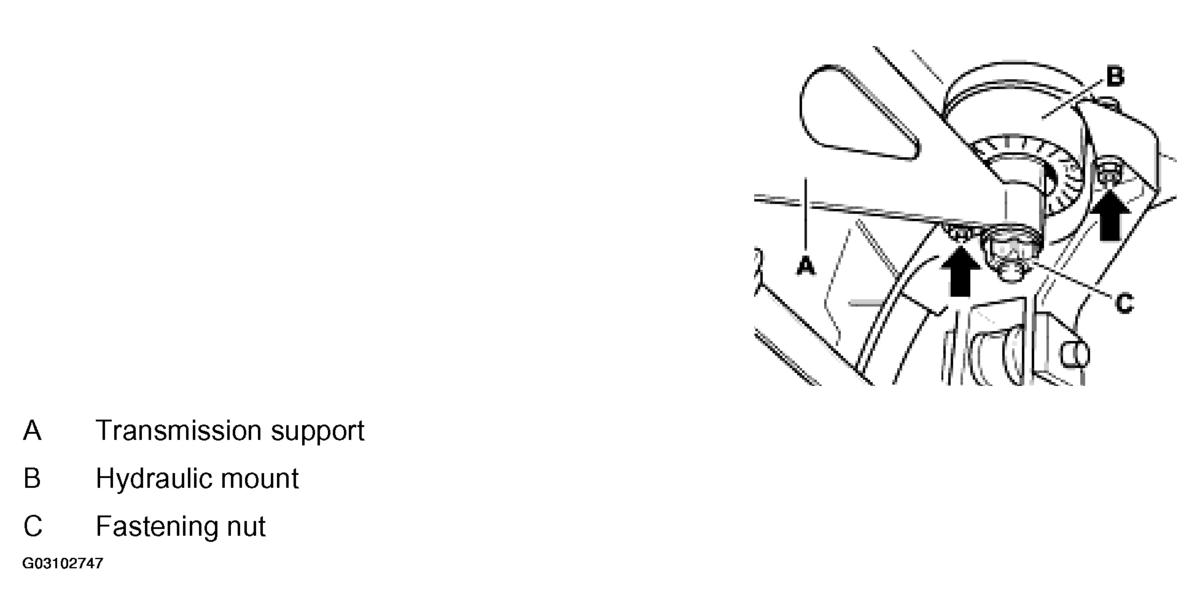 Courtesy of PORSCHE OF NORTH AMERICA, INC.
- Turn connecting screws between transmission support and transmission outwards and remove transmission support.
- Unscrew the fastening screws between the transmission and engine.
 Courtesy of PORSCHE OF NORTH AMERICA, INC.
NOTE:
- When pulling the transmission out, ensure that the transmission support has already been released.
- Pull transmission to the rear and lower it carefully.