2nd & 4th Clutch Functional Check
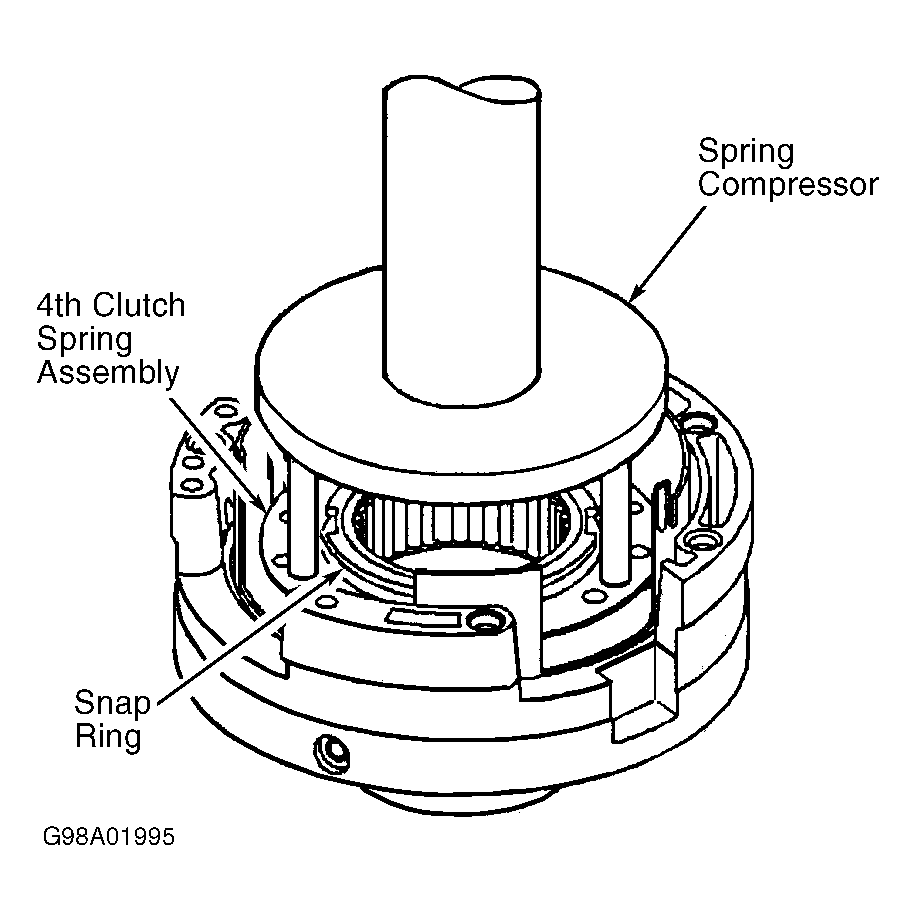
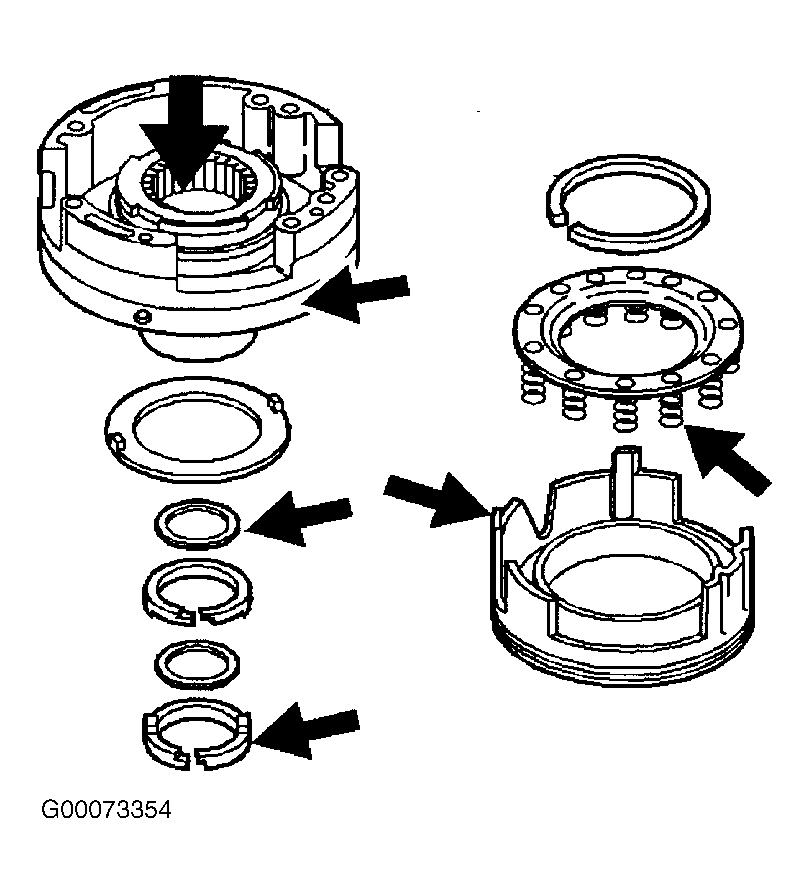
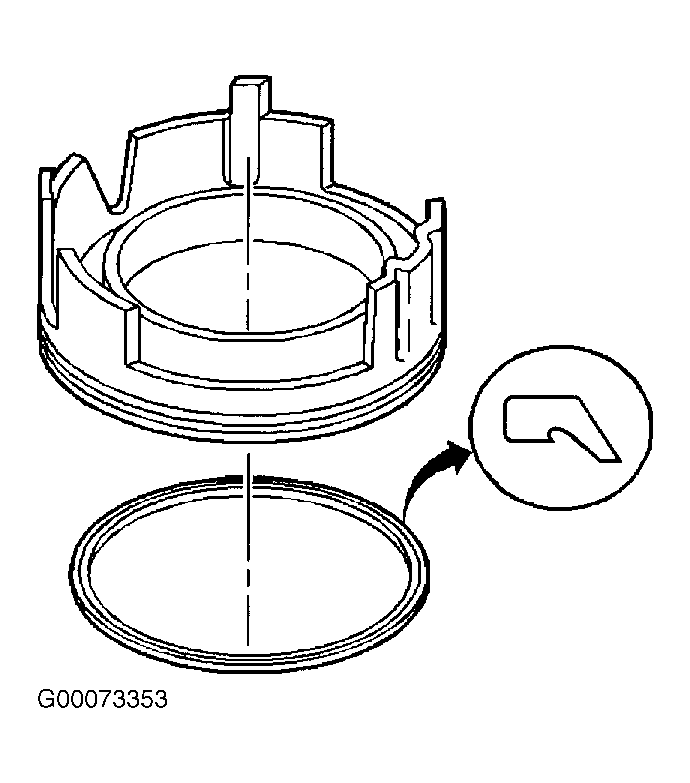
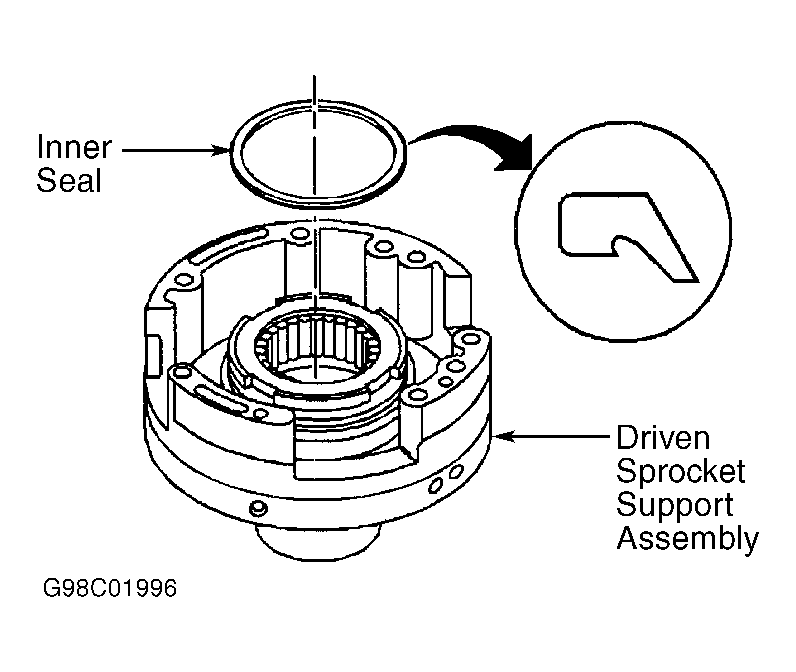
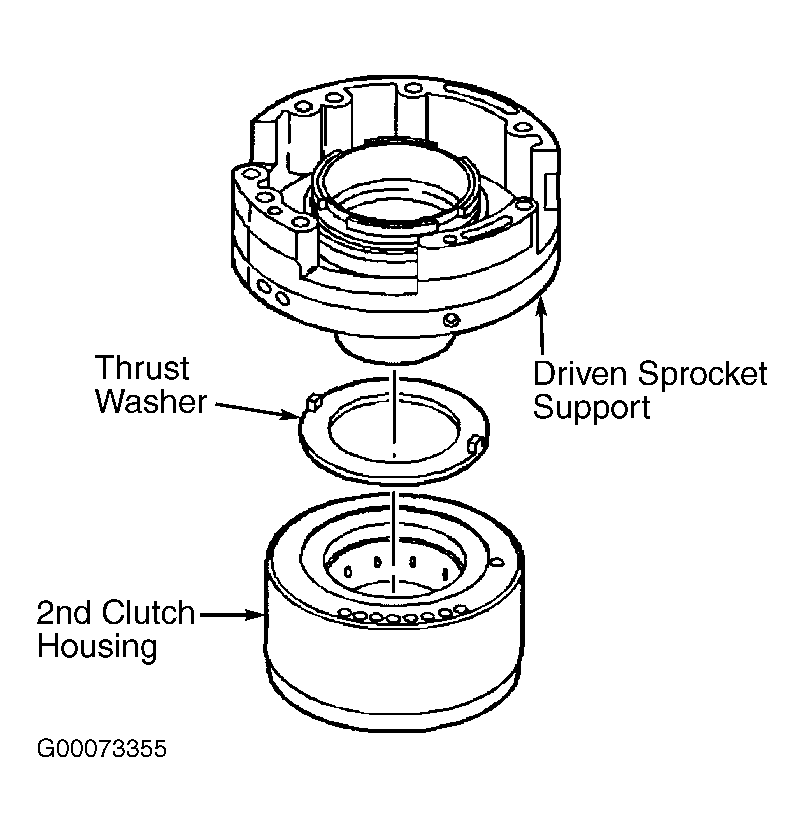
- For this test, attach driven sprocket support assembly and 2nd clutch housing thrust washer onto 2nd clutch housing assembly. See Fig 5.
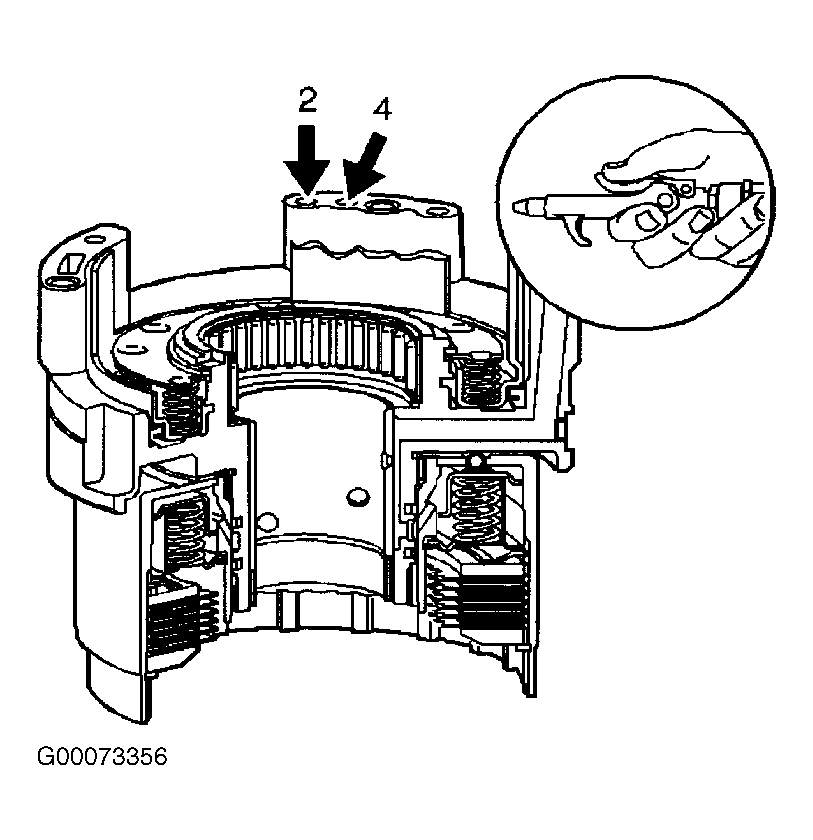
- Apply 20 psi (138 kPa) of compressed air to feed holes marked 2 and 4, and listen for 2nd and 4th clutch application. See Fig 6. Hold pressure for 5 seconds. If clutches do not apply and hold, disassemble driven sprocket support components.
- Inspect all seals and clutches for proper assembly. Reassemble and repeat functional check. When clutches apply and hold correctly, remove driven sprocket support assembly and 2nd clutch housing thrust washer from 2nd clutch housing assembly. See Fig 5.
 Courtesy of GENERAL MOTORS CORP.
 Courtesy of GENERAL MOTORS CORP.
 Courtesy of GENERAL MOTORS CORP.
 Courtesy of GENERAL MOTORS CORP.
 Courtesy of GENERAL MOTORS CORP.
 Courtesy of GENERAL MOTORS CORP.