- Remove adapter case. Refer to
"DISASSEMBLY ".
- Remove ring gear shaft assembly. Refer to
"DISASSEMBLY ".
- Remove lock nut from the drive pinion.
- Put matching marks (A) on screw ends of companion flange (1) and drive pinion.
CAUTION:
Use paint to avoid scratching the surface.
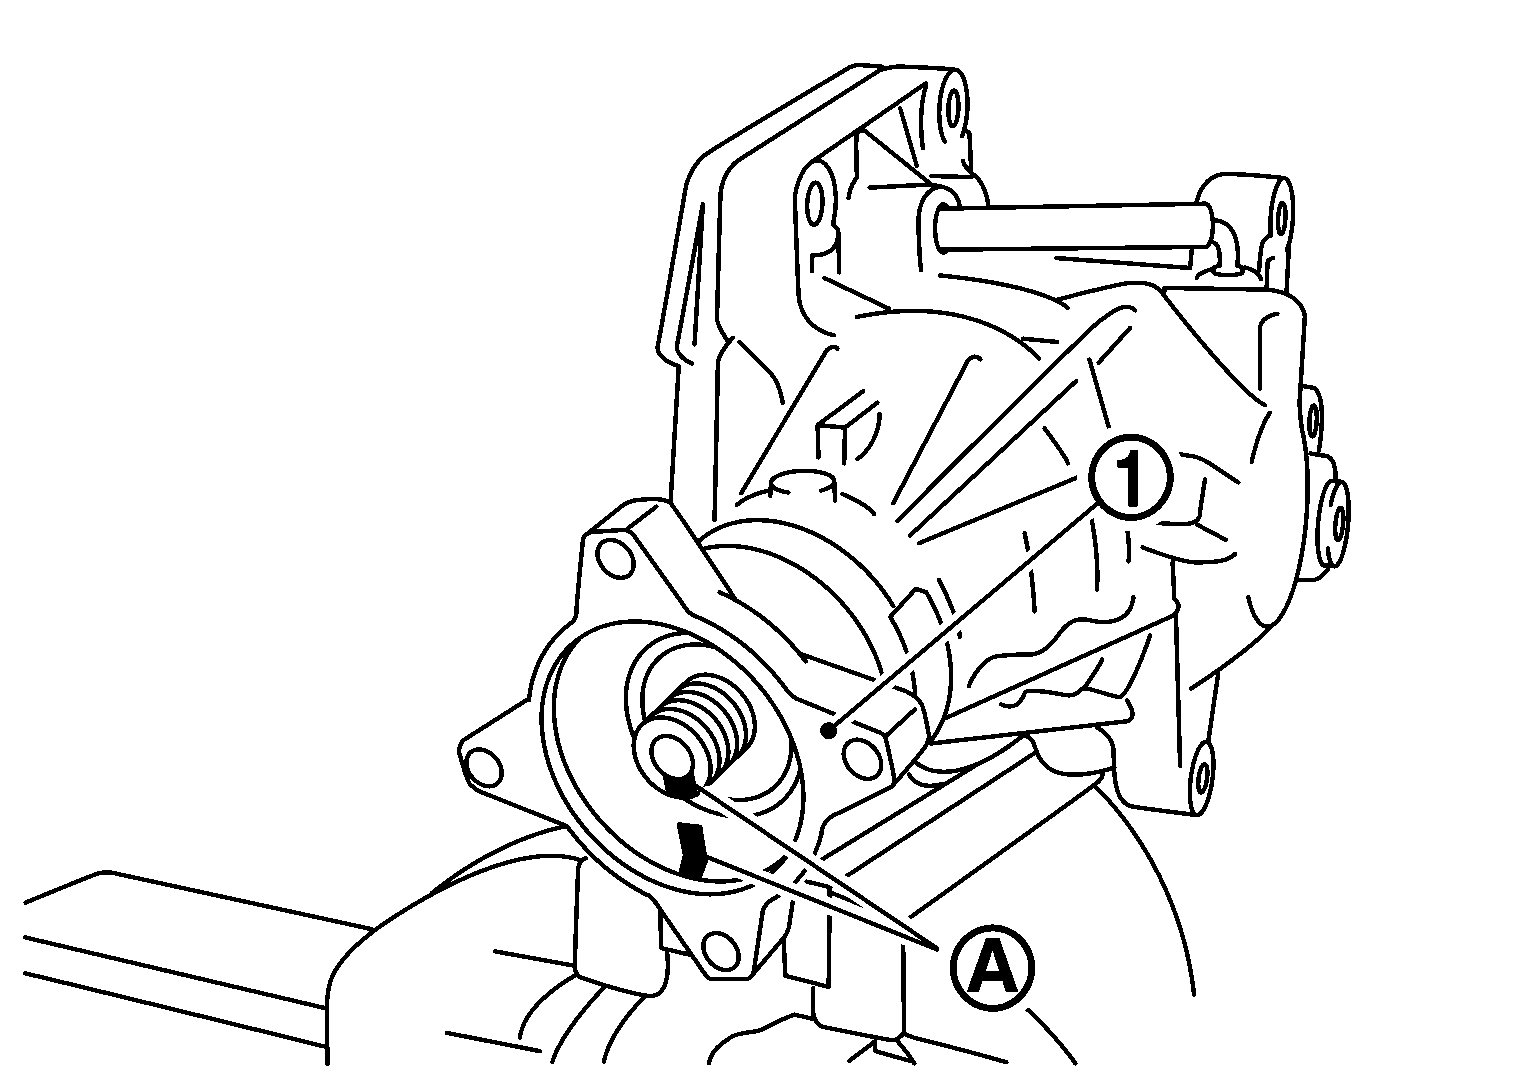 Courtesy of NISSAN NORTH AMERICA, INC.
- Remove companion flange from drive pinion with a puller.
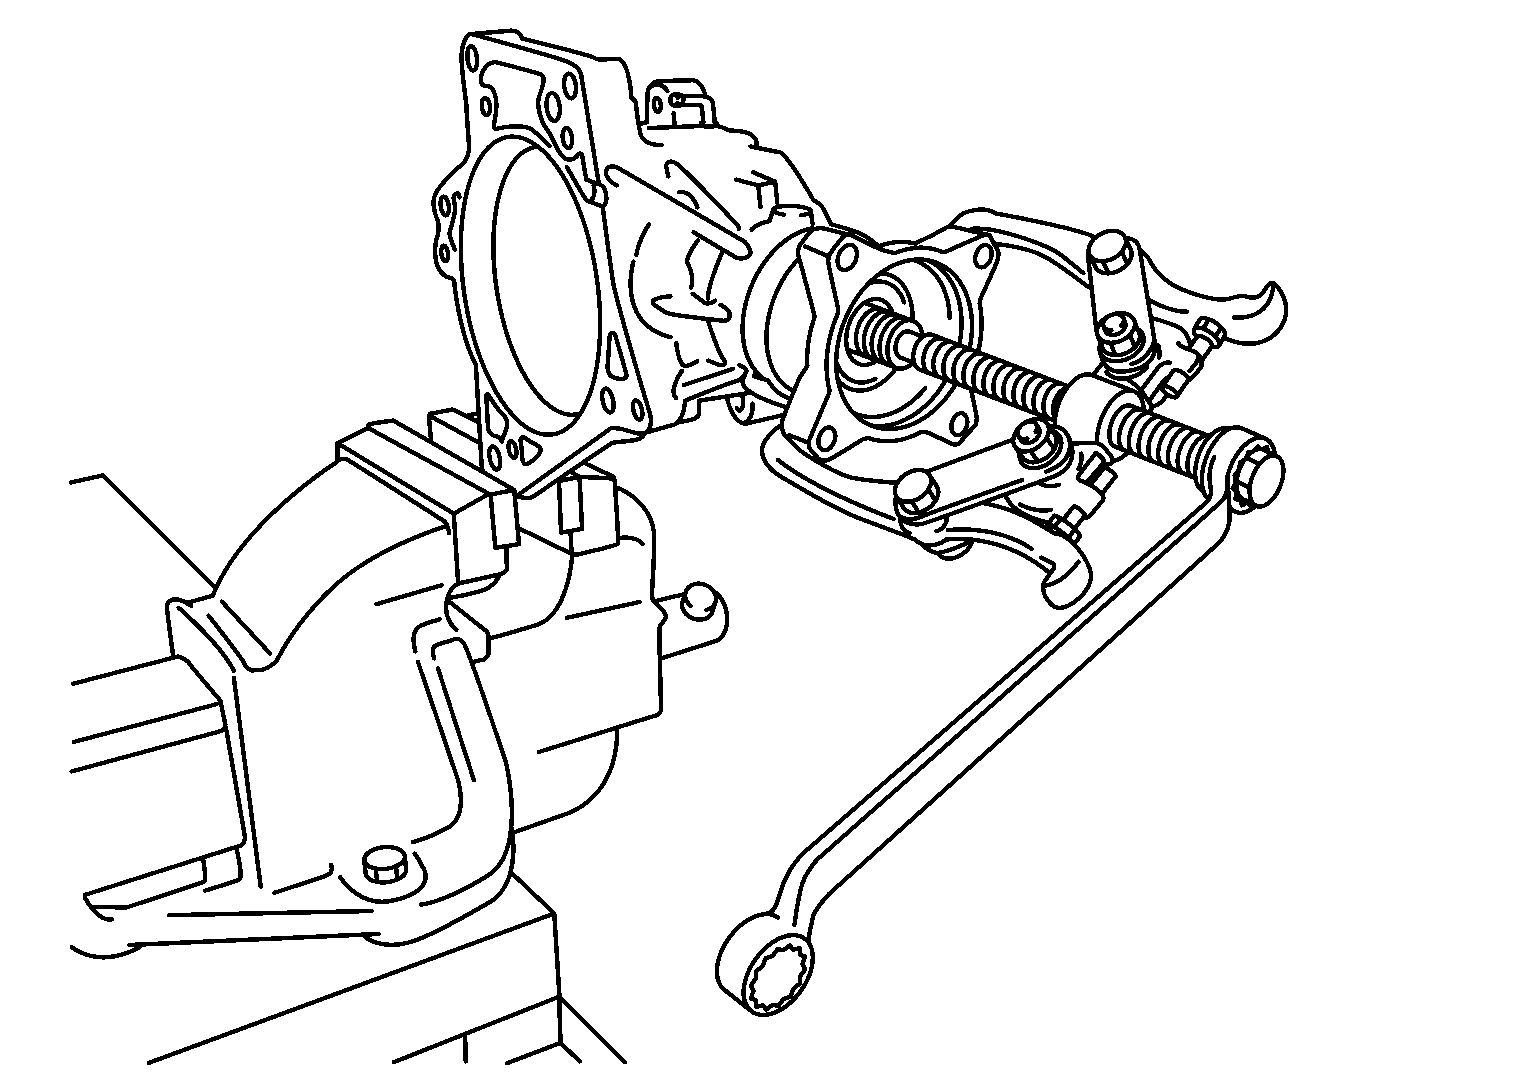 Courtesy of NISSAN NORTH AMERICA, INC.
- Remove drive pinion oil seal from the transfer case with a puller (A) [SST: KV381054S0 (-)].
CAUTION:
Never damage transfer case.
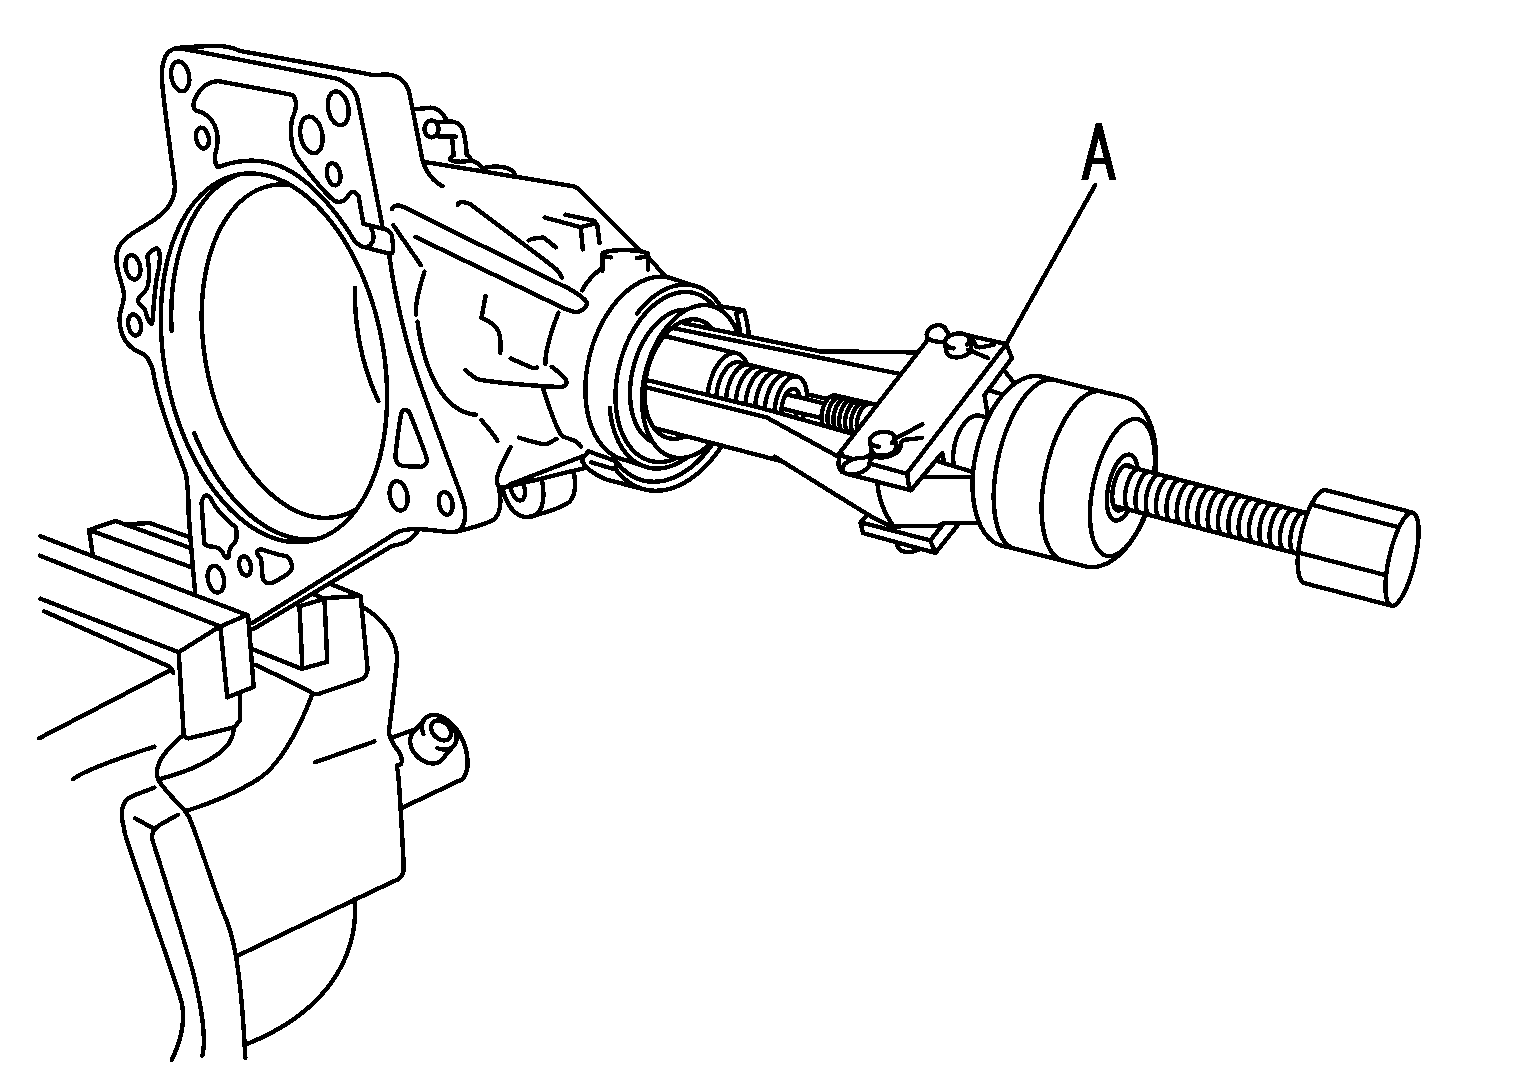 Courtesy of NISSAN NORTH AMERICA, INC.
- Remove drive pinion assembly from transfer case while tapping the drive pinion lightly with a plastic hammer.
CAUTION:
Never drop the drive pinion assembly.
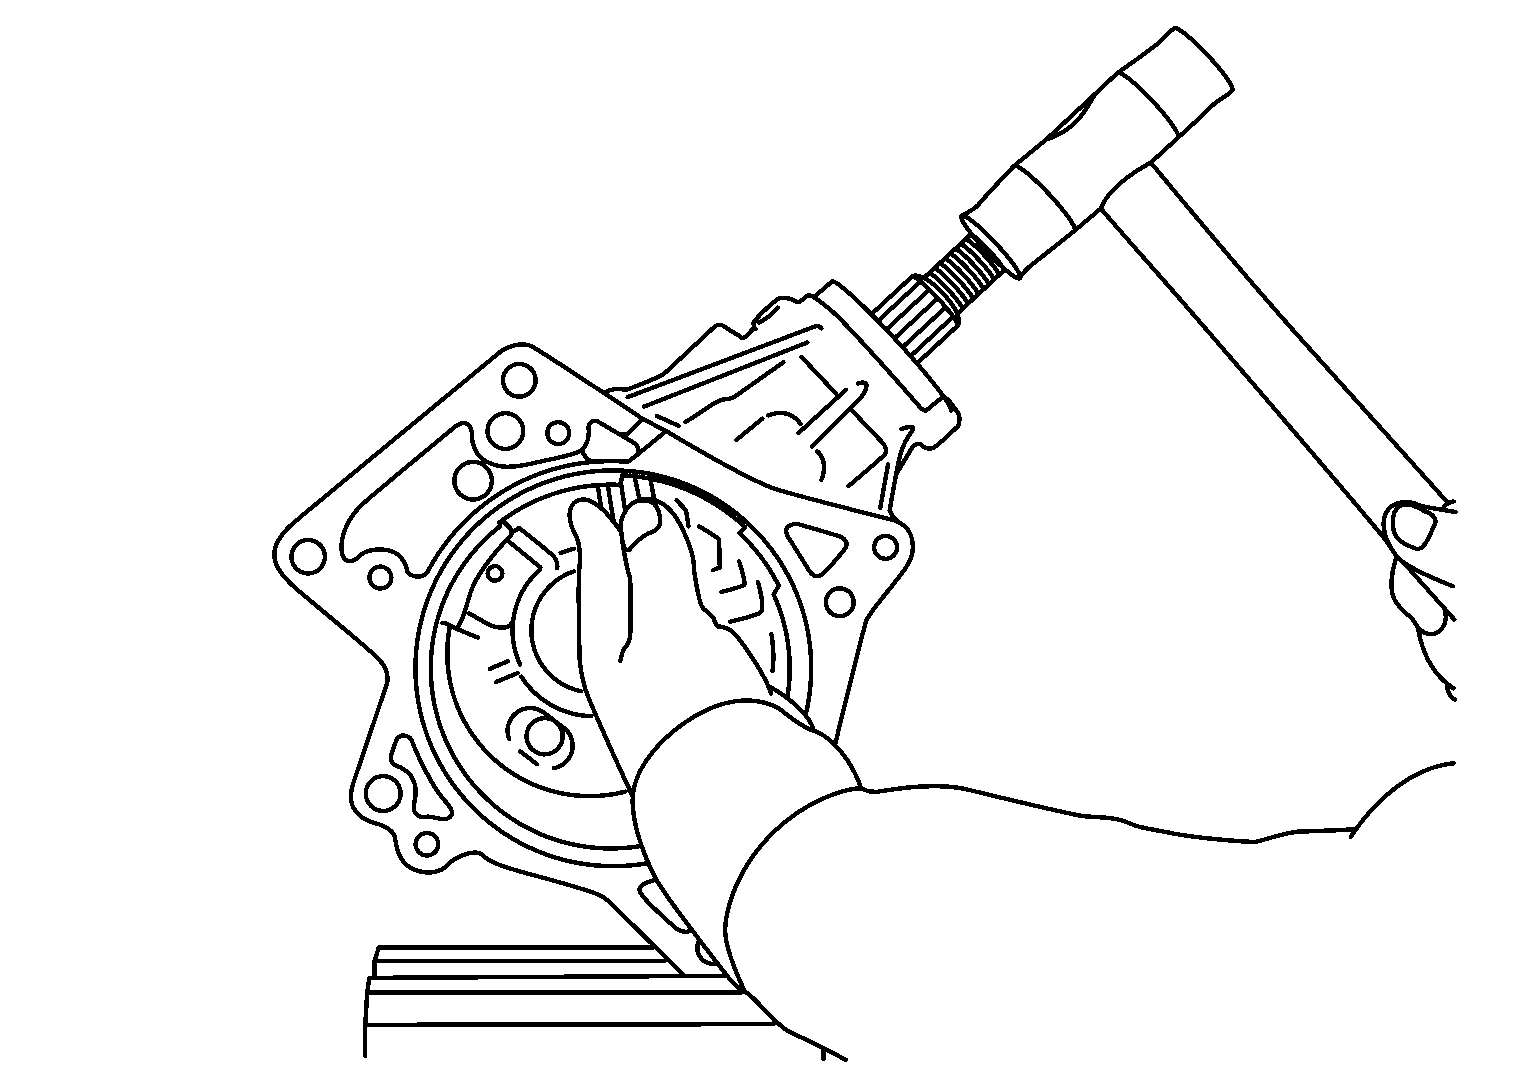 Courtesy of NISSAN NORTH AMERICA, INC.
- Remove collapsible spacer from the drive pinion.
- Remove inner race of drive pinion bearing (rear side) from transfer case.
- Remove inner race of drive pinion bearing (front side) from drive pinion with a drift (A) and replacer (B).
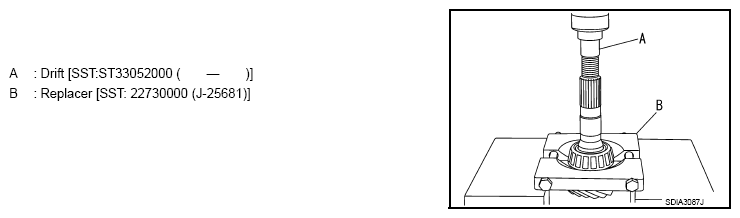 Courtesy of NISSAN NORTH AMERICA, INC.
- Remove drive pinion adjusting shim from the drive pinion.