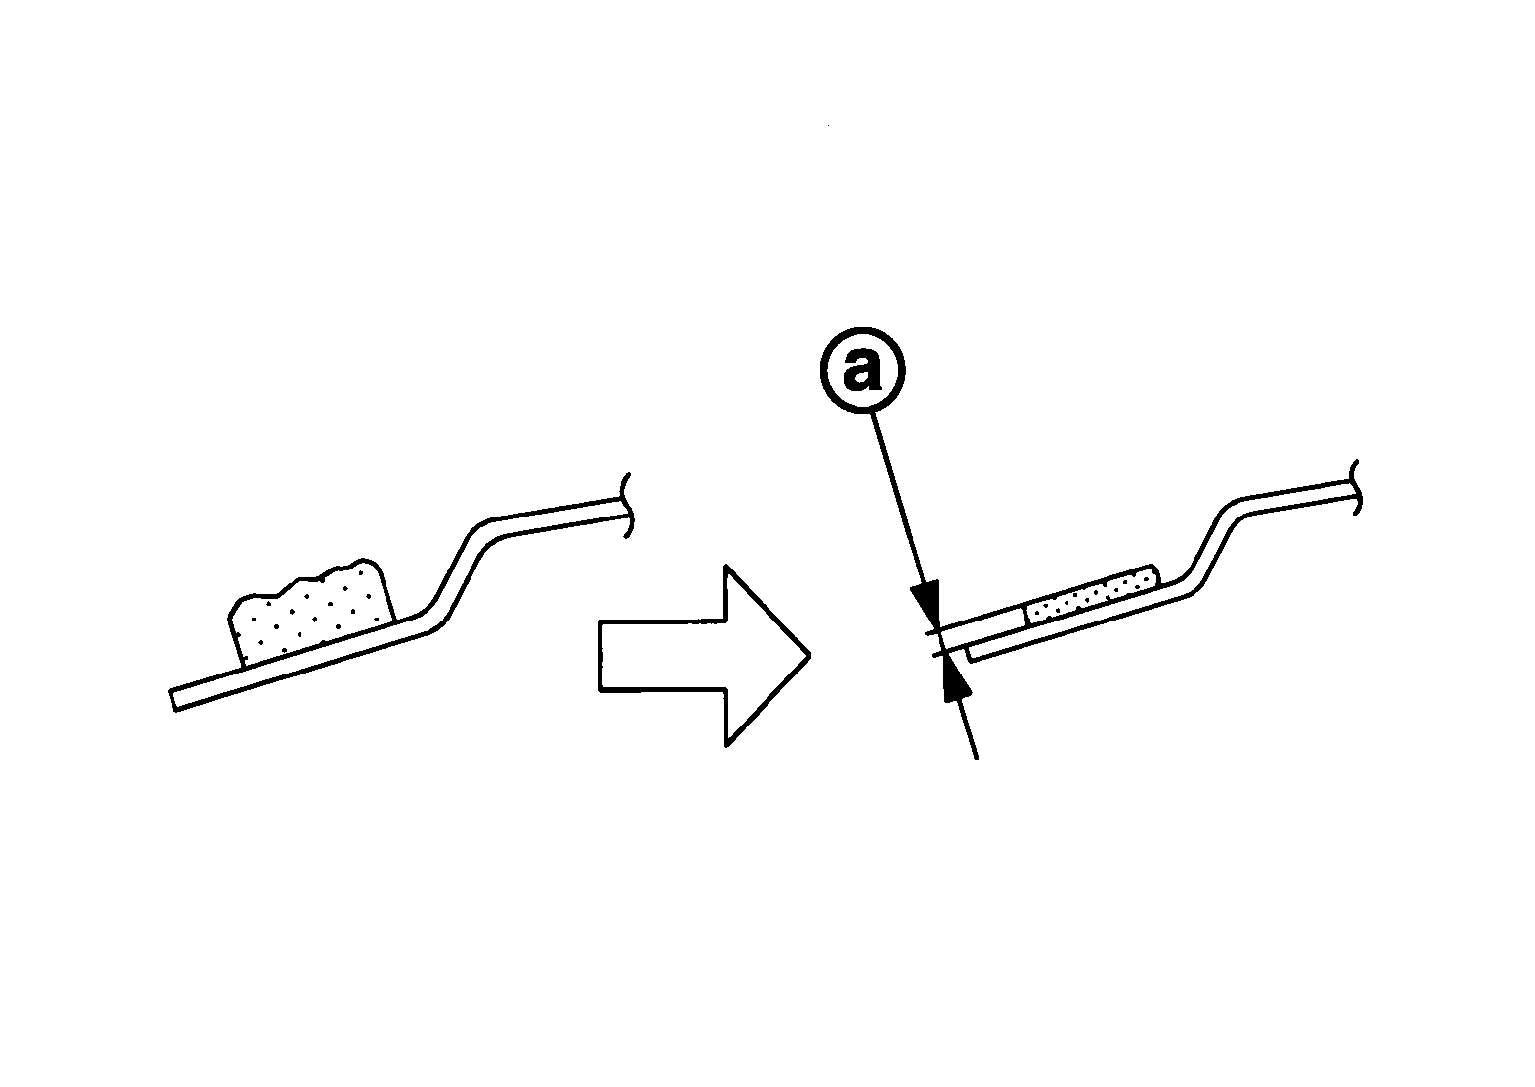
- Using a scraper, remove remaining adhesive on the body side down to approximately a depth that is 2 mm thick (a) so that entire contour becomes smooth.
CAUTION:
If the bonded area on the body is scratched, repair it with a two-liquid type urethane paint. Never use lacquer type paint.
 Courtesy of NISSAN MOTOR CO., U.S.A.
- Clean bonded and surrounding area on glass with white gasoline or degreasing agent.
- Apply primer for the glass along the entire circumference of the glass. Refer to
"EXPLODED VIEW ".
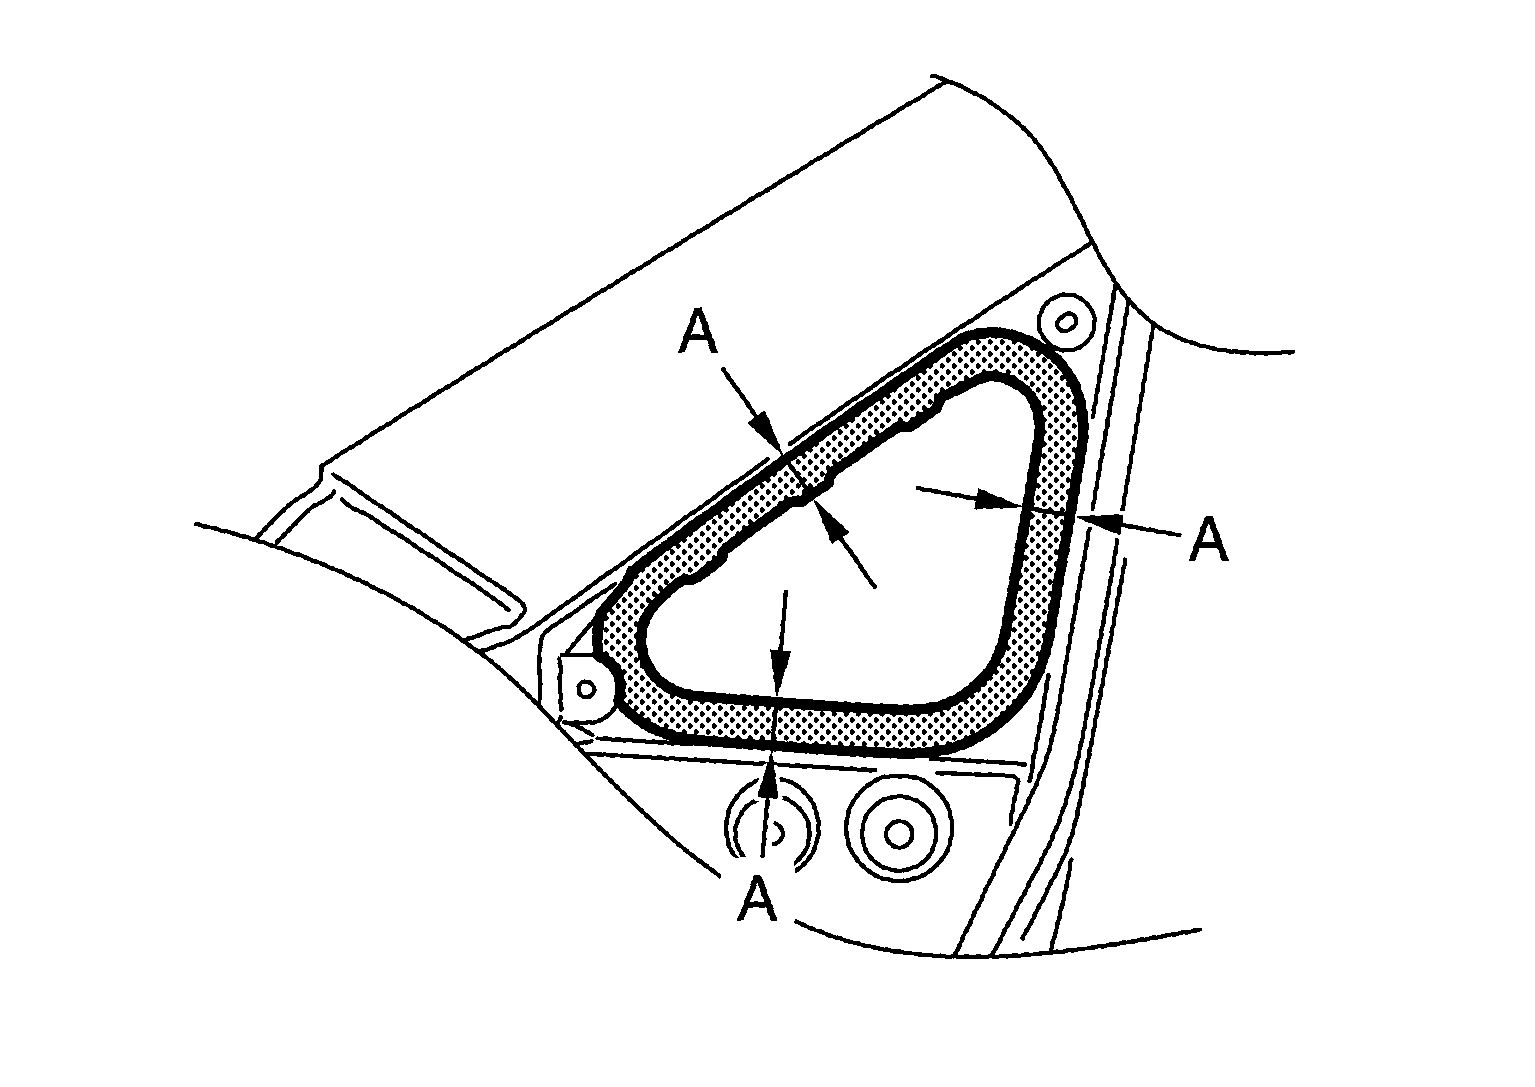
- Apply primer for the painted surface to the body side bonding surface as shown in the figure (A=20mm (0.787in)).
CAUTION:
- If the body side bonding surface is repaired with a two-liquid type urethane paint, always apply the primer after drying the paint.
- If primer for painted surfaces adheres to a painted surface other than the bonding area, or if it overflows, quickly remove it with white gasoline or degreasing agent.
 Courtesy of NISSAN MOTOR CO., U.S.A.
- Apply adhesive along glass edge within the time period indicated in the service information after applying primer with the procedure shown in the exploded view. Refer to
"EXPLODED VIEW ".
NOTE:
Open adhesive by cutting off the nozzle tip and set it in a sealant gun.
- After setting rubber suction cups or suction lifter to glass, align matching marks on body and glass. Install glass to the body.
- Press the entire surface of the glass lightly to fit it completely.
- Correct any adhesive overflow or shortage using a spatula to make the surface smooth.
CAUTION:
After installing glass, keep the front door glass open until the adhesive has completely cured. Avoid driving the vehicle.
- Remove the protective tape.
- Install the removed parts.