Control Valve Assembly: Disassembly
- Remove solenoids.
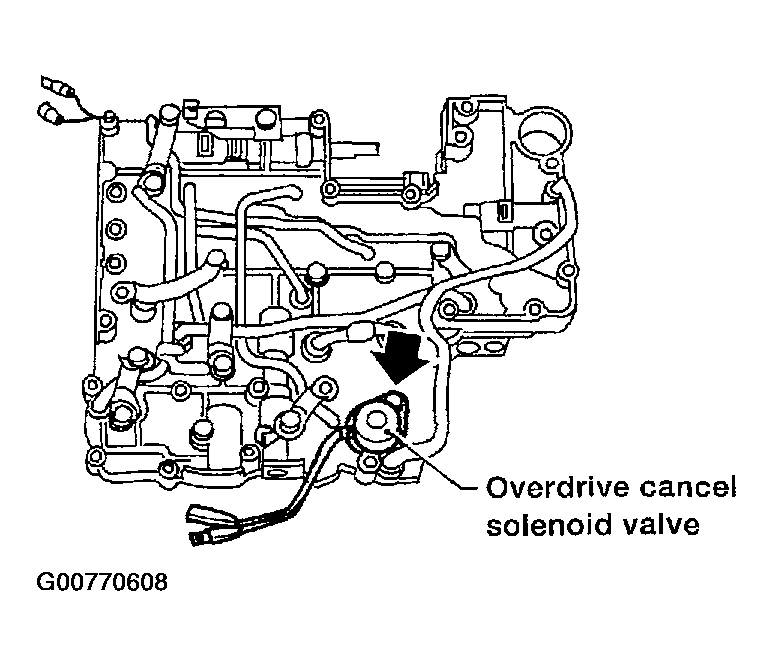
- Remove overdrive cancel solenoid valve and side plate from lower body.
- Remove O-ring from solenoid.
 Courtesy of NISSAN MOTOR CO., U.S.A.
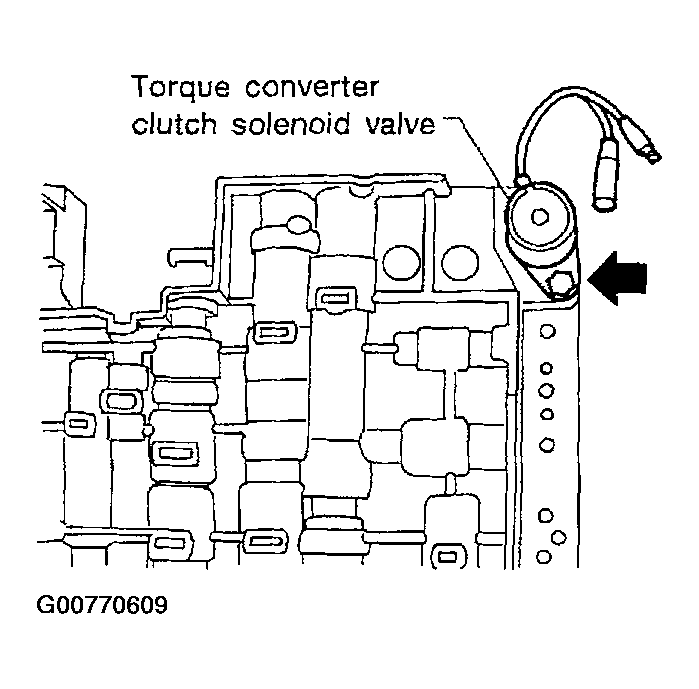
- Remove torque converter clutch solenoid valve from upper body.
- Remove O-ring from solenoid valve.
 Courtesy of NISSAN MOTOR CO., U.S.A.
- Disassemble upper and lower bodies.
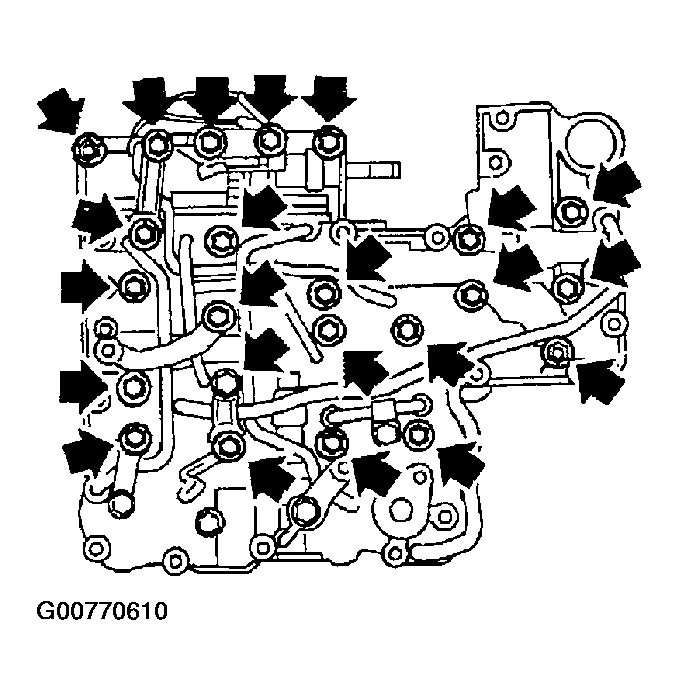
- Place upper body facedown, and remove bolts, reamer bolts, side plate and support plates.
- Remove lower body and separator plate as a unit from upper body.
- Be careful not to drop orifice check valve, spring and steel balls.
 Courtesy of NISSAN MOTOR CO., U.S.A.
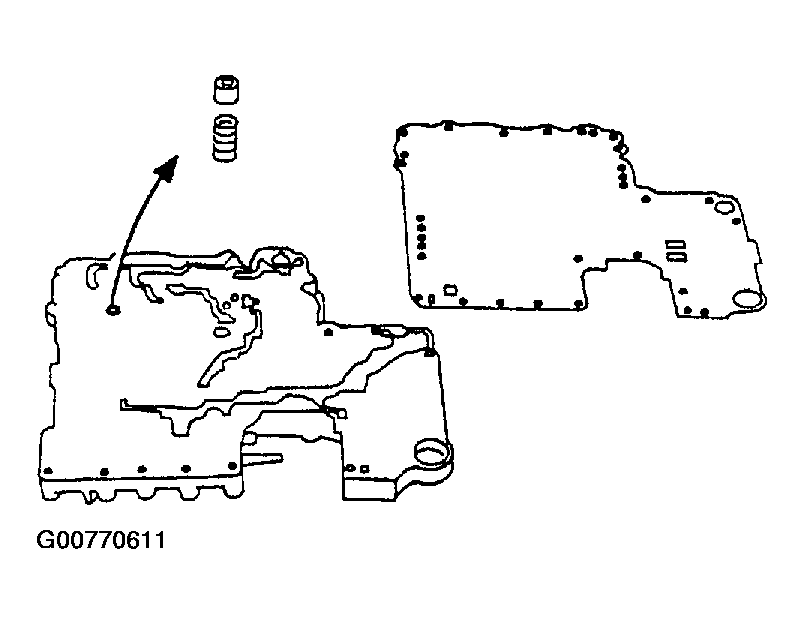
- Place lower body facedown, and remove separator plate.
- Remove orifice check valve and orifice check spring.
 Courtesy of NISSAN MOTOR CO., U.S.A.
- Check to see that steel balls are properly positioned in upper body and side plate, then remove them from upper body.
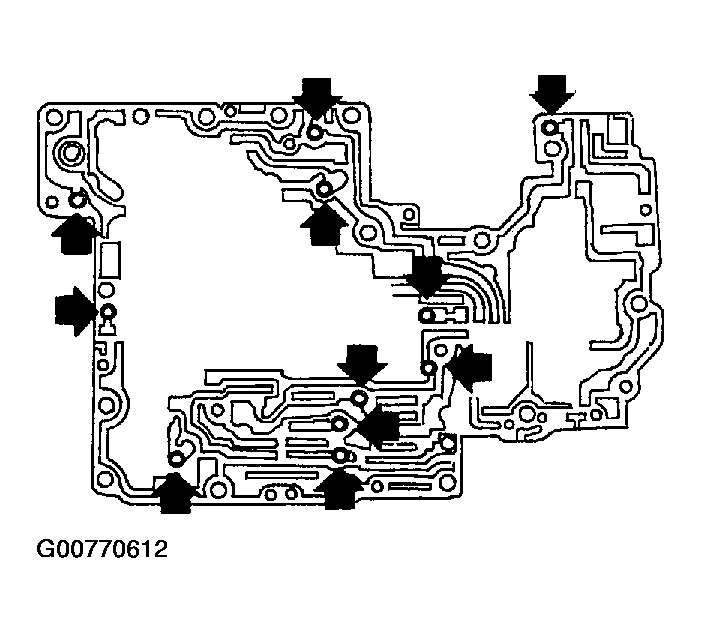 Courtesy of NISSAN MOTOR CO., U.S.A.