- Ensure that the bearing is seated correctly.
CAUTION:
Do not use an impact wrench to tighten the bolt of special tool MB991237, otherwise the special tool will break.
- Install special tools MB991237 and MB991238 to the strut assembly same as its removal.
- While the coil spring is being compressed by the special tools, temporarily tighten the jam nut.
- Align the hole in the strut assembly lower spring seat with the hole in the upper spring seat.
NOTE:
Using a rod as shown facilitates the alignment.
- Align both ends of the coil spring with the grooves in the spring seat, and then loosen the special tools.
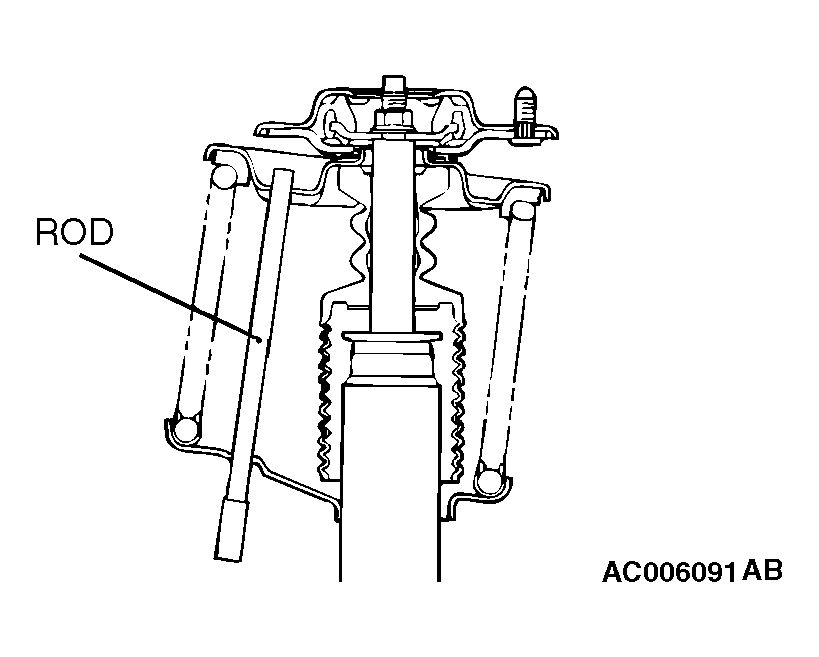 Courtesy of MITSUBISHI MOTOR SALES OF AMERICA.
CAUTION:
Do not use an impact wrench to tighten the jam nut, otherwise the jam nut will not be tightened securely.
- Using special tools MB991681 and MB991682, tighten the jam nut to 60 +/- 10 N.m (45 +/- 7 ft-lb).