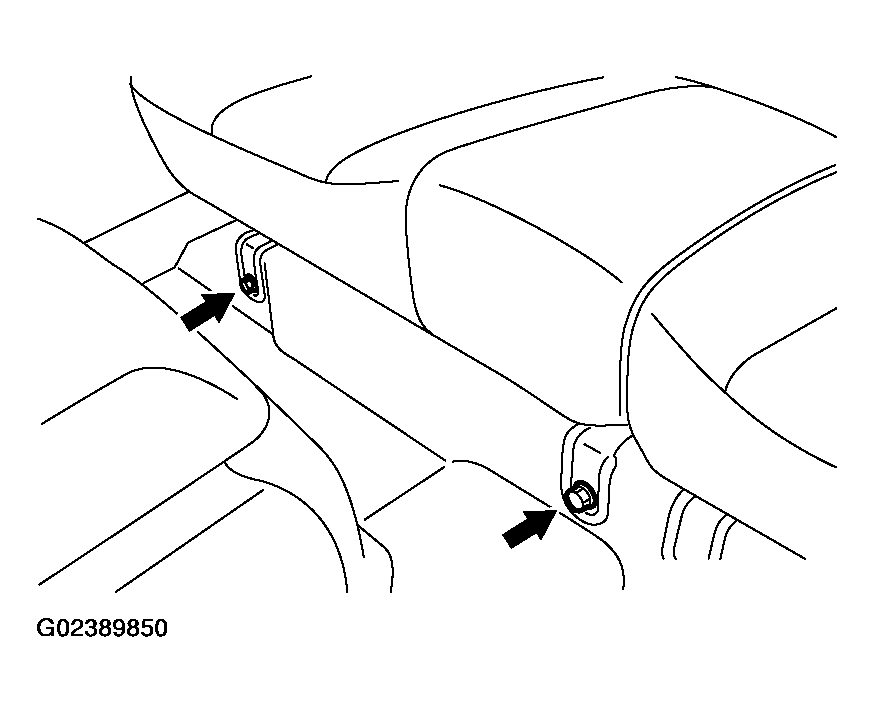
- Remove the right rear seat cushion mounting bolts, and lift the right rear seat cushion and tie it to the head restraint.
 Courtesy of MITSUBISHI MOTOR SALES OF AMERICA.
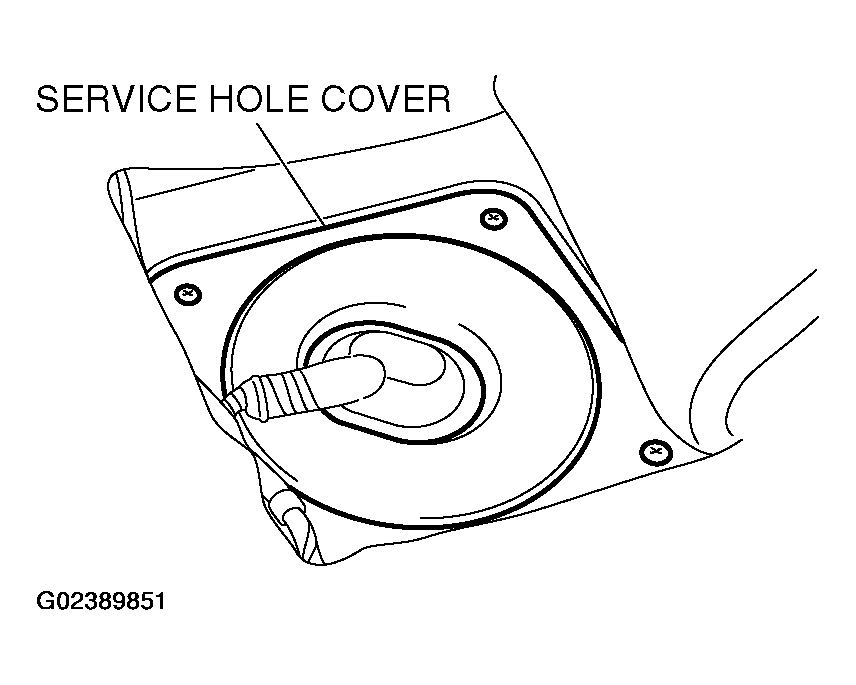
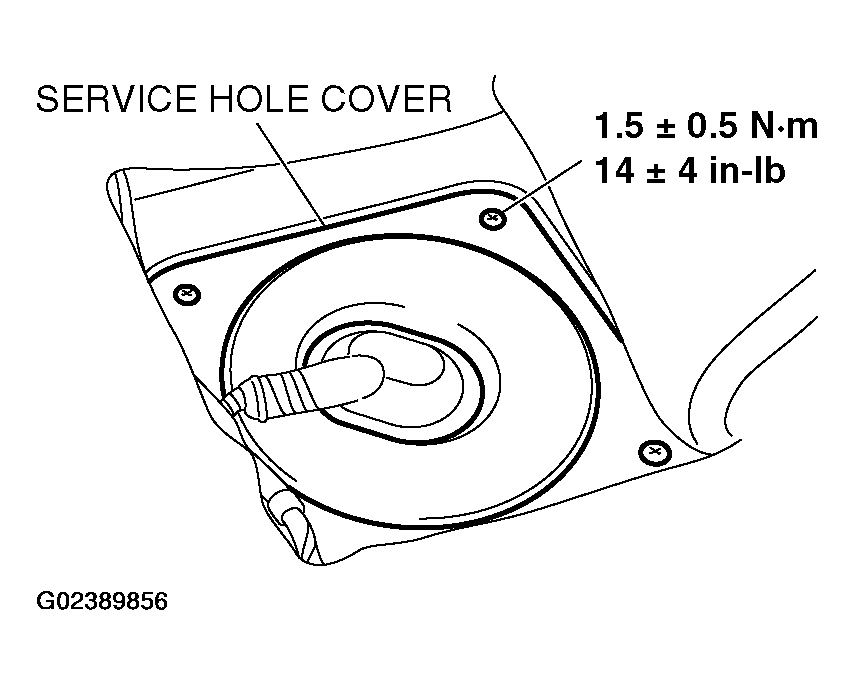
- Cut the floor mat and then remove the service hole cover to gain access to the service hole.
NOTE:
Push the floor mat to find the notches and cut the floor mat along them.
 Courtesy of MITSUBISHI MOTOR SALES OF AMERICA.
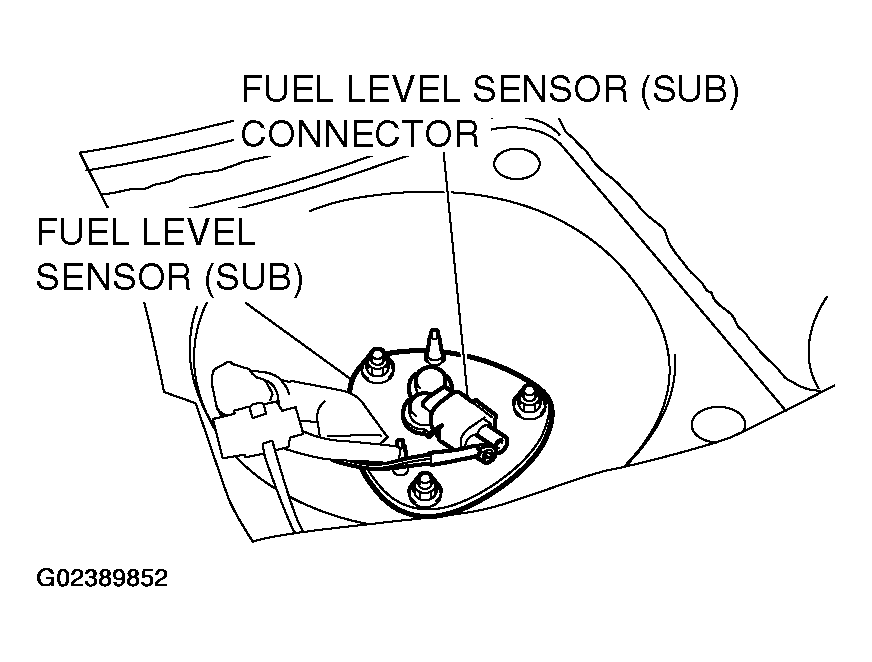
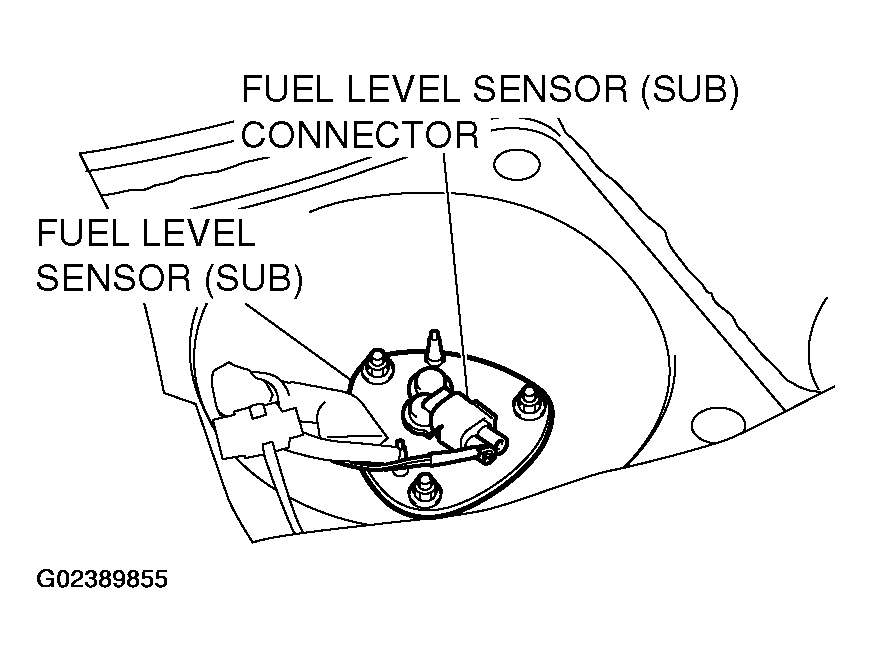
- Disconnect the fuel level sensor (sub) connector.
 Courtesy of MITSUBISHI MOTOR SALES OF AMERICA.
CAUTION:
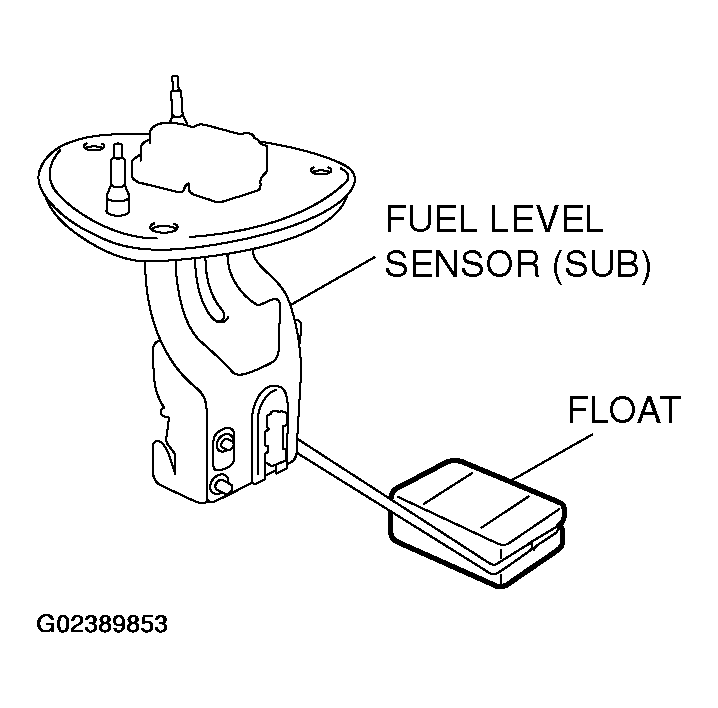
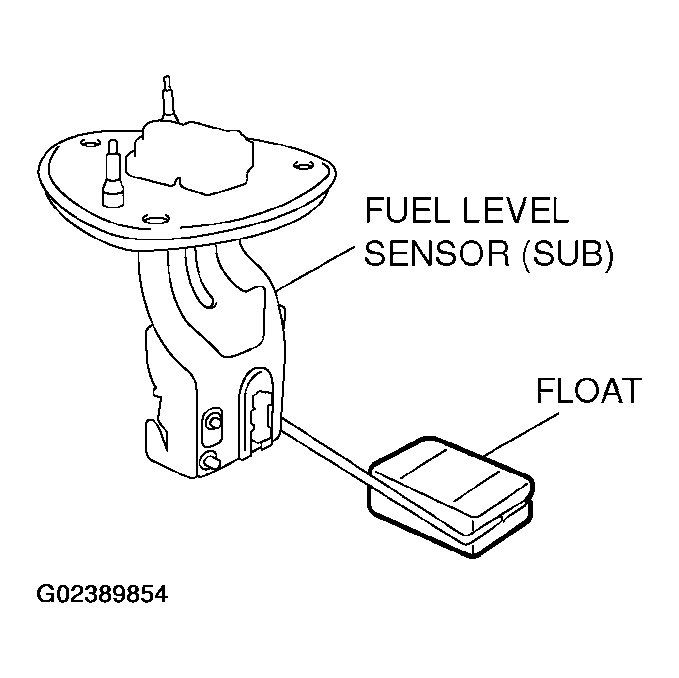
When withdrawing the fuel level sensor (sub) from the fuel tank, be careful not damage the sensor unit and the float.
- Remove the fuel level sensor (sub) mounting bolts and remove the fuel level sensor (sub) from service hole.
 Courtesy of MITSUBISHI MOTOR SALES OF AMERICA.
CAUTION:
When inserting the fuel level sensor (sub) into the fuel tank, be careful not damage the sensor unit and the float.
- Install the fuel level sensor (sub) to the fuel tank through the service hole.
 Courtesy of MITSUBISHI MOTOR SALES OF AMERICA.
- Connect the fuel level sensor (sub) connector.
 Courtesy of MITSUBISHI MOTOR SALES OF AMERICA.
- Install the service hole cover.
- Tightening torque: 1.5 +/- 0.5 N.m (14 +/- 4 in-lb)
- Install the floor mat into its original position.
 Courtesy of MITSUBISHI MOTOR SALES OF AMERICA.
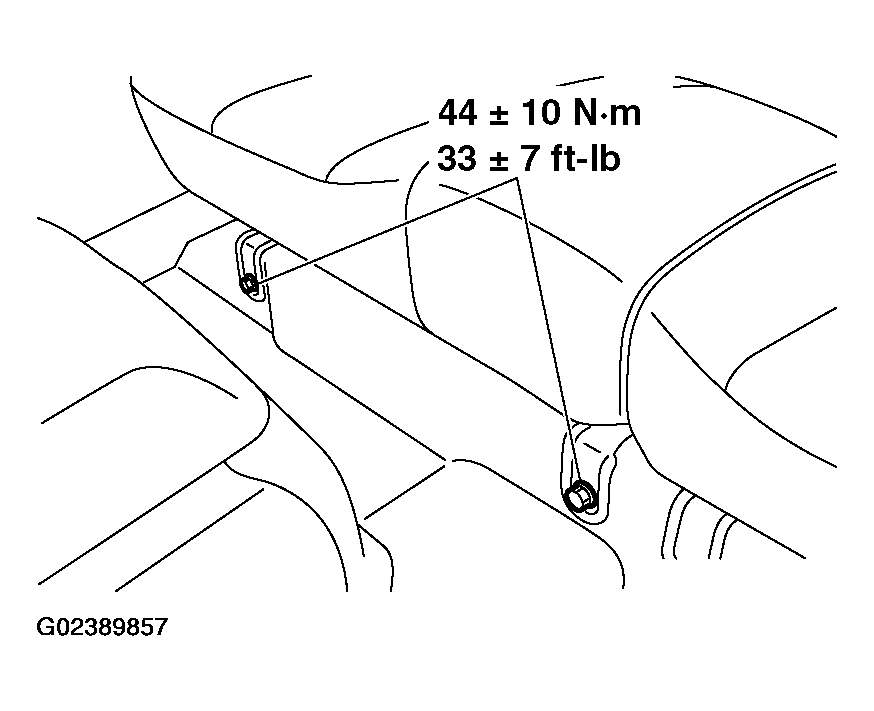
- Untie the right rear seat cushion, install it into its original position and tighten the mounting bolts to the specified torque.
- Tightening torque: 44 +/- 10 N.m (33 +/- 7 ft-lb)
 Courtesy of MITSUBISHI MOTOR SALES OF AMERICA.