Stator Support and Gear Assembly: Assembly
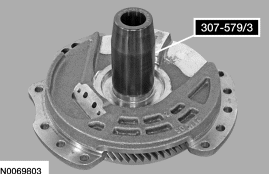
- Install the Support Solid Seal Installer 307-579/3 on the stator support assembly.
 Courtesy of FORD MOTOR CO.
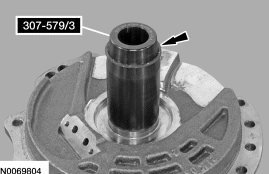
- Install a new seal on Support Solid Seal Installer 307-579/3.
 Courtesy of FORD MOTOR CO.
- Install the Support Solid Seal Installer 307-579/2 on the Support Solid Seal Installer 307-579/3 and slide the seal in to the groove on the stator support assembly.
 Courtesy of FORD MOTOR CO.
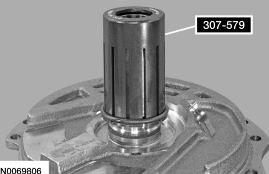
- Remove the Support Solid Seal Installer 307-579 (includes 307-579/2 and 307-579/3) from the stator support assembly.
 Courtesy of FORD MOTOR CO.
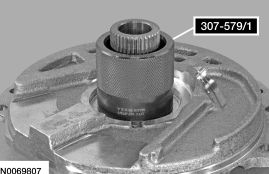
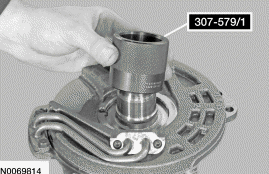
- Install the Support Solid Seal Installer 307-579/1 on the stator support assembly to size the seal.
 Courtesy of FORD MOTOR CO.
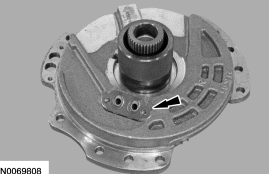
- Install a new gasket on the stator support assembly.
 Courtesy of FORD MOTOR CO.
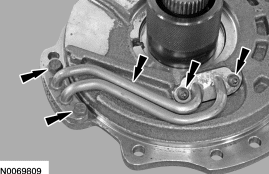
- Position the feed tube assembly in place and install the bolts hand
tight.
 Courtesy of FORD MOTOR CO.
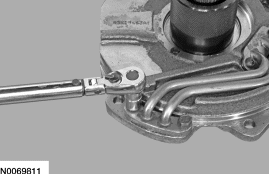
- Tighten the 2 Torx head bolts.
- Tighten to 7 Nm (62 lb-in).
 Courtesy of FORD MOTOR CO.
- Tighten the 2 hex head bolts.
- Tighten to 12 Nm (106 lb-in).
 Courtesy of FORD MOTOR CO.
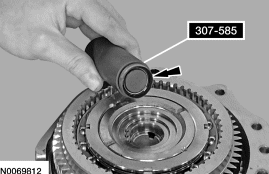
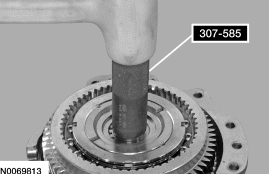
- Install a new input shaft seal on the Support Seal Installer 307-585.
 Courtesy of FORD MOTOR CO.
- Using the Support Seal Installer 307-585, install the input shaft seal.
 Courtesy of FORD MOTOR CO.
- Remove the Support Seal Installer 307-579/1 from the stator support assembly.
 Courtesy of FORD MOTOR CO.
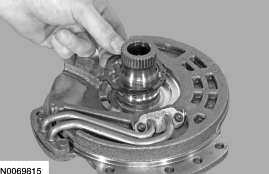
- Install the drive sprocket thrust washer.
 Courtesy of FORD MOTOR CO.
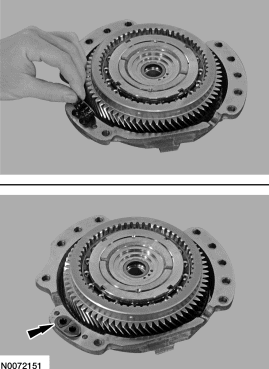
- Install a new stator support assembly seal.
 Courtesy of FORD MOTOR CO.