Transaxle Support Insulator: Installation
- Clean the rear transaxle support mount bolts using a wire brush and apply new threadlock to the threads.
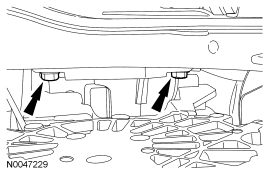
- Position the transaxle support insulator in place and install the 2 lower bolts.
- Tighten to 62 Nm (46 lb-ft).
 Courtesy of FORD MOTOR CO.
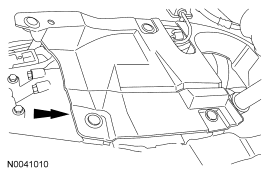
- Position the LH front structure-to-subframe splash shield in place and install the 6 pin-type retainers.
 Courtesy of FORD MOTOR CO.
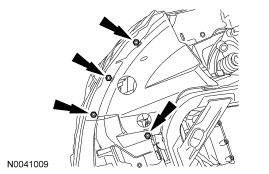
- Position the LH splash shield in place and install the 4 screws.
 Courtesy of FORD MOTOR CO.
- Install the 2 upper bolts.
- Tighten to 62 Nm (46 lb-ft).
 Courtesy of FORD MOTOR CO.
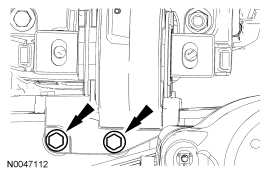
- Install the 2 transaxle support insulator bolts.
- Tighten to 90 Nm (66 lb-ft).
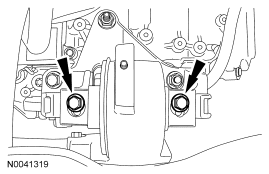 Courtesy of FORD MOTOR CO.
- Remove the special tools.
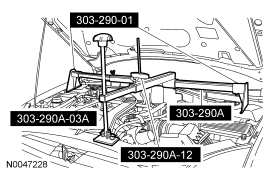 Courtesy of FORD MOTOR CO.
- Install the battery and battery tray. For additional information, refer to BATTERY, MOUNTING AND CABLES
.