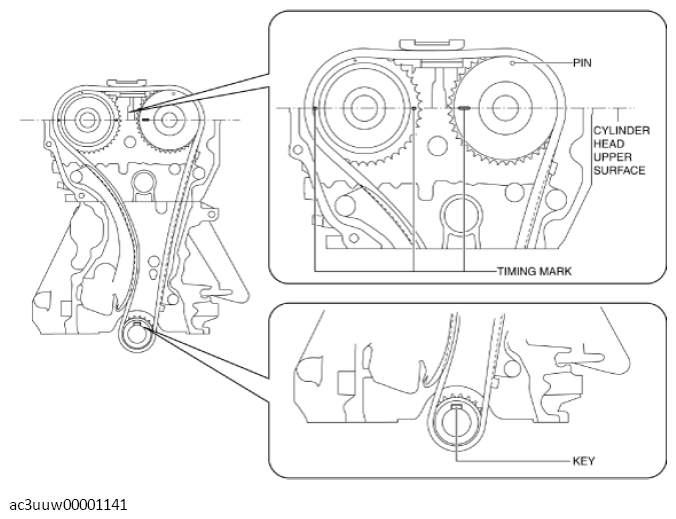
Timing Chain Installation Note
- Verify that the timing marks and the key are aligned to the position shown in the figure.
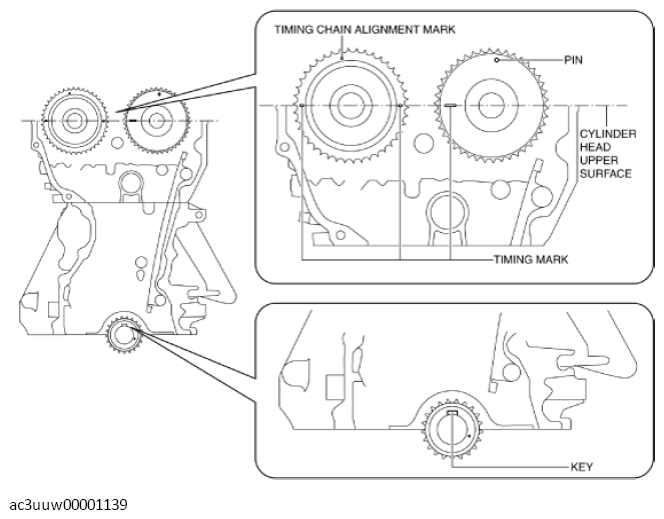 Courtesy of MAZDA MOTORS CORP.
- If they are not in the position shown in the figure, rotate the camshaft and crankshaft to set the cylinder No. 1 top dead center (TDC).
- Install the timing chain while aligning the marks on the timing chain as shown in the figure.
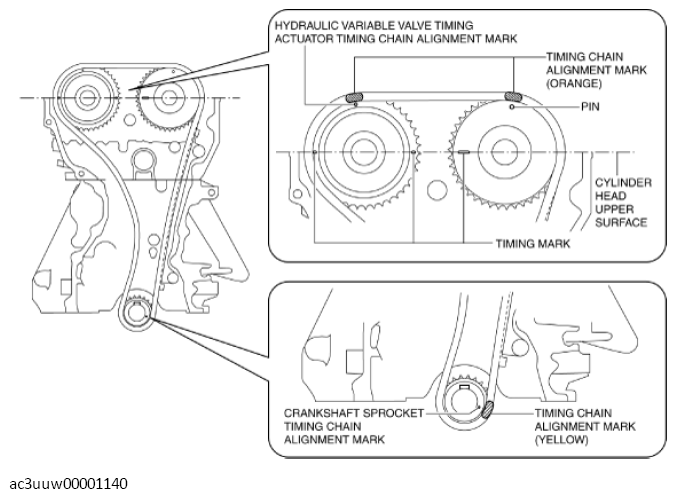 Courtesy of MAZDA MOTORS CORP.
- Install the chain guide (No. 1).
- Install the tensioner arm.
- Install the chain tensioner.
- After installing the chain tensioner, remove the installed wire or paper clip, and then apply tension to the timing chain. (Chain tensioner type A)
- If a new chain tensioner is used, remove the installed stopper.
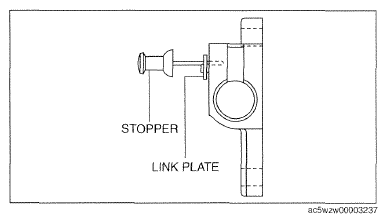 Courtesy of MAZDA MOTORS CORP.
- After installing the timing chain tensioner, remove the installed rod, and then apply tension to the timing chain. (Chain tensioner type B)
- If a new chain tensioner is used, remove the installed lock pin.
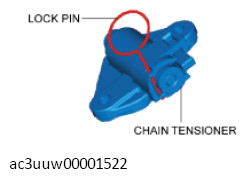 Courtesy of MAZDA MOTORS CORP.
- Verify that there is no looseness in the timing chain, and re-verify that each sprocket is in the specified location.
- Rotate the crankshaft clockwise two turns and inspect the valve timing.
 Courtesy of MAZDA MOTORS CORP.