Liftgate Side Trim Removal/Installation: Installation
- Align the fastener and the hook of the liftgate side trim, press the liftgate side trim in the direction of the arrow shown in the figure, and install the clip to the liftgate.
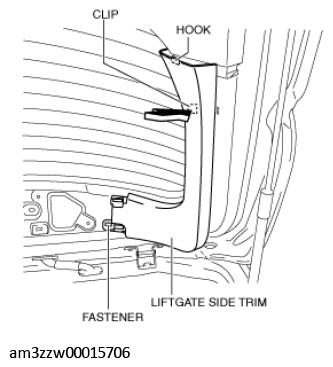 Courtesy of MAZDA MOTORS CORP.
- Press the liftgate side trim in the direction of the arrow shown in the figure and install the hook and the tab to the liftgate lower trim.
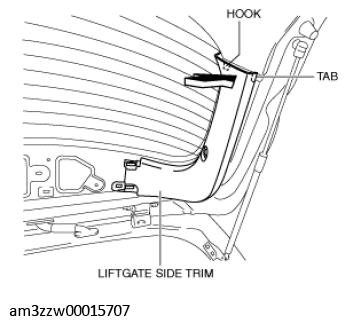 Courtesy of MAZDA MOTORS CORP.
- Press the liftgate side trim in the direction of the arrow shown in the figure and install the tab to the liftgate lower trim.
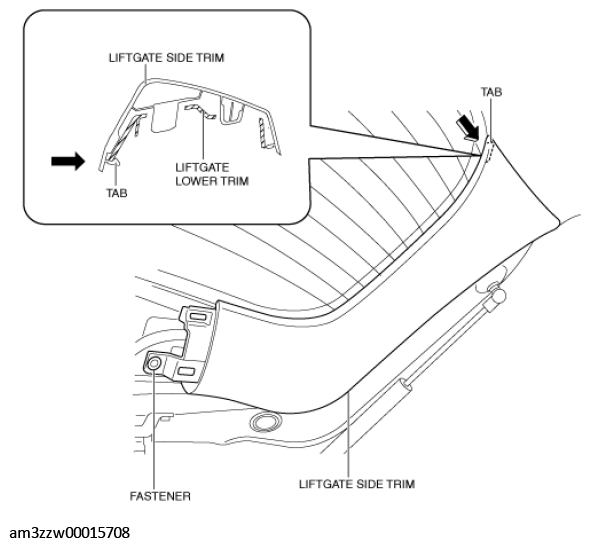 Courtesy of MAZDA MOTORS CORP.
- Install the fastener.
- Install the strap hanger.
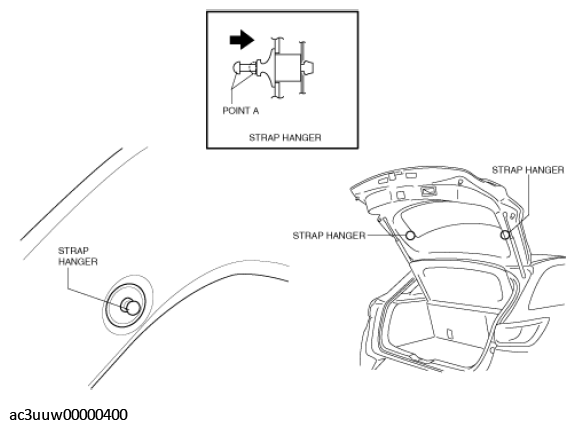 Courtesy of MAZDA MOTORS CORP.
- Press in area A of the strap hanger.
- Move the hook in the direction of the arrow shown in the figure and install the hook to the strap hanger.
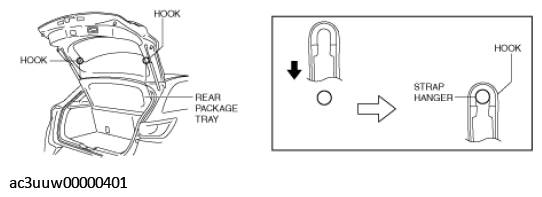 Courtesy of MAZDA MOTORS CORP.
- Install the liftgate upper trim. (See LIFTGATE UPPER TRIM REMOVAL/INSTALLATION .)