Audio Unit Removal/Installation: Removal
- Disconnect the negative battery cable. (See NEGATIVE BATTERY CABLE DISCONNECTION/CONNECTION
.)
- Remove the following parts:
- Glove compartment (See GLOVE COMPARTMENT REMOVAL/INSTALLATION
.)
- Decoration panel (See DECORATION PANEL REMOVAL/INSTALLATION
.)
- Center panel (See CENTER PANEL REMOVAL/INSTALLATION
.)
- Remove the bolt.
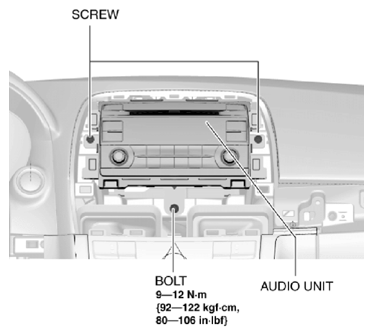 Courtesy of MAZDA MOTORS CORP.
- Remove the screws.
NOTE:
- When removing the audio unit, the audio unit could interfere with the climate control unit and scratch the climate control unit. Perform the servicing by spreading a cloth in the position indicated in the figure.
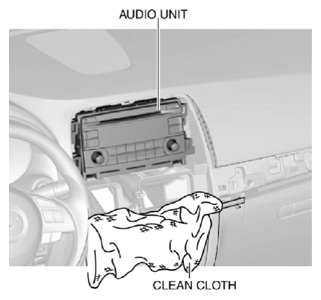 Courtesy of MAZDA MOTORS CORP.
- Hold the audio unit in the position shown in the figure and pull it outward to disengage clips A, B, C, and D from the instrument panel.
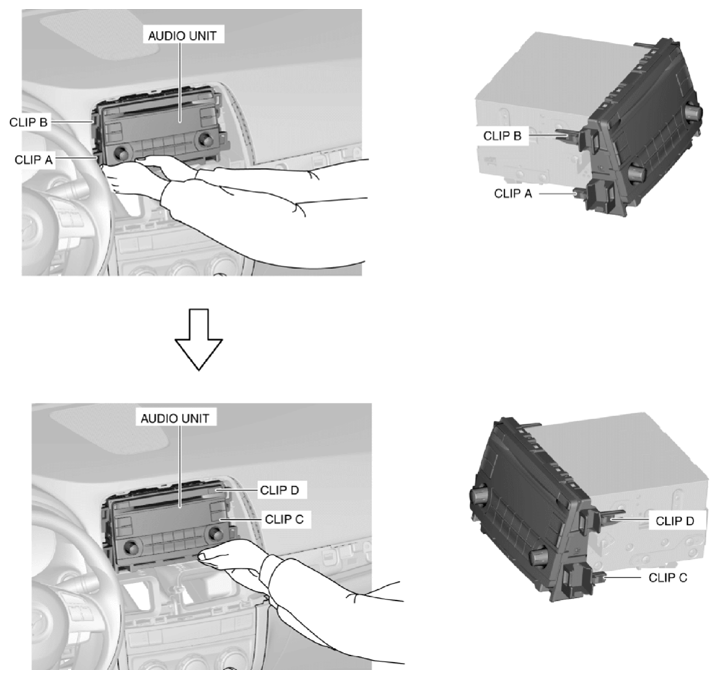 Courtesy of MAZDA MOTORS CORP.
- Disconnect the connectors.
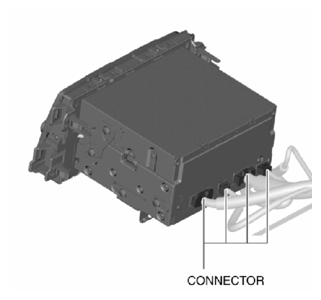 Courtesy of MAZDA MOTORS CORP.
- Remove the audio unit.