LF Control Unit Removal/Installation
- Disconnect the negative battery cable. (Refer to NEGATIVE BATTERY CABLE DISCONNECTION/CONNECTION [SKYACTIV-G 2.0, SKYACTIV-G 2.5]
.)
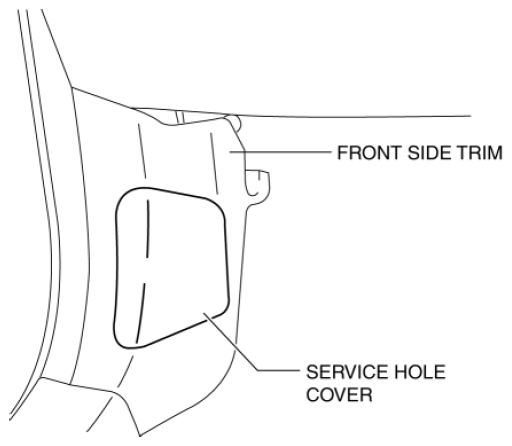
- Remove the service hole cover on the front side trim.
 Courtesy of MAZDA MOTORS CORP.
- Disconnect the connector.
 Courtesy of MAZDA MOTORS CORP.
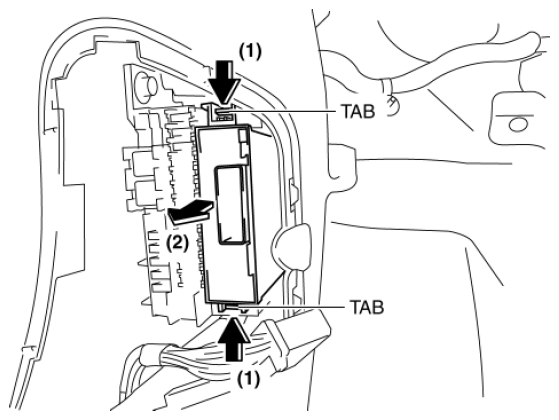
- Pull the LF control unit in the direction of the arrow (2) shown in the figure and remove it while pressing the tab in the direction of the arrow (1).
 Courtesy of MAZDA MOTORS CORP.
- Install in the reverse order of removal.