Audio Amplifier Removal/Installation
- Disconnect the negative battery cable. (See
NEGATIVE BATTERY CABLE DISCONNECTION/CONNECTION [SKYACTIV-G 2.0, SKYACTIV-G 2.5]
.)
- Slide the seat rearward (RH).
- Remove the bolt.
- Slide the seat forward (RH).
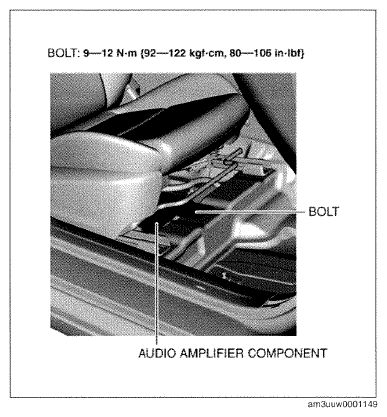 Courtesy of MAZDA MOTORS CORP.
- Remove the bolt.
- Raise the audio amplifier component and remove the stud bolt from the body.
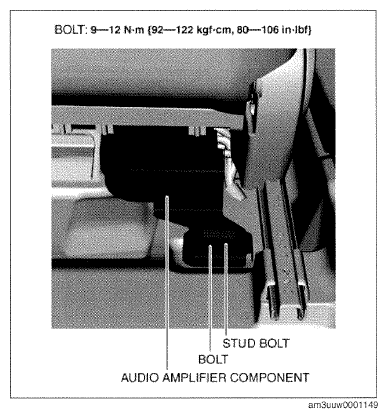 Courtesy of MAZDA MOTORS CORP.
- Disconnect the connectors.
Courtesy of MAZDA MOTORS CORP.
- Remove the nuts.
- Remove the audio amplifier.
- Install in the reverse order of removal.
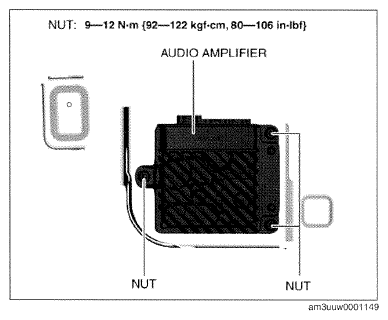 Courtesy of MAZDA MOTORS CORP.