Center Accessory Socket Removal/Installation
- Disconnect the negative battery cable. (See
NEGATIVE BATTERY CABLE DISCONNECTION/CONNECTION [SKYACTIV-G 2.0]
).
- Remove the upper console. (See
REAR CONSOLE DISASSEMBLY/ASSEMBLY
).
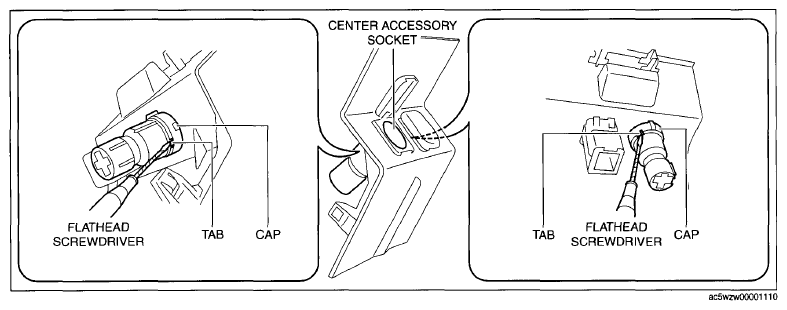
- Insert a tape-wrapped flathead screwdriver into the gap between the cap tab and socket.
 Courtesy of MAZDA MOTORS CORP.
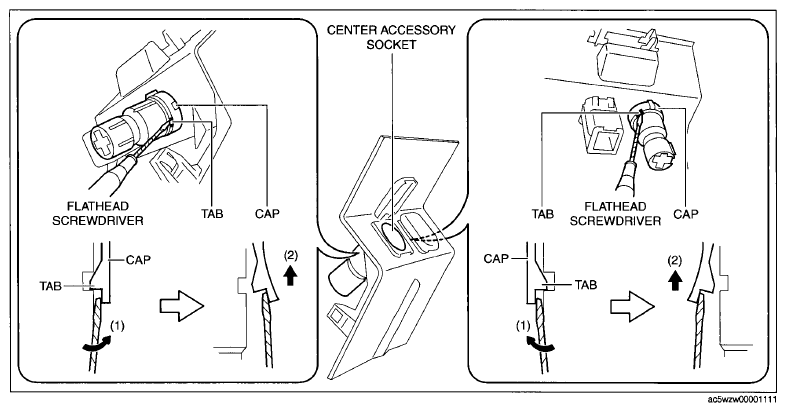
- Move the flathead screwdriver in the direction of the arrow (1) shown in the figure, press the center accessory socket in the direction of the arrow (2) shown in the figure, and detach the cap tab from the socket.
 Courtesy of MAZDA MOTORS CORP.
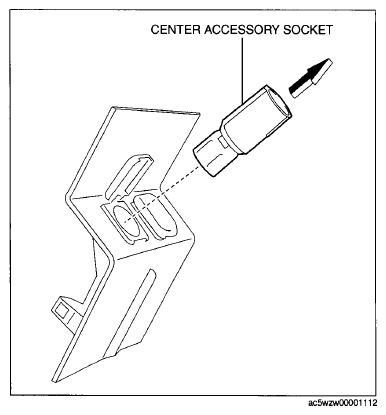
- Pull the center accessory socket in the direction of the arrow shown in the figure and remove it.
 Courtesy of MAZDA MOTORS CORP.
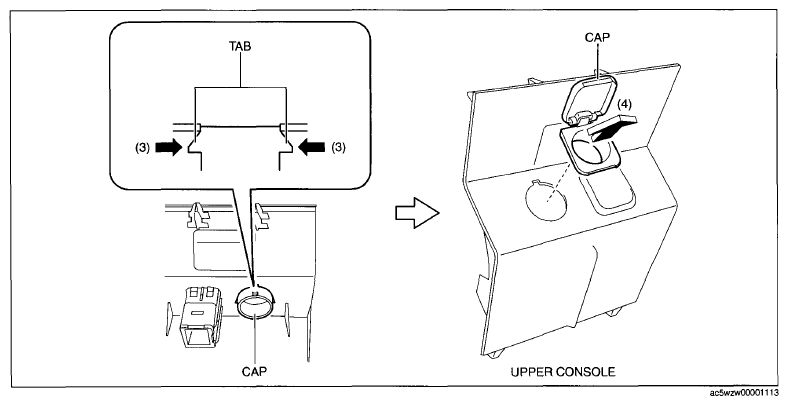
- While pressing the clip tabs in the direction of arrows (3) shown in the figure, press the cap in the direction of arrow (4) to detach the cap tabs from the upper console.
 Courtesy of MAZDA MOTORS CORP.
- Remove the cap.
- Install in the reverse order of removal.