Front Door Window Regulator Removal/Installation
- Remove the front door trim panel. See FRONT DOOR TRIM PANEL REMOVAL/INSTALLATION
.
 Courtesy of MAZDA MOTORS CORP.
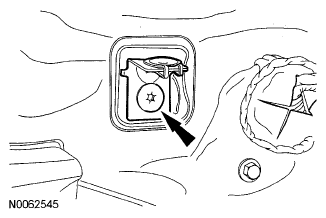
- Remove the screw and the front door trim panel bracket.
- Remove the 3 pushpins and pad assembly.
 Courtesy of MAZDA MOTORS CORP.
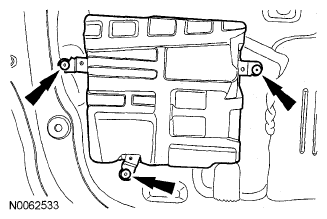
- Position the watershield aside.
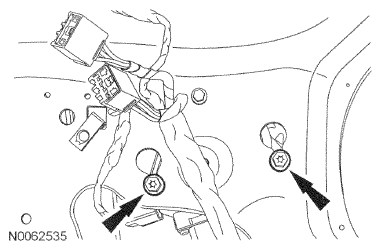
- Connect the window control switch electrical connector.
- Using the window control switch, lower the front door window glass to gain access to the front door window glass screws.
- Disconnect the window control switch electrical connector.
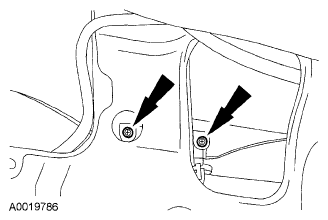
- Remove the 2 front door window glass screws.
- To install, tighten to 5 N.m {0.5 kgf.m, 44 in.lbf}.
 Courtesy of MAZDA MOTORS CORP.
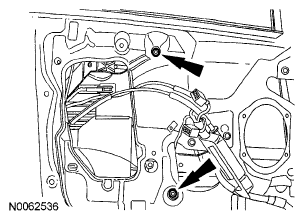
- Support the front door window glass in the full up position with tape
- Disconnect the front door window motor electrical connector.
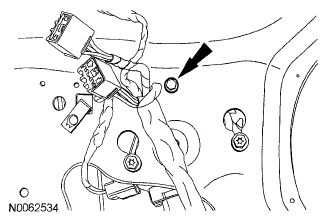
- Remove the front door window regulator and motor bolt.
- To install, tighten to 11 N.m {1.1 kgf.m, 8 in.lbf}.
 Courtesy of MAZDA MOTORS CORP.
- Loosen the 2 front door window regulator and motor bolts
- To install, tighten to 11 N.m {1.1 kgf.m, 8 in.lbf}.
 Courtesy of MAZDA MOTORS CORP.
- Remove the 2 nuts and the front door window regulator and motor.
- To install, tighten to 11 N.m {1.1 kgf.m, 8 in.lbf}.
 Courtesy of MAZDA MOTORS CORP.
- To install, reverse the removal procedure.