Bulb Removal/Installation
- Remove the battery cover. (See
BATTERY REMOVAL/INSTALLATION [LF, L5]
).
- Disconnect the negative battery cable.
- Remove the upper panel. (See
UPPER PANEL REMOVAL/INSTALLATION
).
- Remove the knob. (See
SELECTOR LEVER REMOVAL/INSTALLATION ).
- Remove the shift panel and indicator panel as a single unit.
- Release the hooks securing the shift panel and console, and then release the hooks securing the shift panel and ashtray panel. (See
SHIFT PANEL REMOVAL/INSTALLATION
).
- Lift up the shift panel and indicator panel and disconnect the bulb socket from the indicator panel.
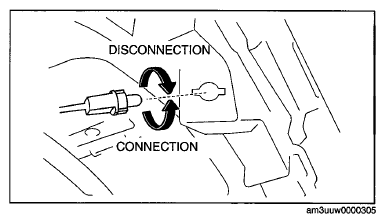 Courtesy of MAZDA MOTORS CORP.
- Remove the shift panel and indicator pane from the selector lever as a single unit.
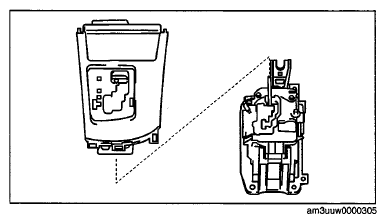 Courtesy of MAZDA MOTORS CORP.
- Remove the bulb from the bulb socket.
- Install in the reverse order of removal.
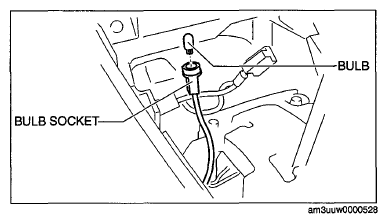 Courtesy of MAZDA MOTORS CORP.