Front Power Window Regulator Removal/Installation
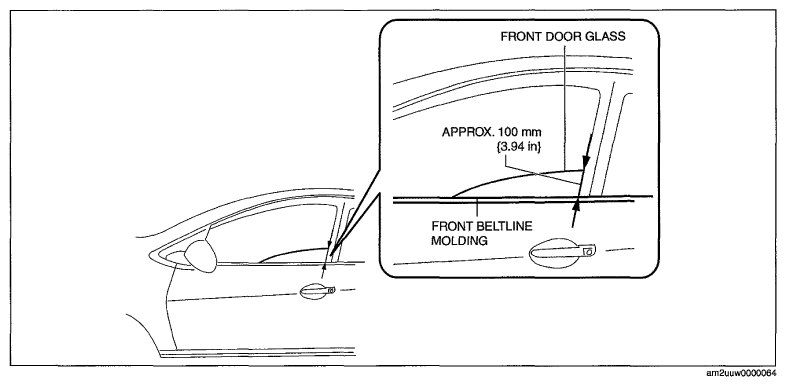
- To access the glass installation bolt, adjust the position of the front door glass so that the height of the front door glass towards the rear is approx. 100 mm {3.94 in}.
 Courtesy of MAZDA MOTORS CORP.
- Disconnect the negative battery cable.
- Remove the following parts:
- Inner garnish (See
INNER GARNISH REMOVAL/INSTALLATION
.)
- Front door trim (See
FRONT DOOR TRIM REMOVAL/INSTALLATION
.)
- Front door speaker (See
FRONT DOOR SPEAKER REMOVAL/INSTALLATION
.)
- Front door glass (See
FRONT DOOR GLASS REMOVAL/INSTALLATION .)
- Front power window motor (See
POWER WINDOW MOTOR REMOVAL/INSTALLATION .)
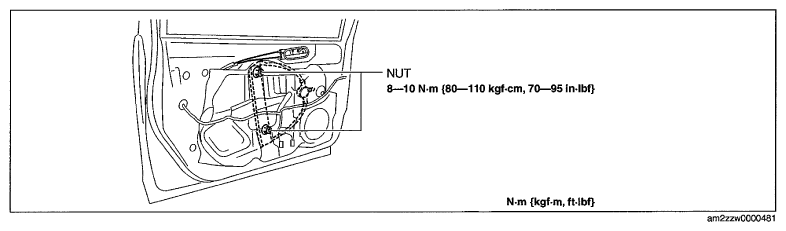
- Remove the nuts.
 Courtesy of MAZDA MOTORS CORP.
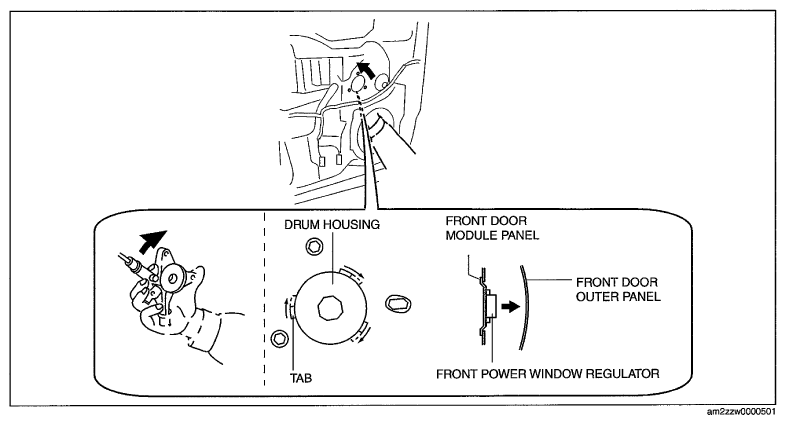
- Insert a hand through the front door speaker installation hole and rotate the drum housing in the direction of the arrow shown in illustration to detach the tabs from the front door module panel.
 Courtesy of MAZDA MOTORS CORP.
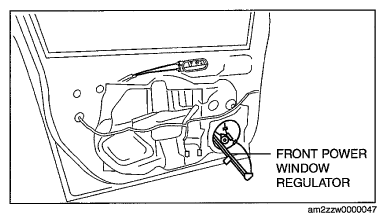
- Remove the front power window regulator from the speaker installation hole.
- Install in the reverse order of removal.
CAUTION:
- When installing, do not allow the cable to come out from the drum housing.
 Courtesy of MAZDA MOTORS CORP.