Overdrive/Direct Clutch Assembly Disassembly/Assembly: Disassembly
- Remove the input shaft snap ring.
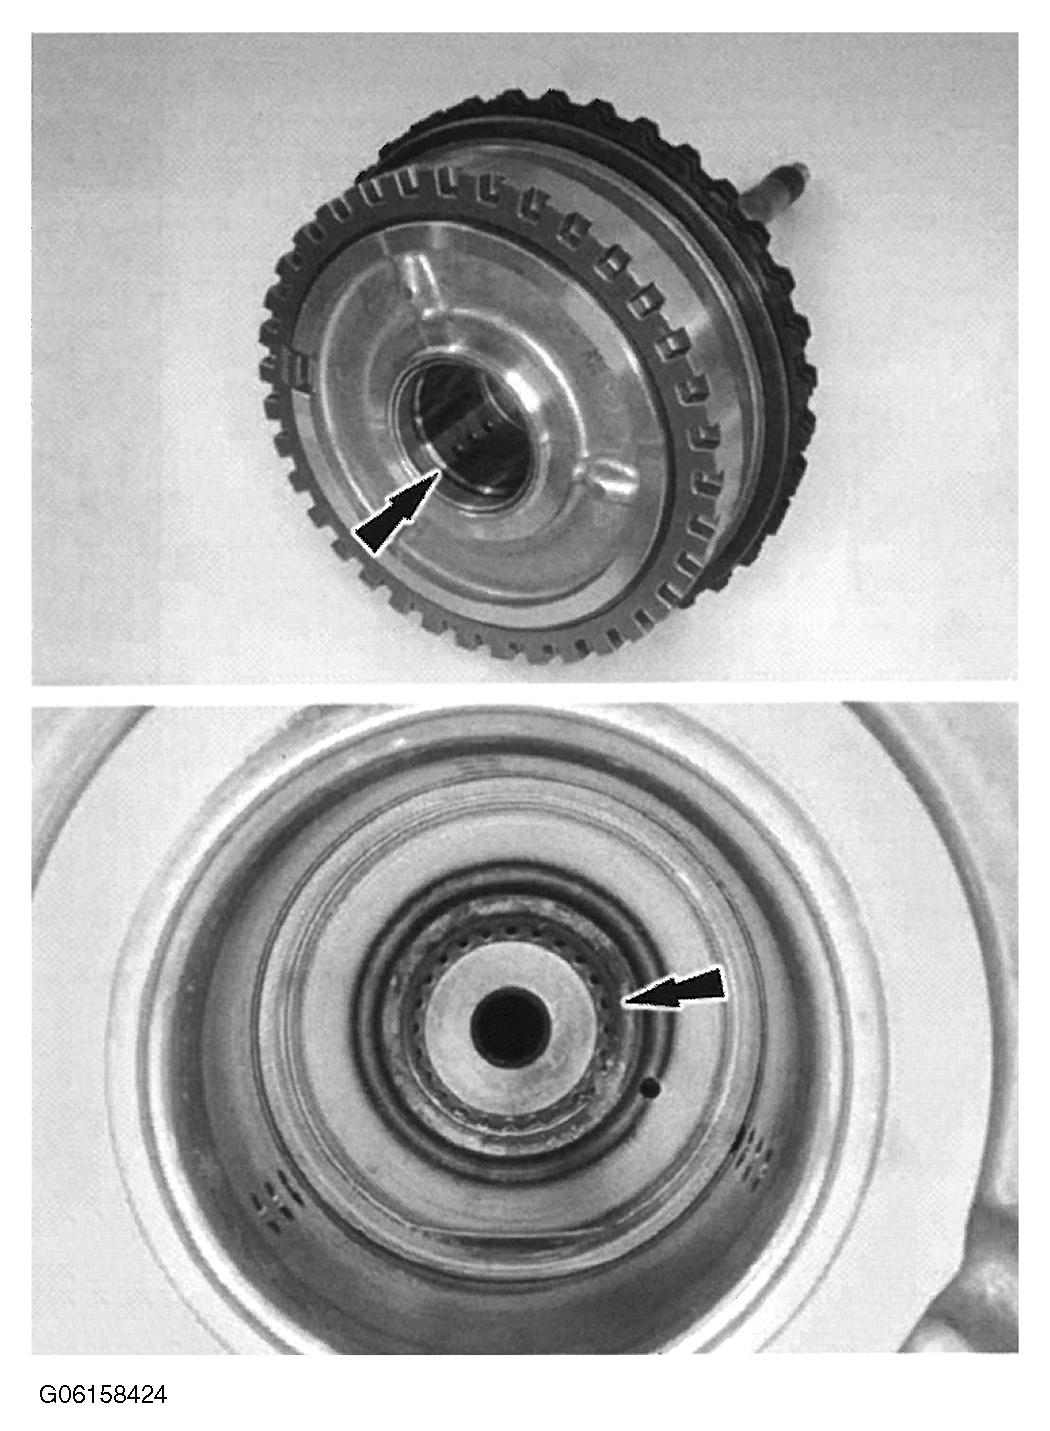 Courtesy of MAZDA MOTORS CORP.
- Remove the input shaft.
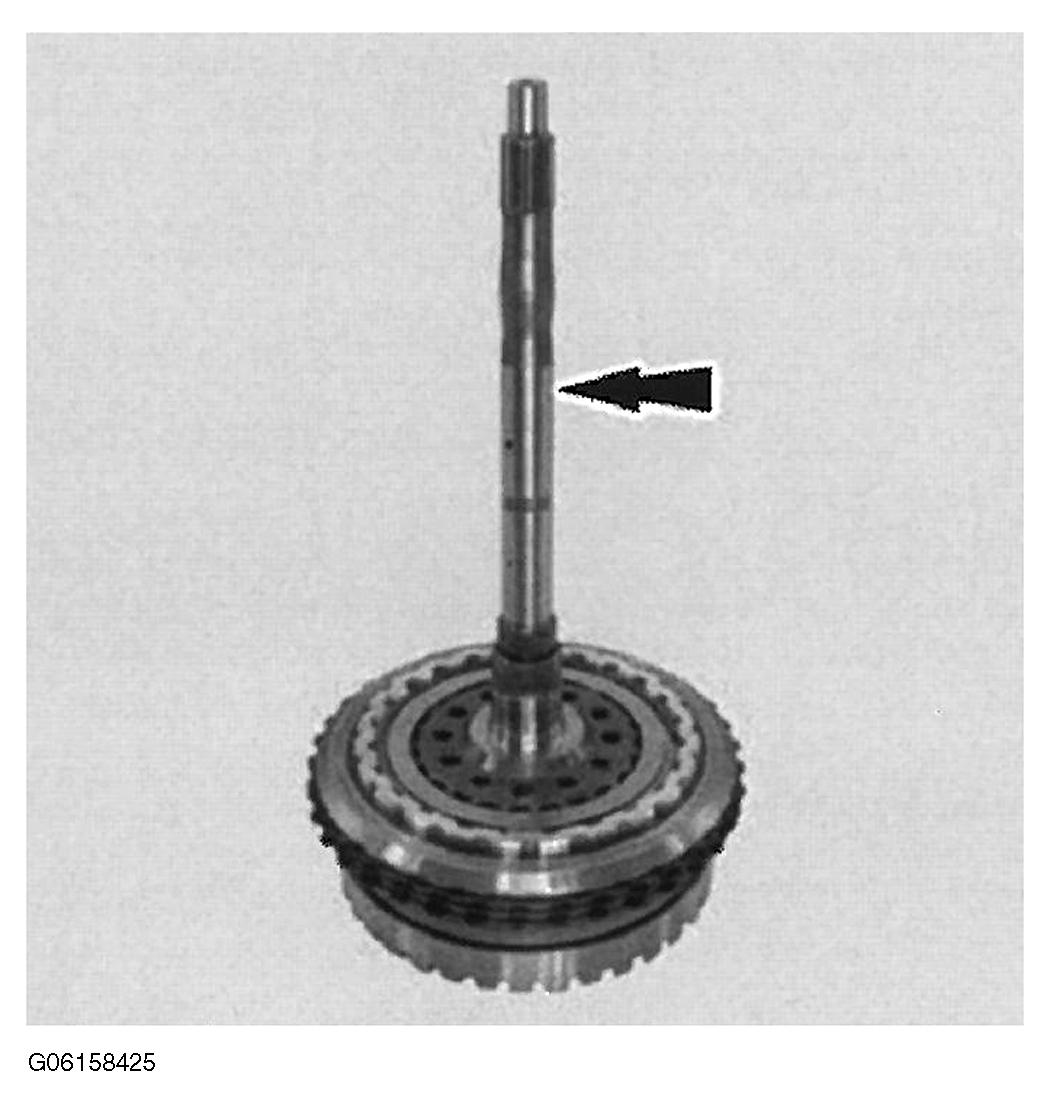 Courtesy of MAZDA MOTORS CORP.
- Remove the O/D (4, 5, 6) clutch hub.
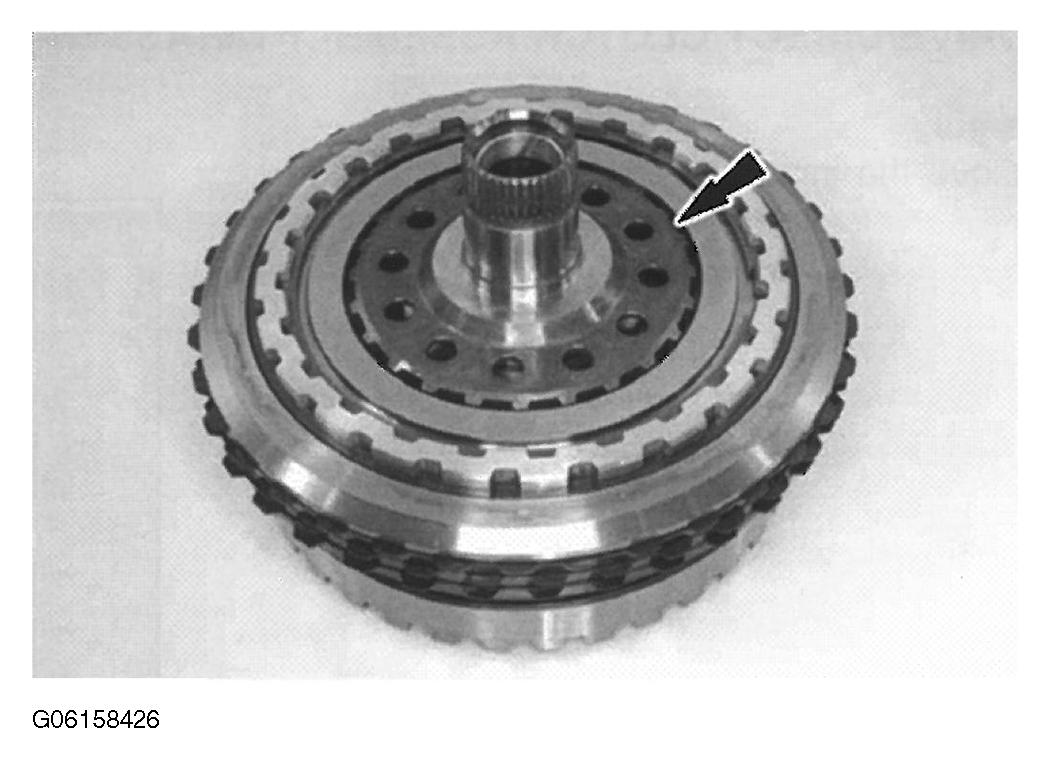 Courtesy of MAZDA MOTORS CORP.
- Remove the O/D (4, 5, 6) clutch hub, No. 2 thrust bearing.
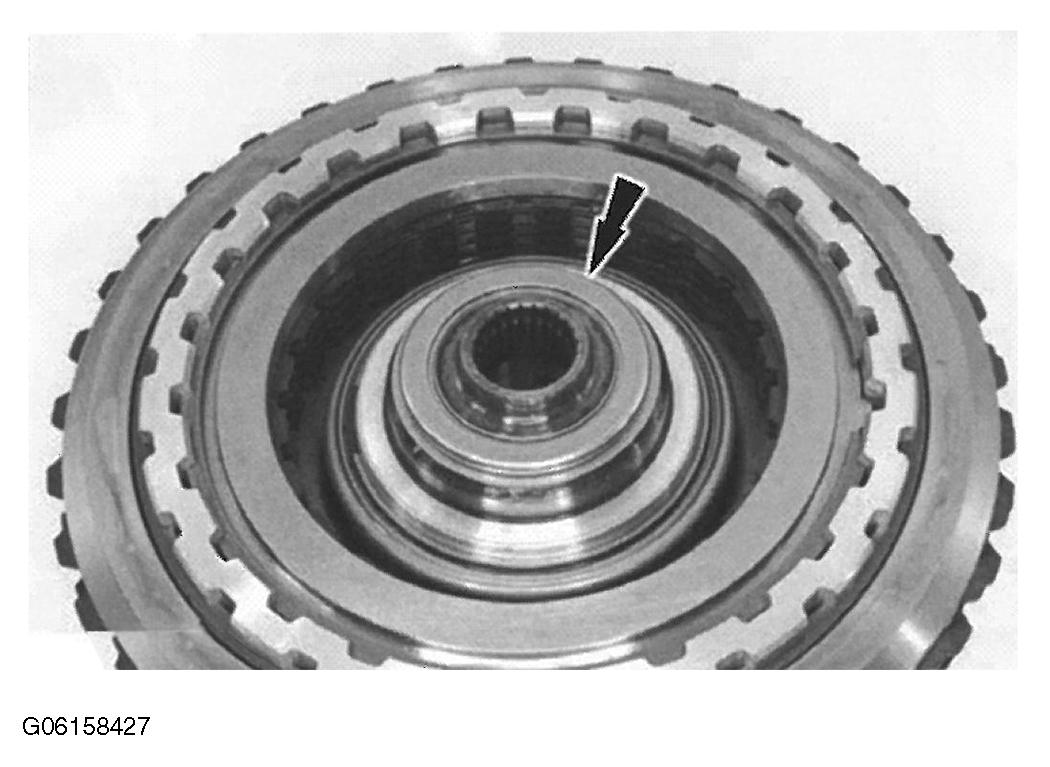 Courtesy of MAZDA MOTORS CORP.
- Remove the O/D (4, 5, 6) clutch snap ring.
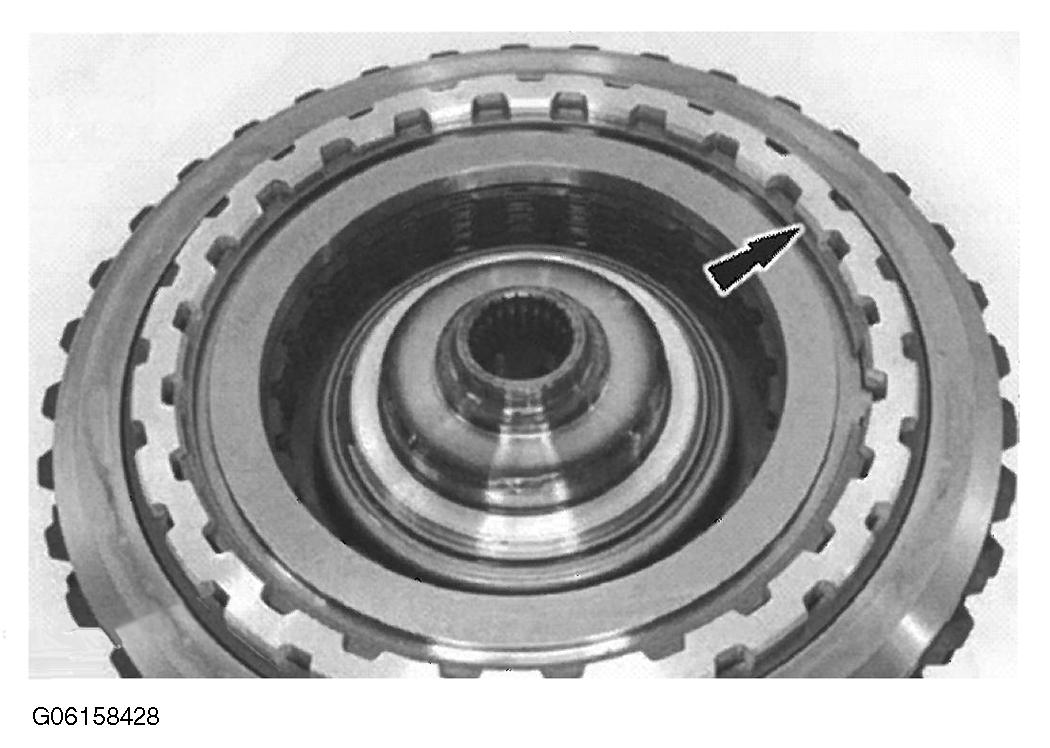 Courtesy of MAZDA MOTORS CORP.
- Remove the O/D (4, 5, 6) clutch pressure plate and clutch assembly.
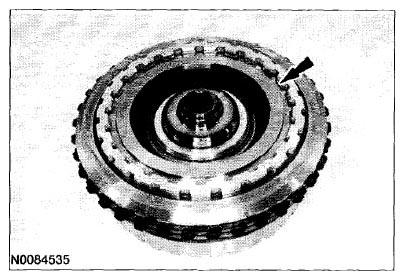 Courtesy of MAZDA MOTORS CORP.
- Install Overdrive Clutch and Balance Piston Service Set and 2-6 Spring Compressor on the balance piston.
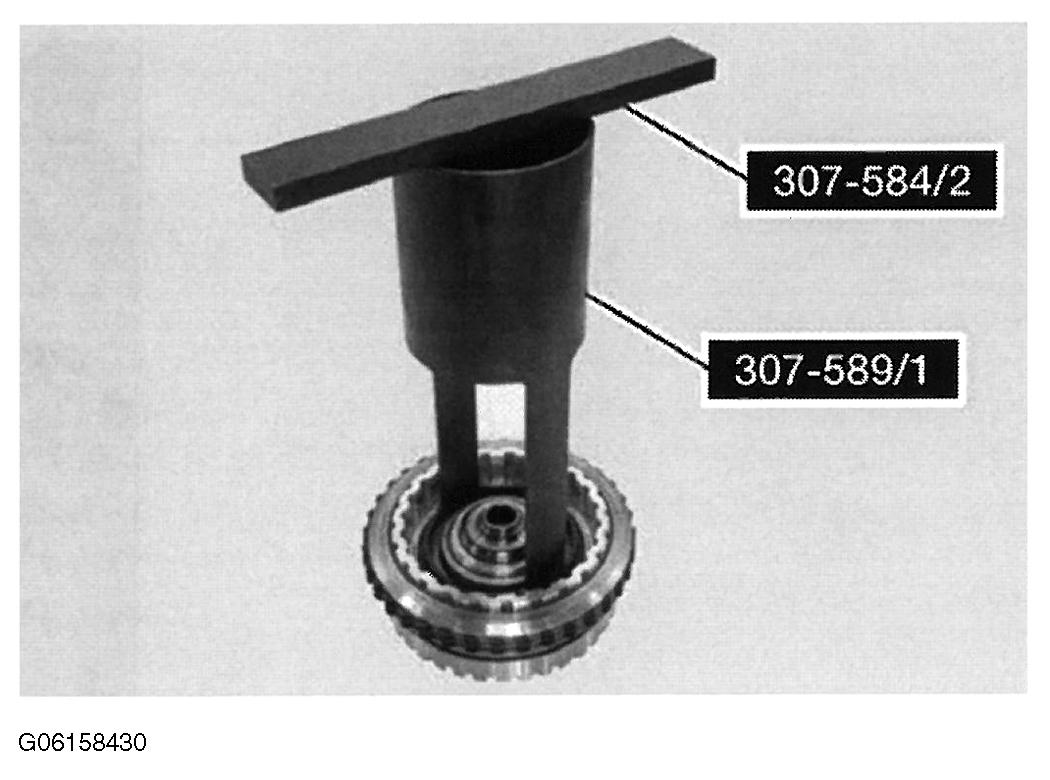 Courtesy of MAZDA MOTORS CORP.
- Using a press, compress the O/D (4, 5, 6) clutch return spring and remove the snap ring.
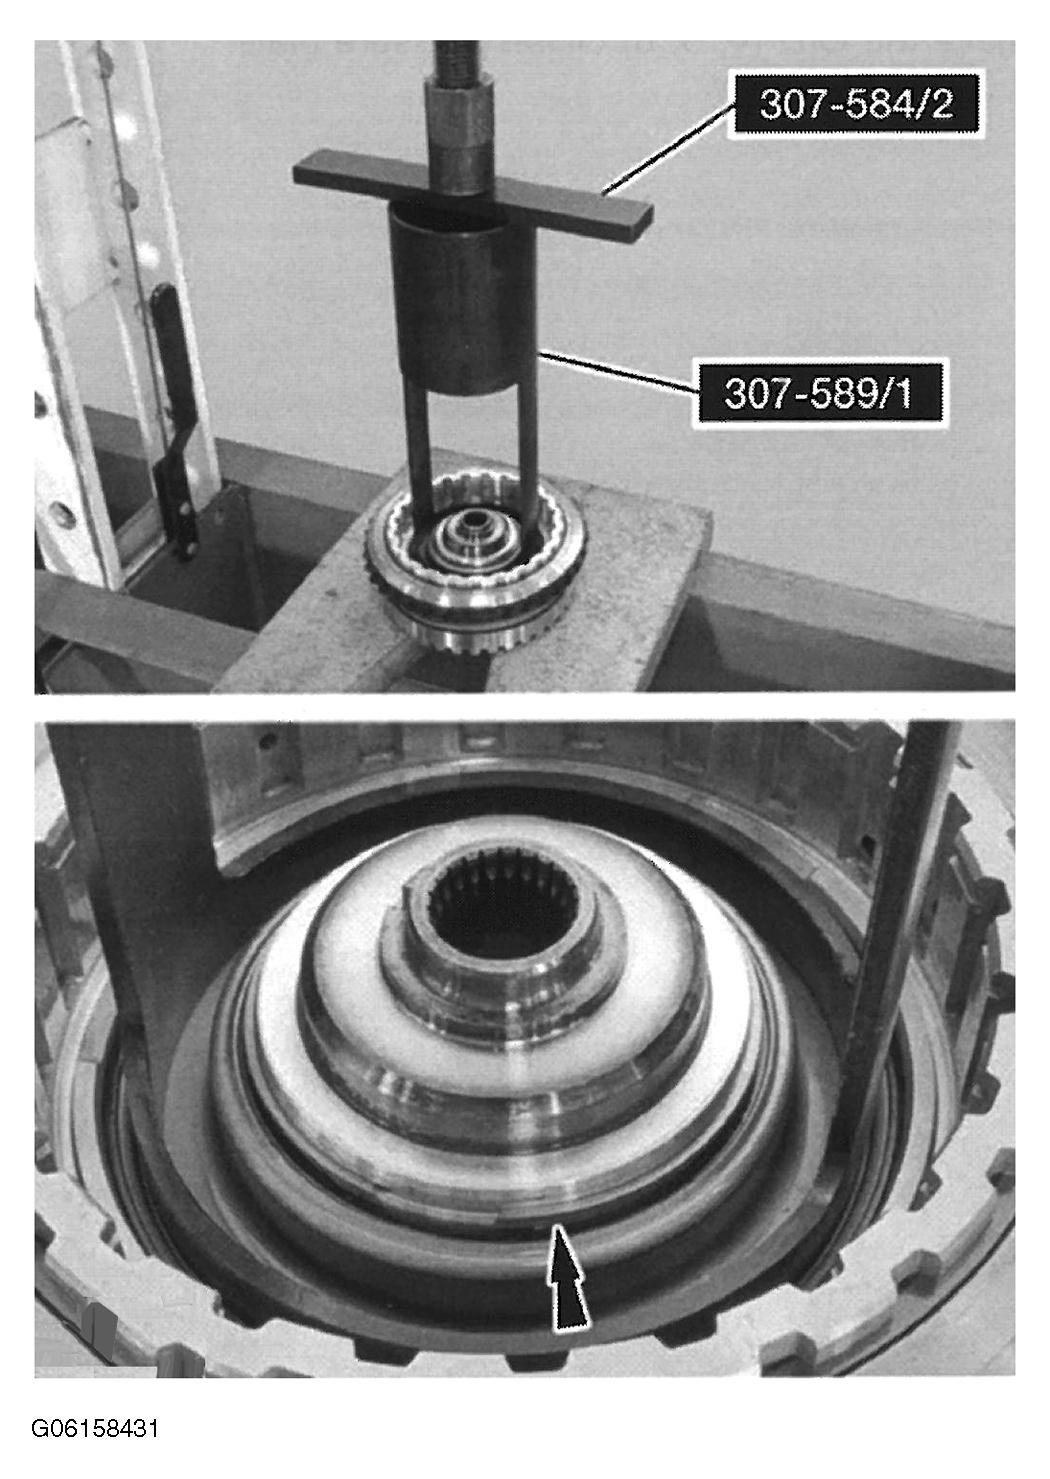 Courtesy of MAZDA MOTORS CORP.
- Remove the Overdrive Clutch and Balance Piston Service Set and 2-6 Spring Compressor.
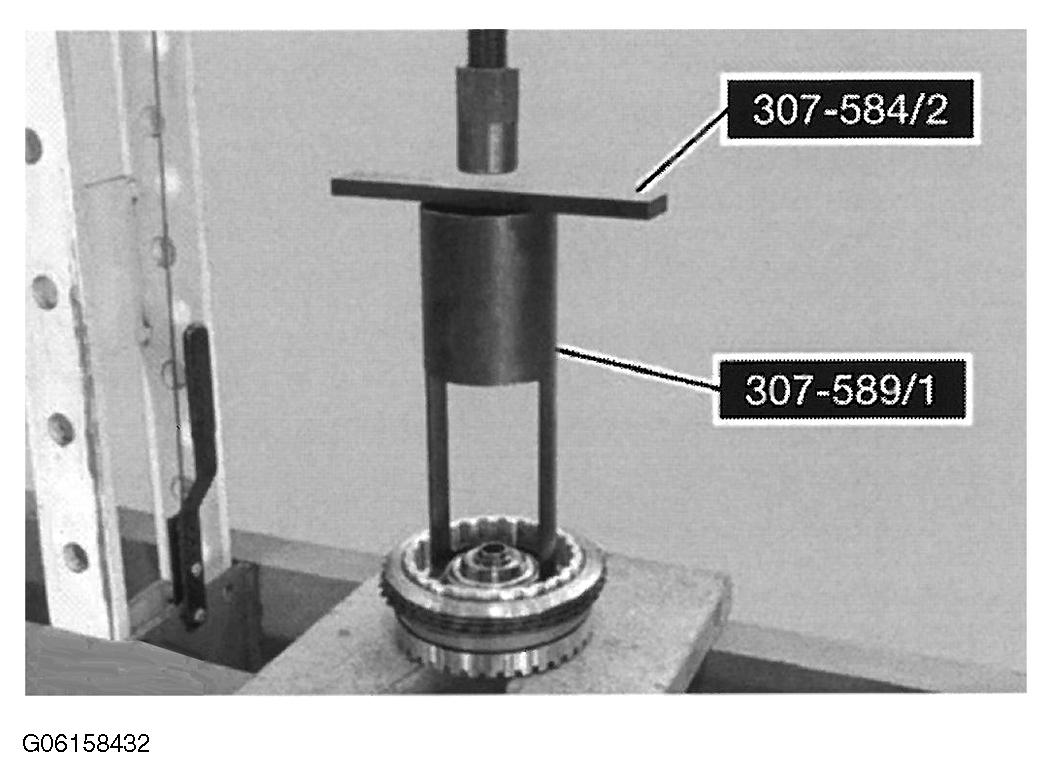 Courtesy of MAZDA MOTORS CORP.
- Remove and discard the balance piston.
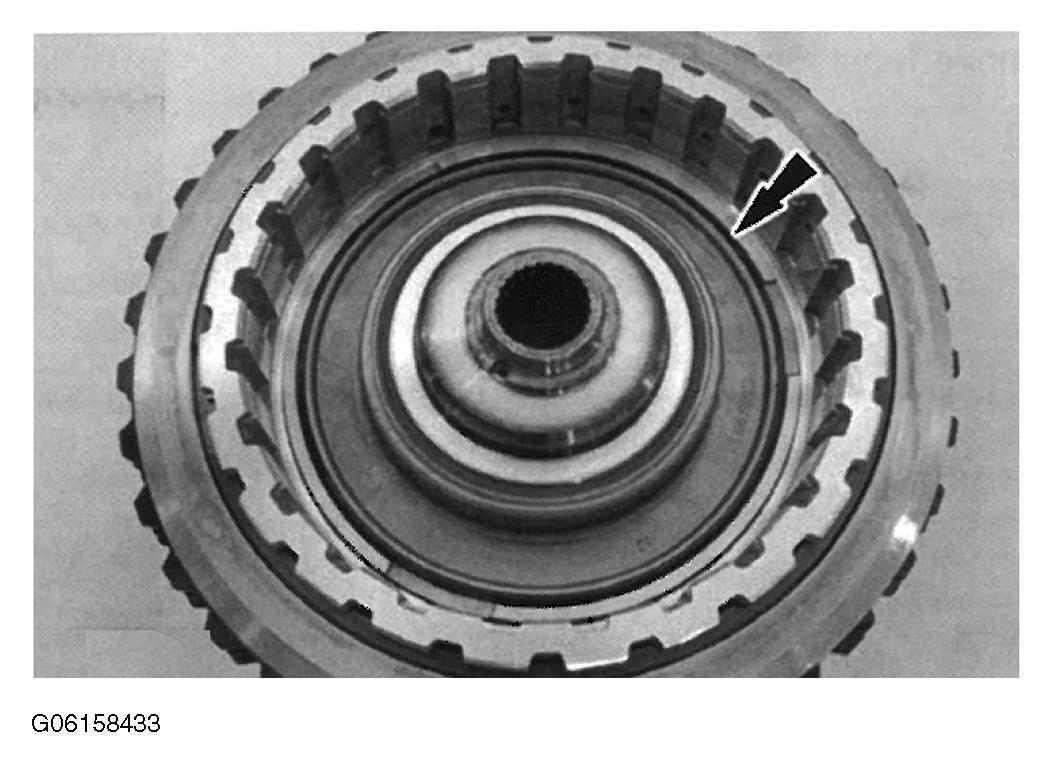 Courtesy of MAZDA MOTORS CORP.
- Remove the O/D (4, 5, 6) piston return spring.
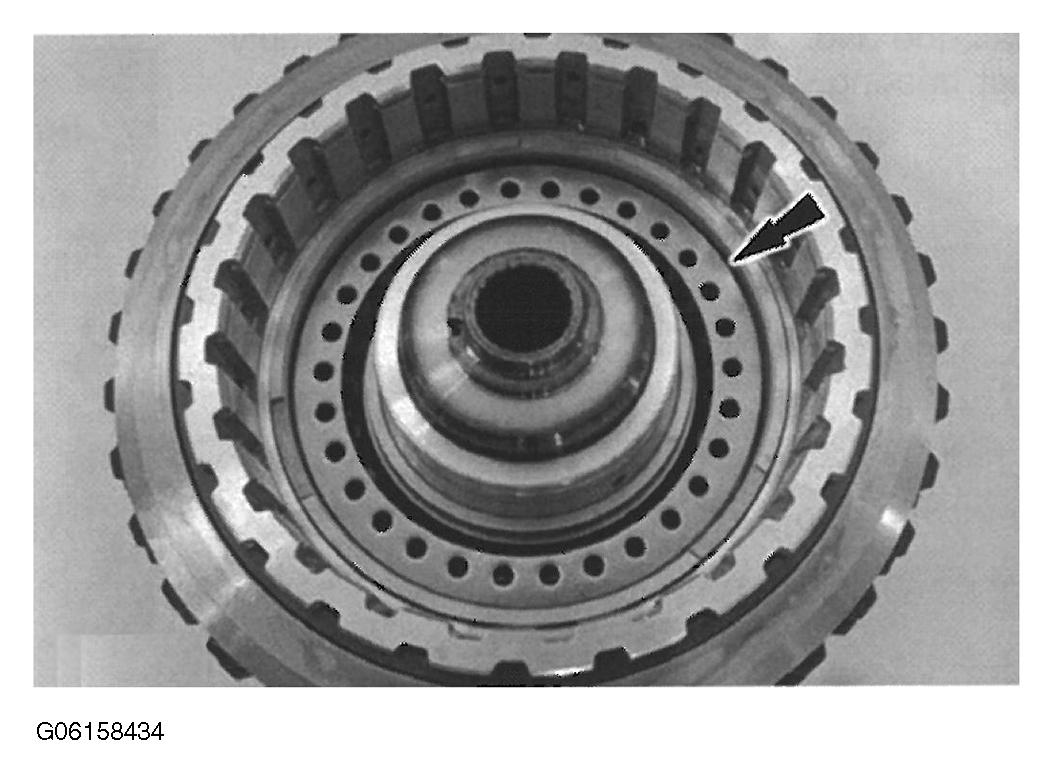 Courtesy of MAZDA MOTORS CORP.
- Install the clutch support tower and the 3 bolts.
- Tighten to 12 N.m {1.2 kgf.m, 106 ft.lbf}.
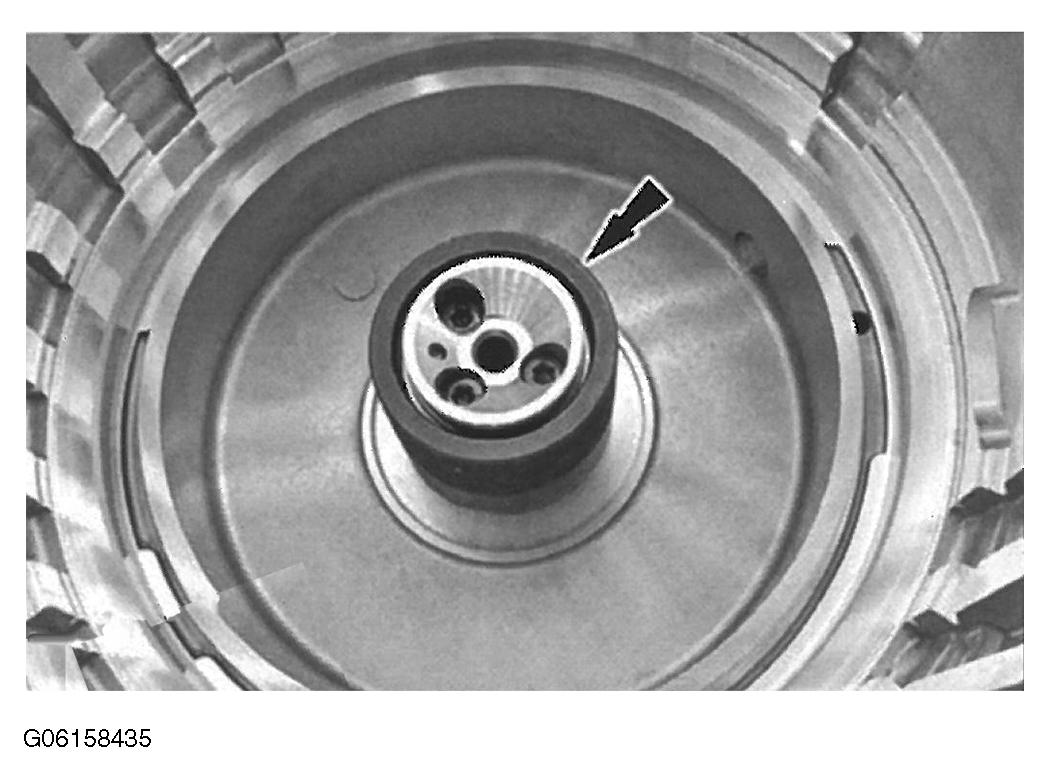 Courtesy of MAZDA MOTORS CORP.
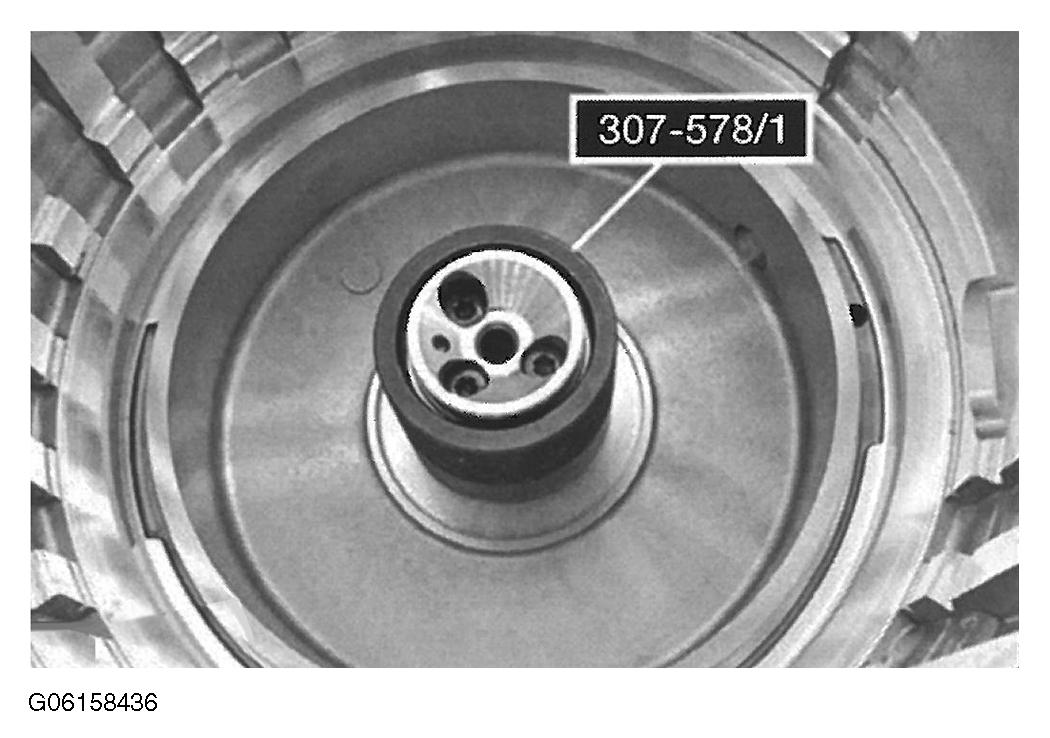
- Remove Input Shaft Support Seal Installer.
 Courtesy of MAZDA MOTORS CORP.
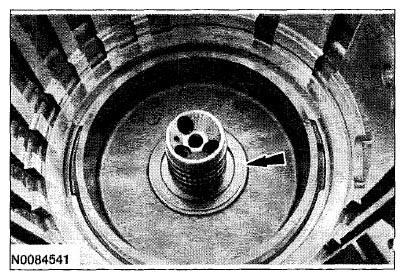
- Install the No. 1 O/D/direct clutch assembly thrust bearing.
 Courtesy of MAZDA MOTORS CORP.
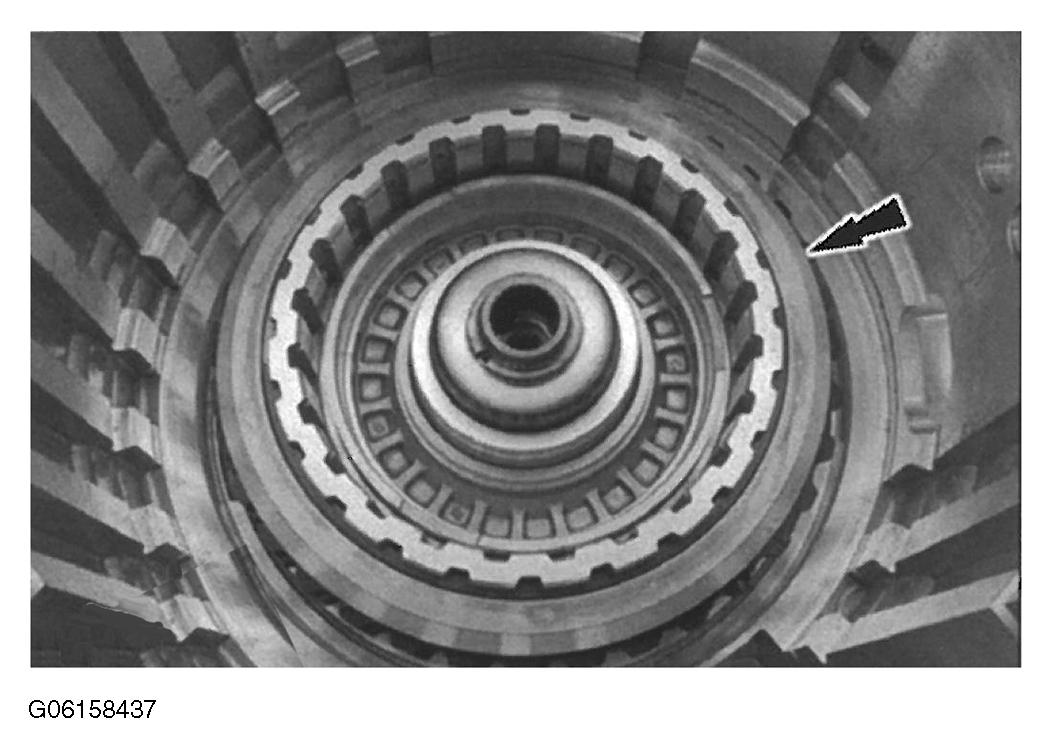
- Position the No. 1 O/D/direct clutch assembly in the transaxle case.
 Courtesy of MAZDA MOTORS CORP.
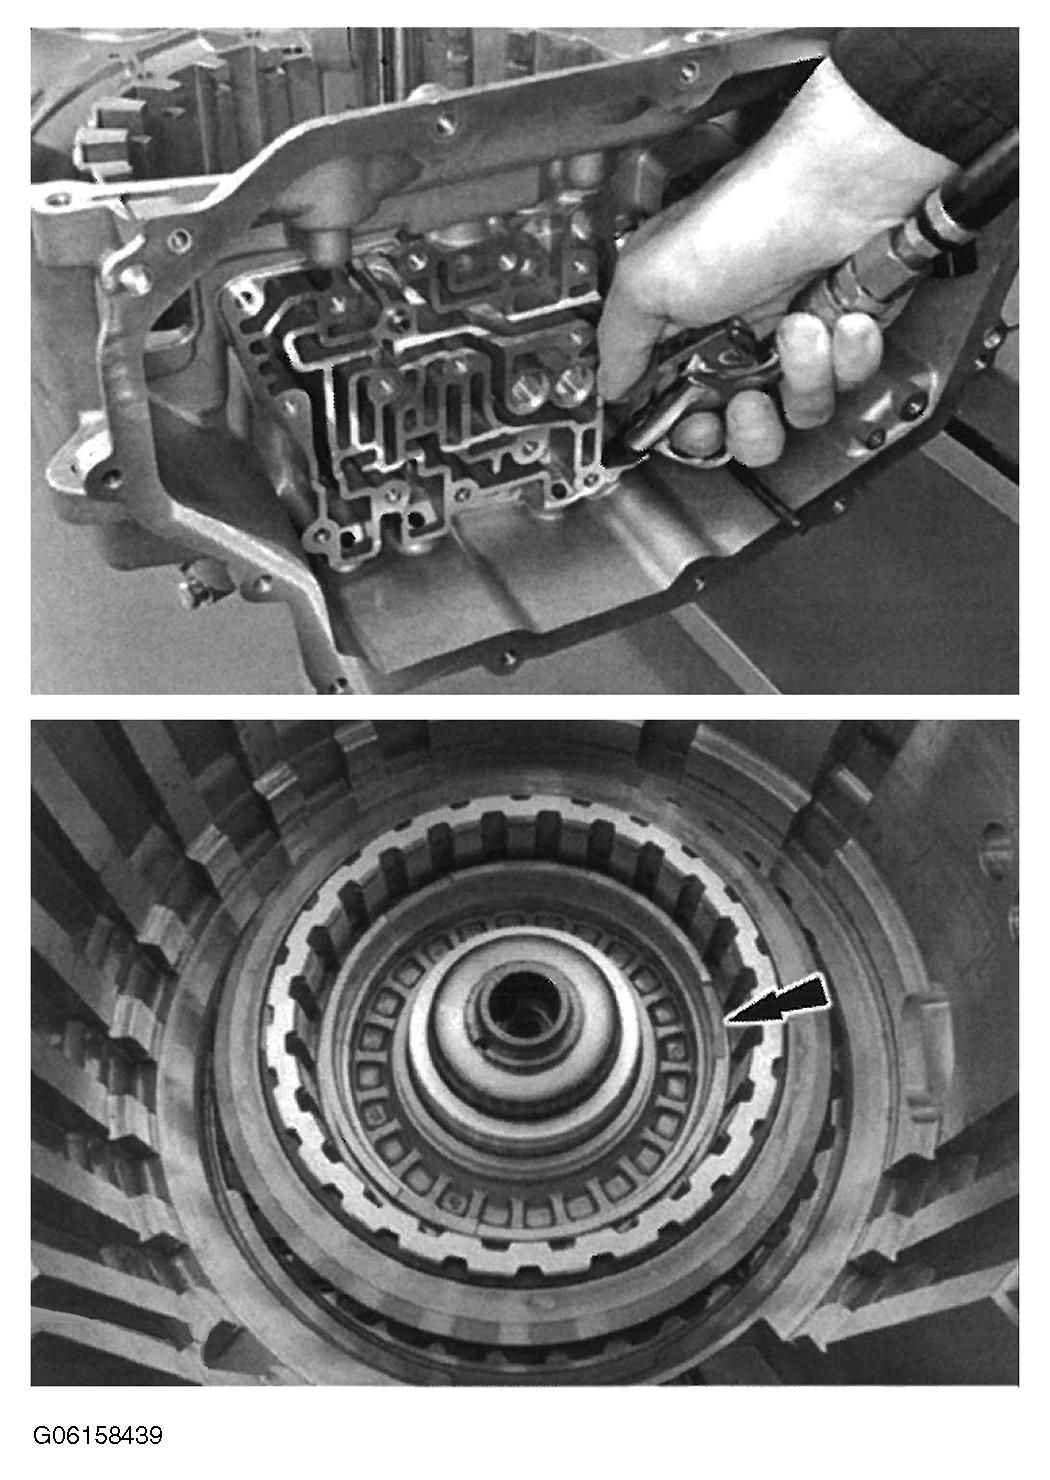
- Apply compressed air to the O/D (4, 5, 6) clutch piston port and remove the O/D (4, 5, 6) clutch piston.
 Courtesy of MAZDA MOTORS CORP.
- Remove the O/D/direct clutch assembly from the transaxle case.
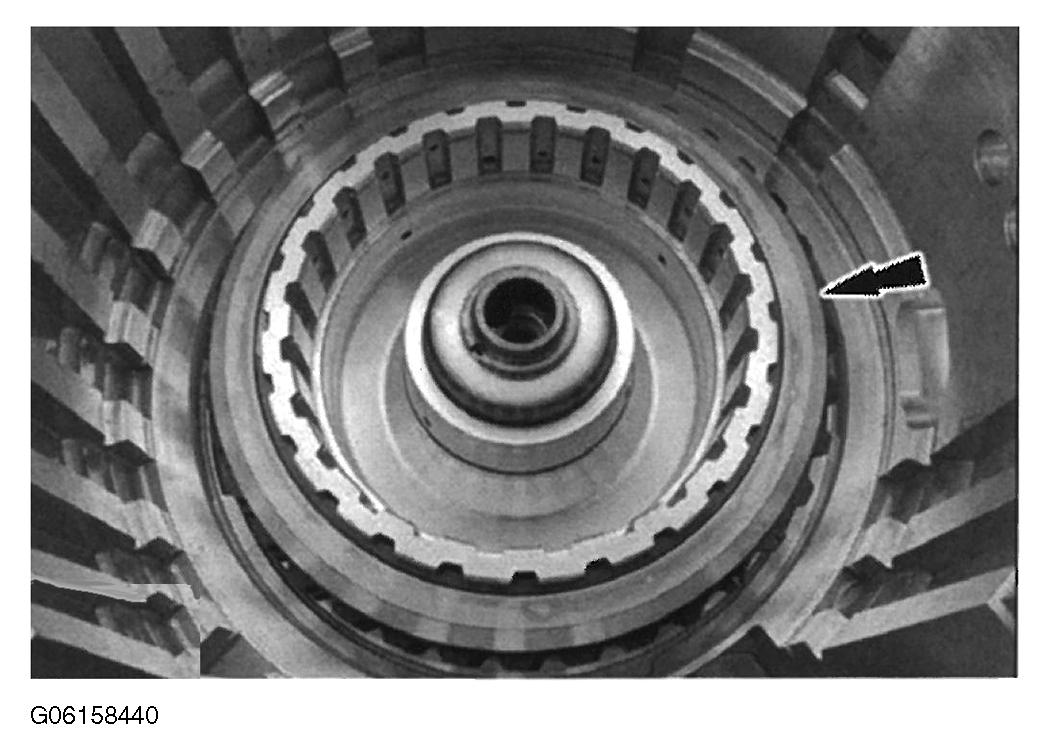 Courtesy of MAZDA MOTORS CORP.
- Remove the O/D (4, 5, 6) clutch piston seal from the O/D/direct clutch assembly.
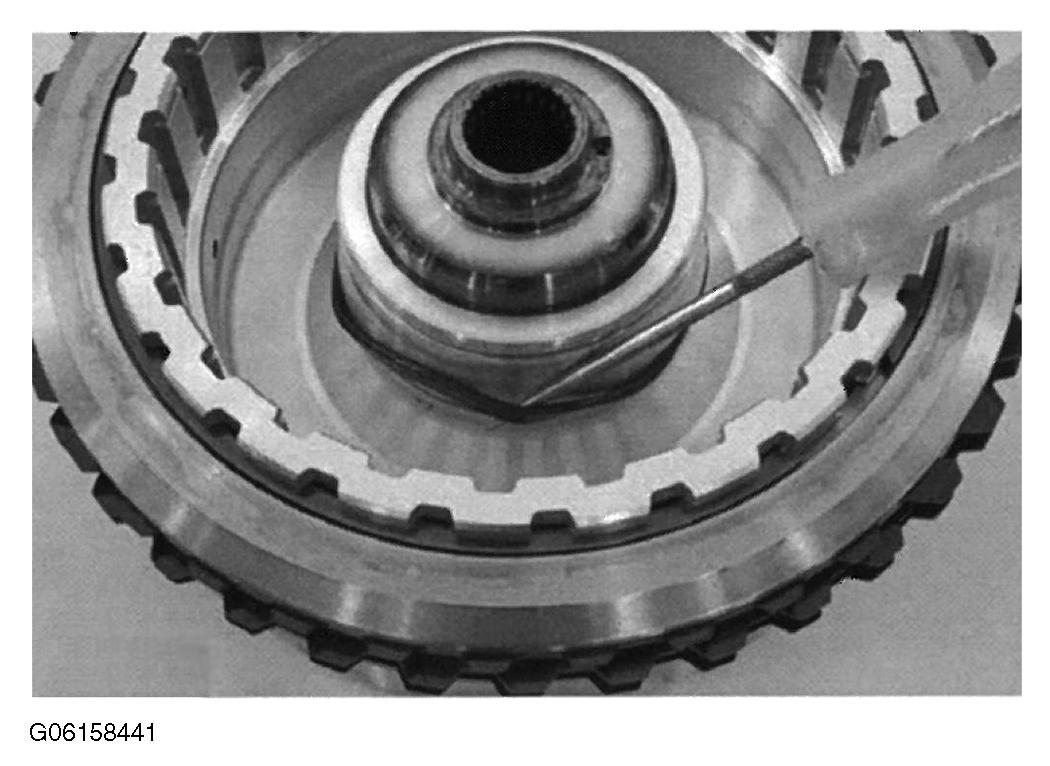 Courtesy of MAZDA MOTORS CORP.
- Remove the 2 seals from the O/D (4, 5, 6) clutch piston.
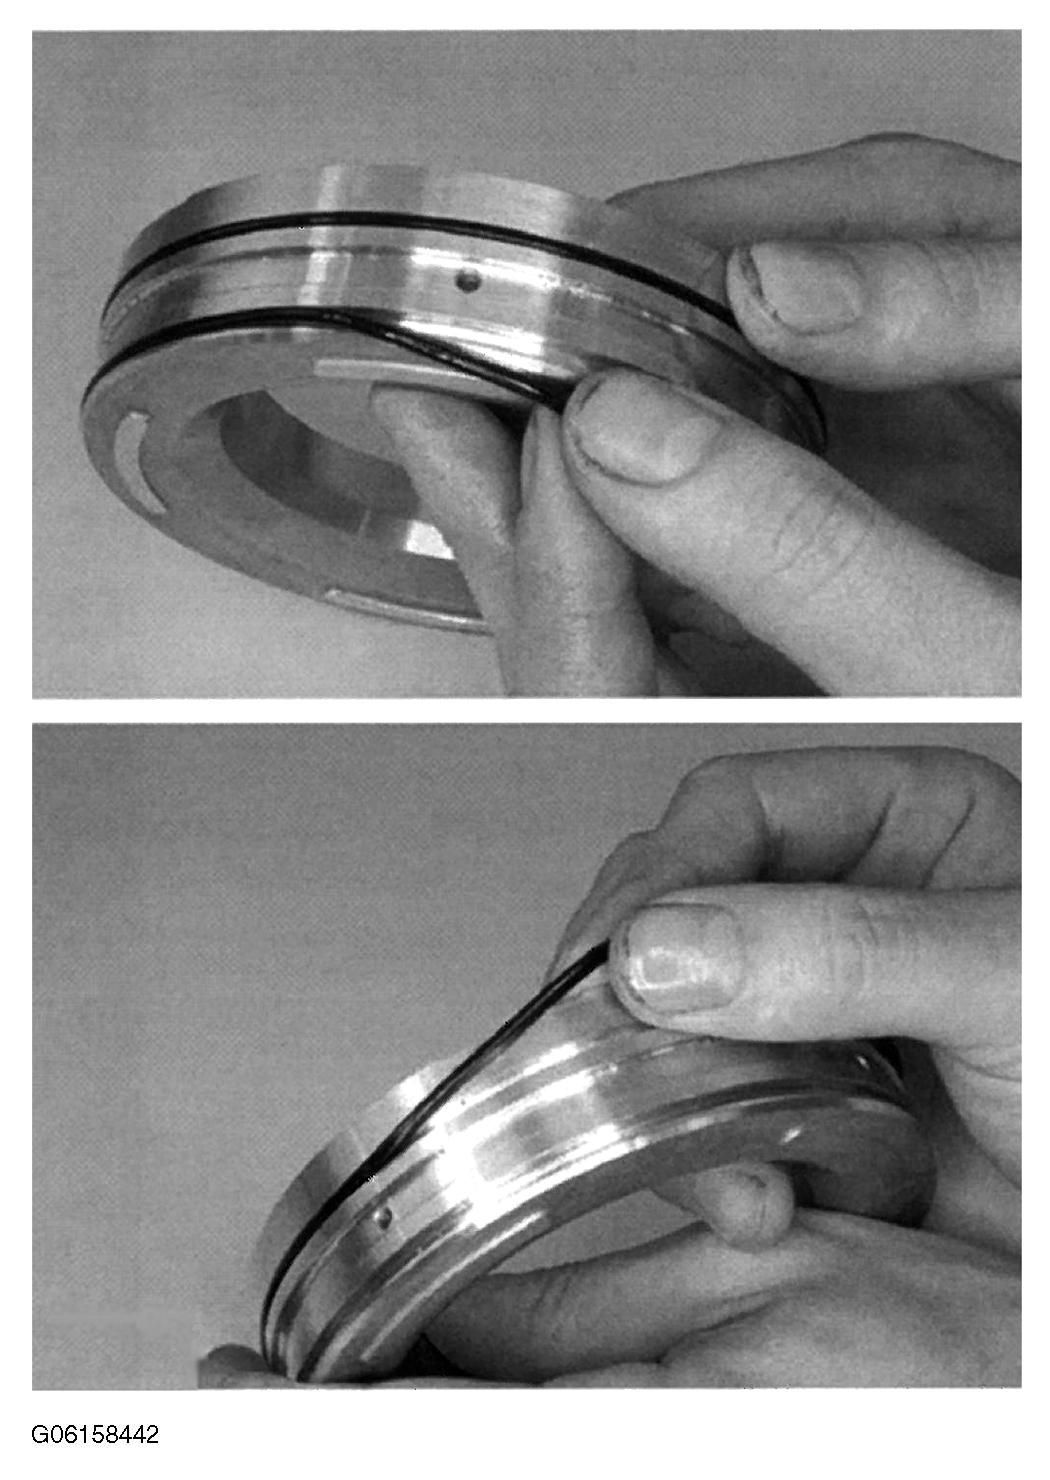 Courtesy of MAZDA MOTORS CORP.
- Install Overdrive Clutch and Balance Piston Service Set and 2-6 Spring Compressor on the direct (3, 5, R) clutch cylinder. Using a press, compress the direct (3, 5, R) clutch piston return spring, and remove the snap ring.
CAUTION:
- Only compress the direct clutch piston return spring far enough to take the tension from the direct clutch cylinder off the snap ring. If the piston is compressed too far, the piston alignment tab may be broken off.
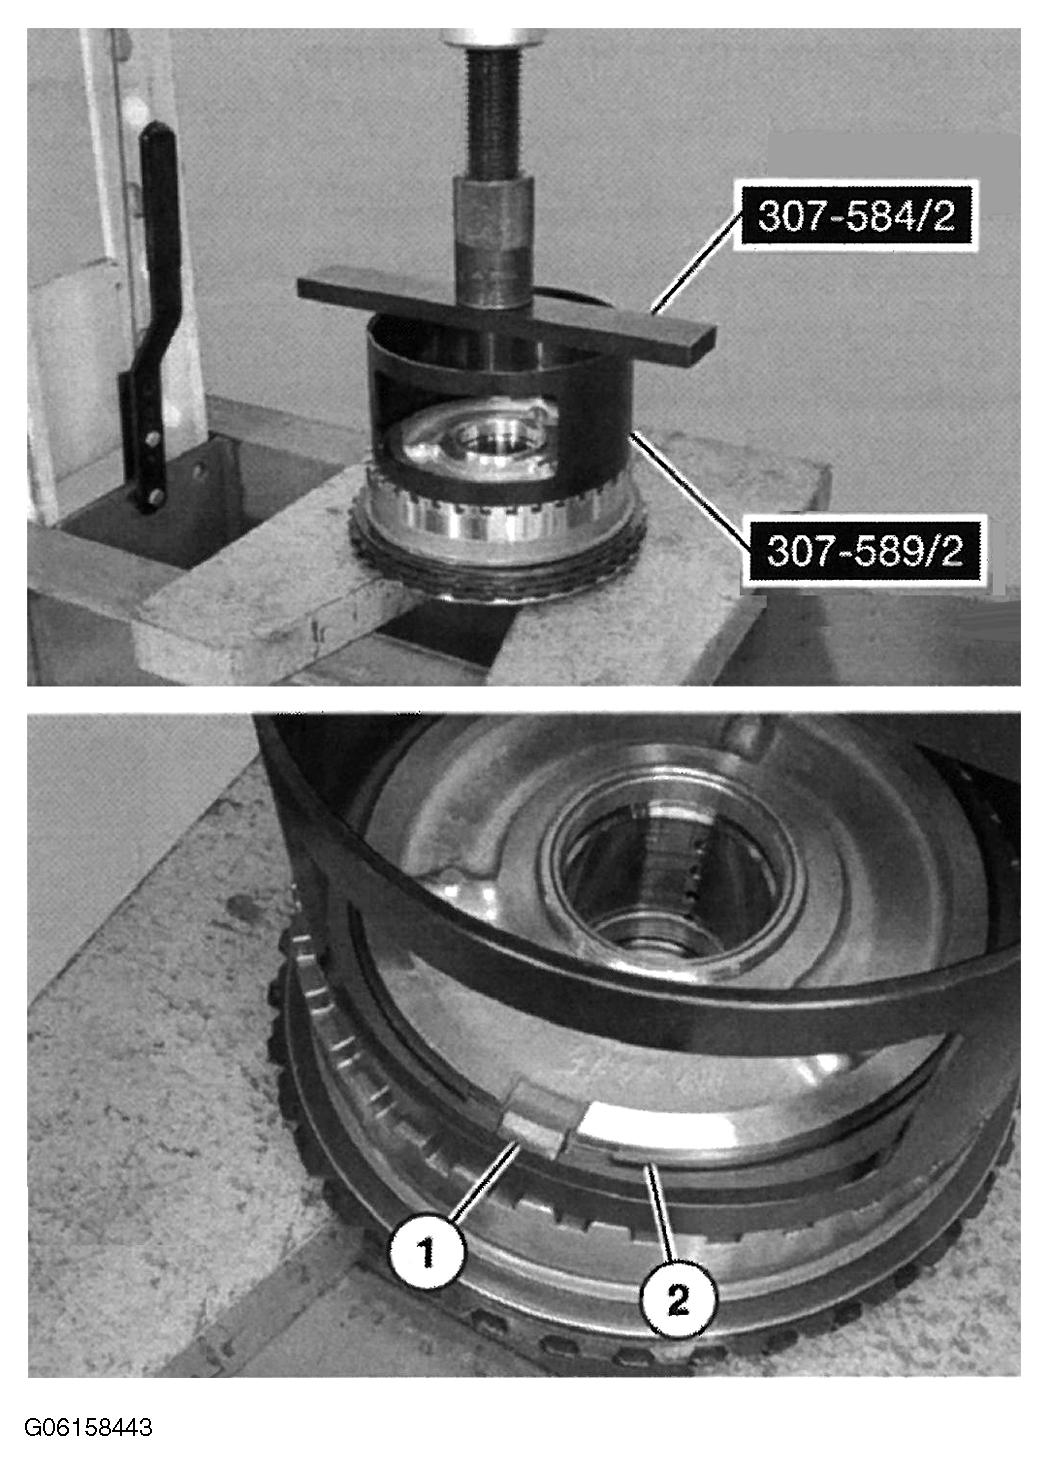 Courtesy of MAZDA MOTORS CORP.
- Remove Overdrive Clutch and Balance Piston Service Set and 2-6 Spring Compressor.
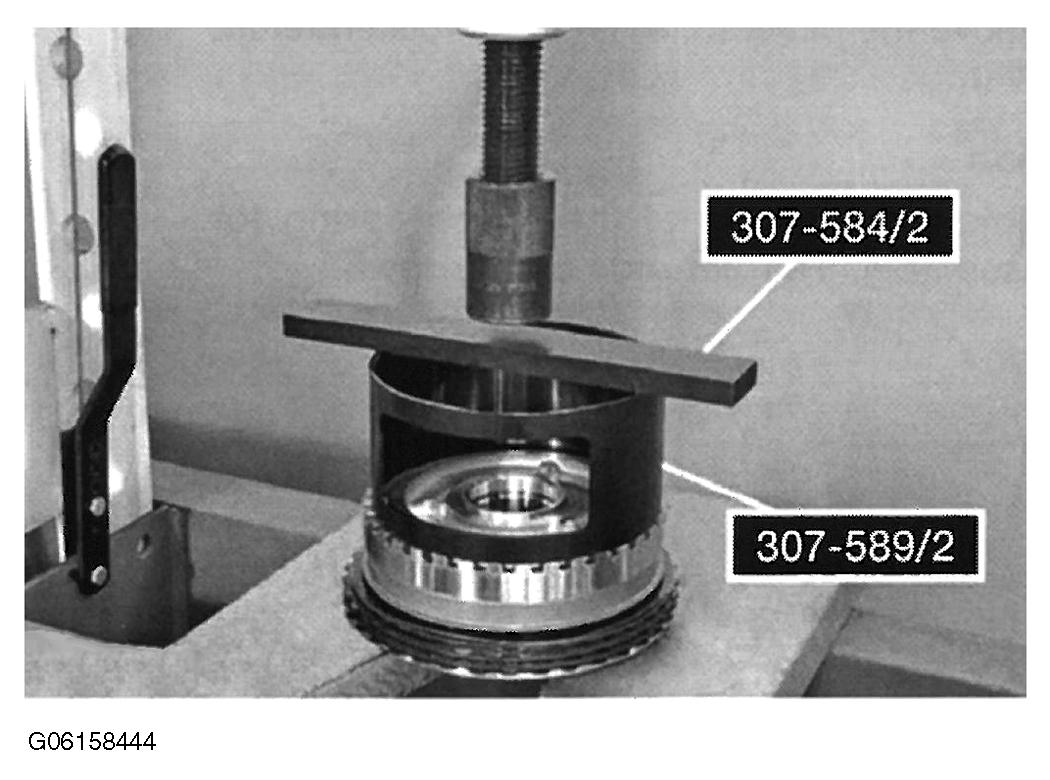 Courtesy of MAZDA MOTORS CORP.
- Remove the direct (3, 5, R) clutch cylinder.
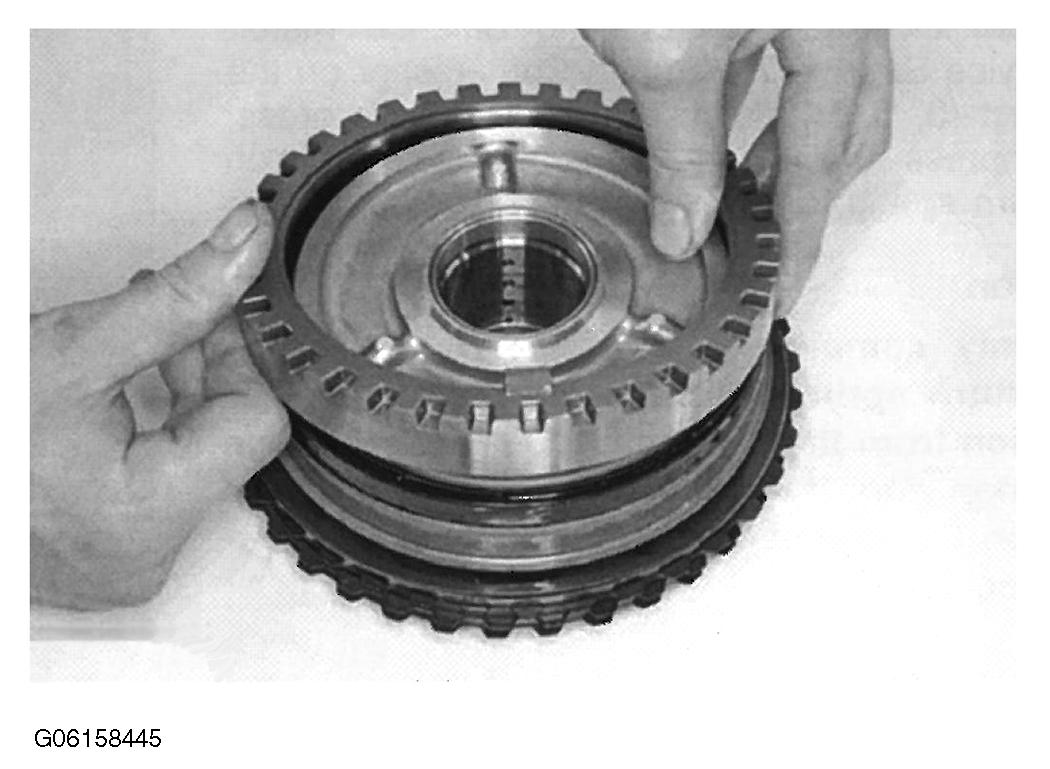 Courtesy of MAZDA MOTORS CORP.
- Remove and discard the direct (3, 5, R) clutch piston.
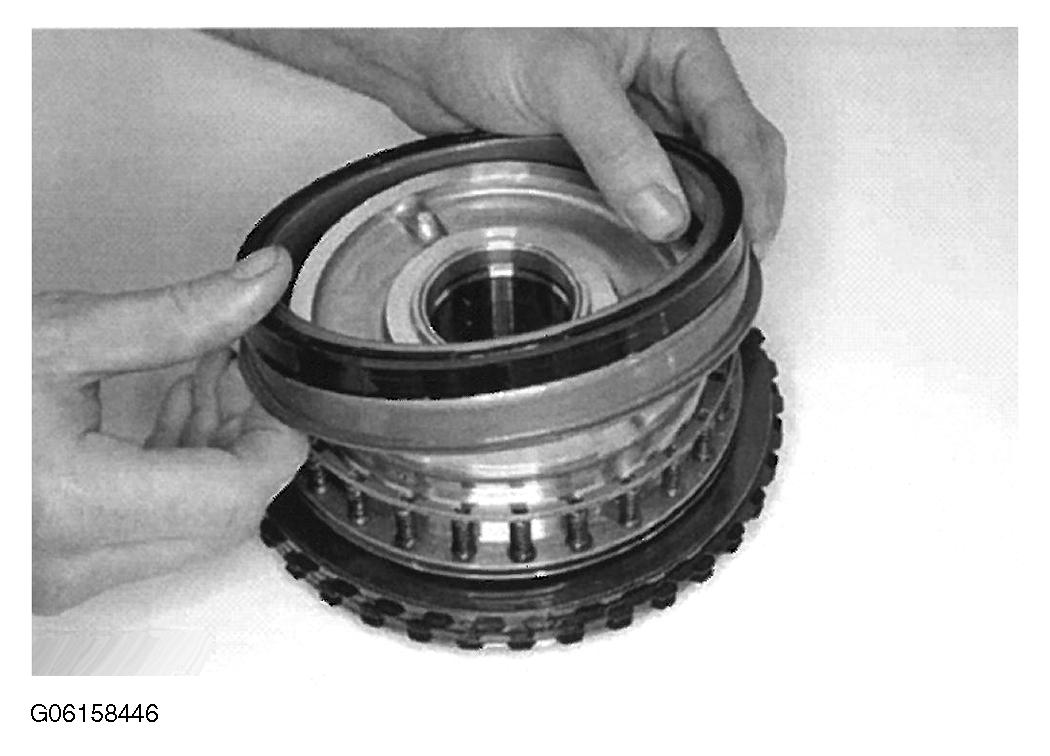 Courtesy of MAZDA MOTORS CORP.
- Remove the direct (3, 5, R) clutch piston return spring.
CAUTION:
- Note the position of the return spring for assembly. The flat side faces down.
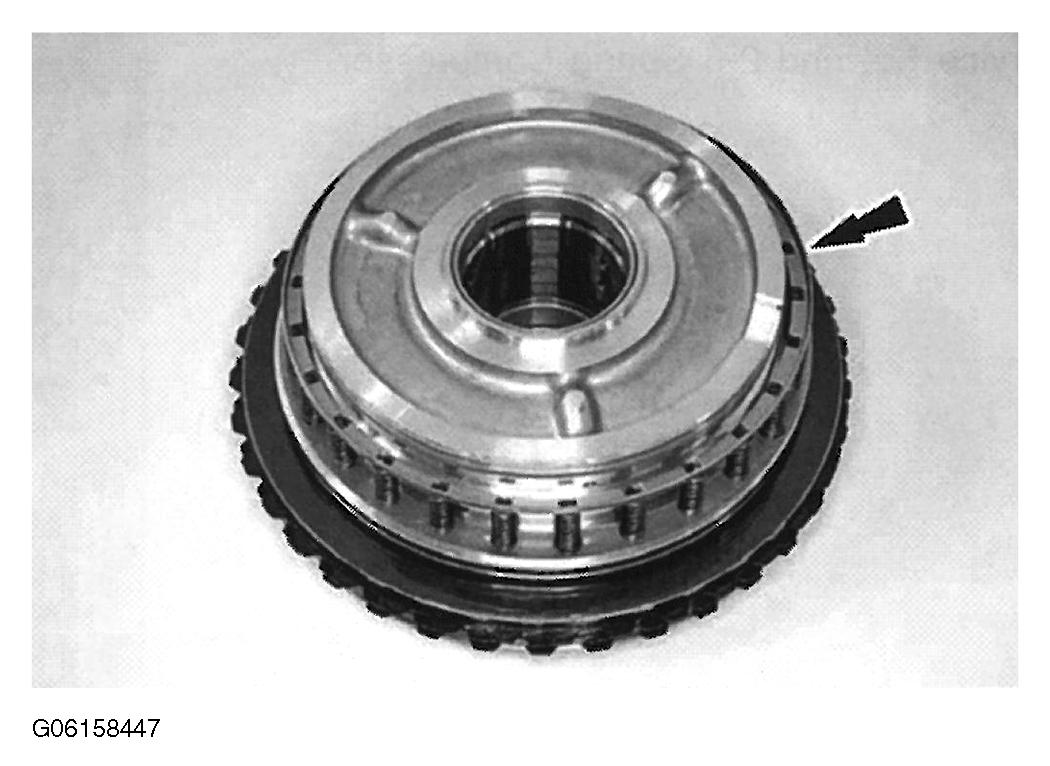 Courtesy of MAZDA MOTORS CORP.
- Remove the direct (3, 5, R) clutch snap ring.
- Slightly lift up on the direct (3, 5, R) clutch so that the snap ring floats freely.
- Using a suitable tool, compress the snap ring.
- Allow the direct (3, 5, R) clutch and pressure plate to drop so that the snap ring is out of the pressure plate groove.
- Remove the snap ring.
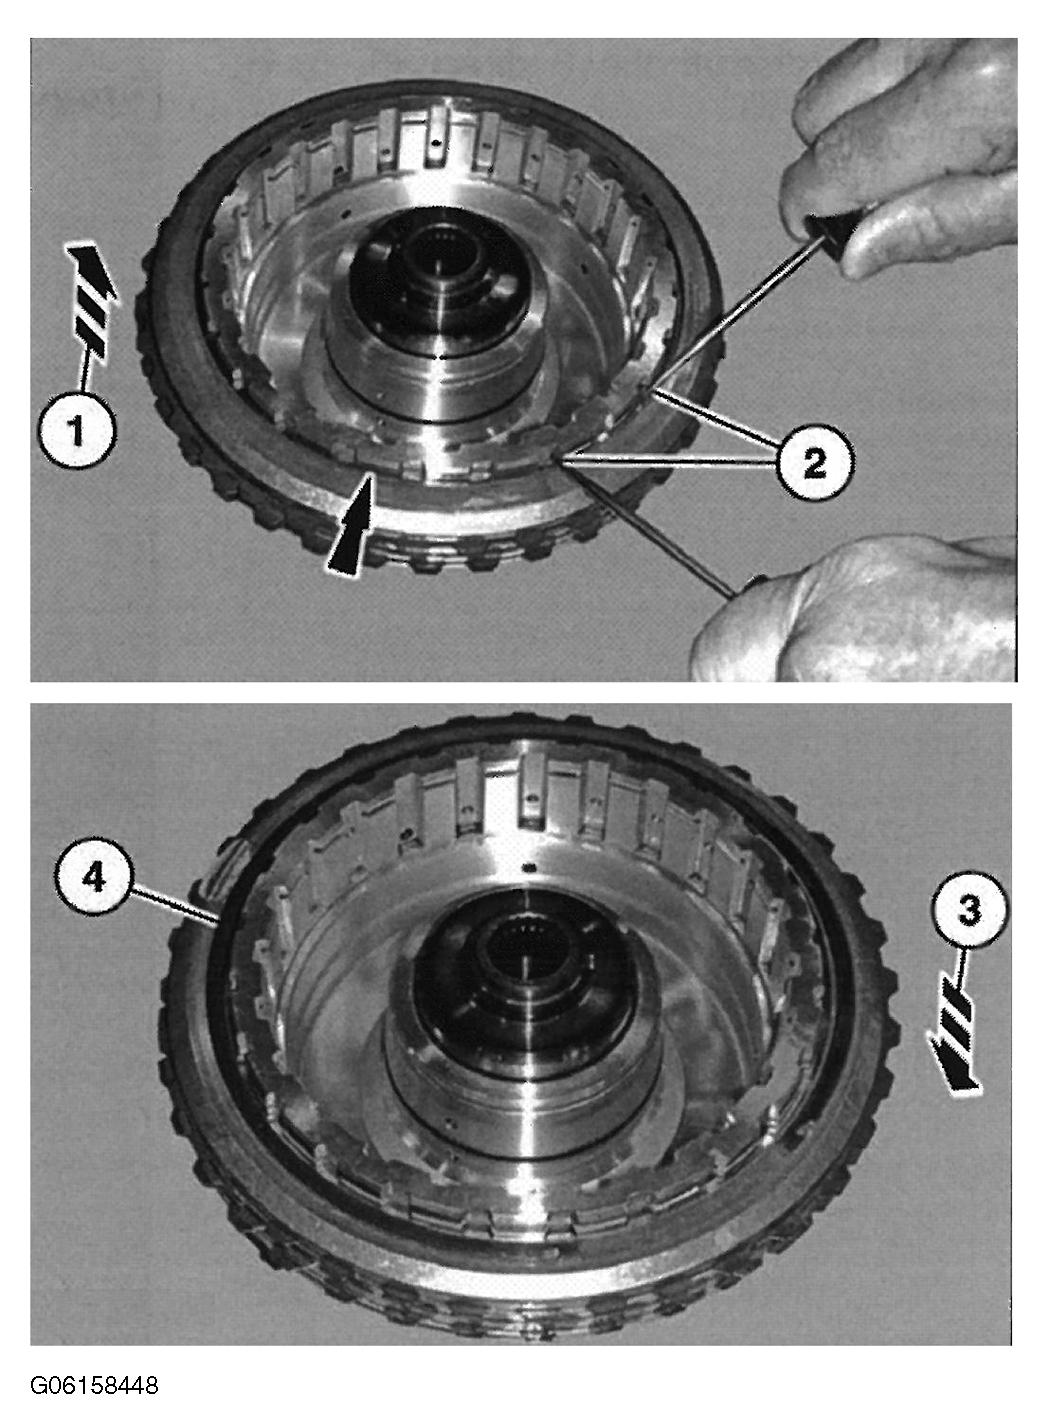 Courtesy of MAZDA MOTORS CORP.
- Remove the direct (3, 5, R) clutch pressure plate, clutch pack and wave spring.
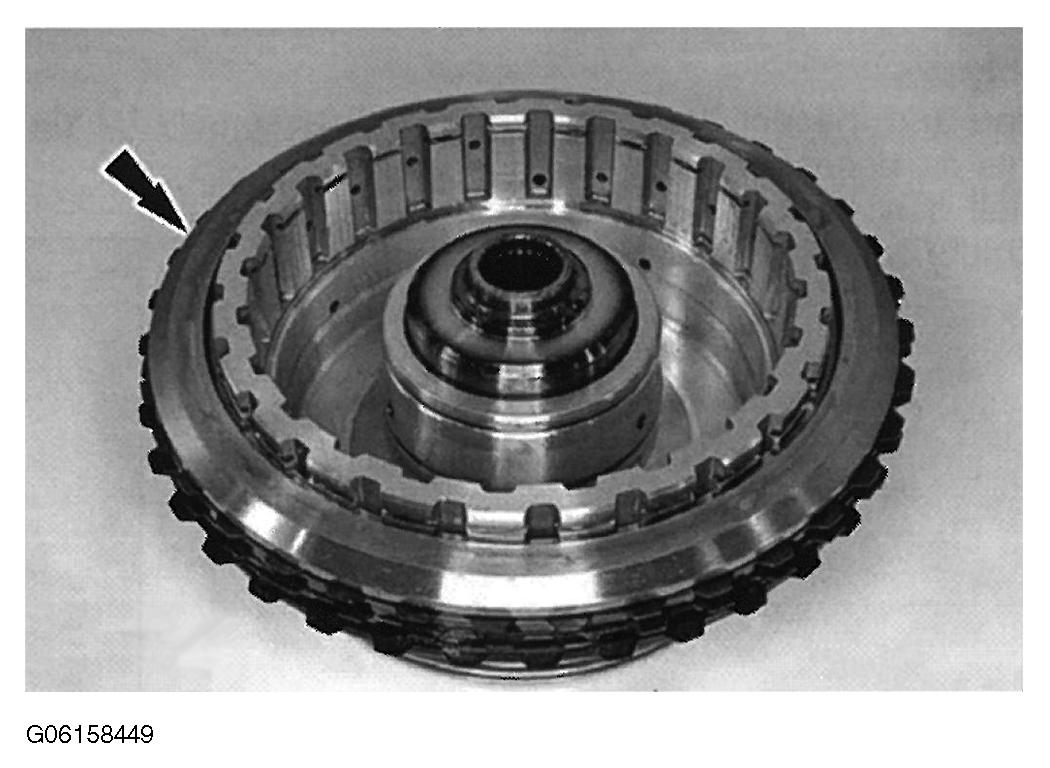 Courtesy of MAZDA MOTORS CORP.
- Remove and discard the 3 direct (3, 5, R) clutch piston seals.
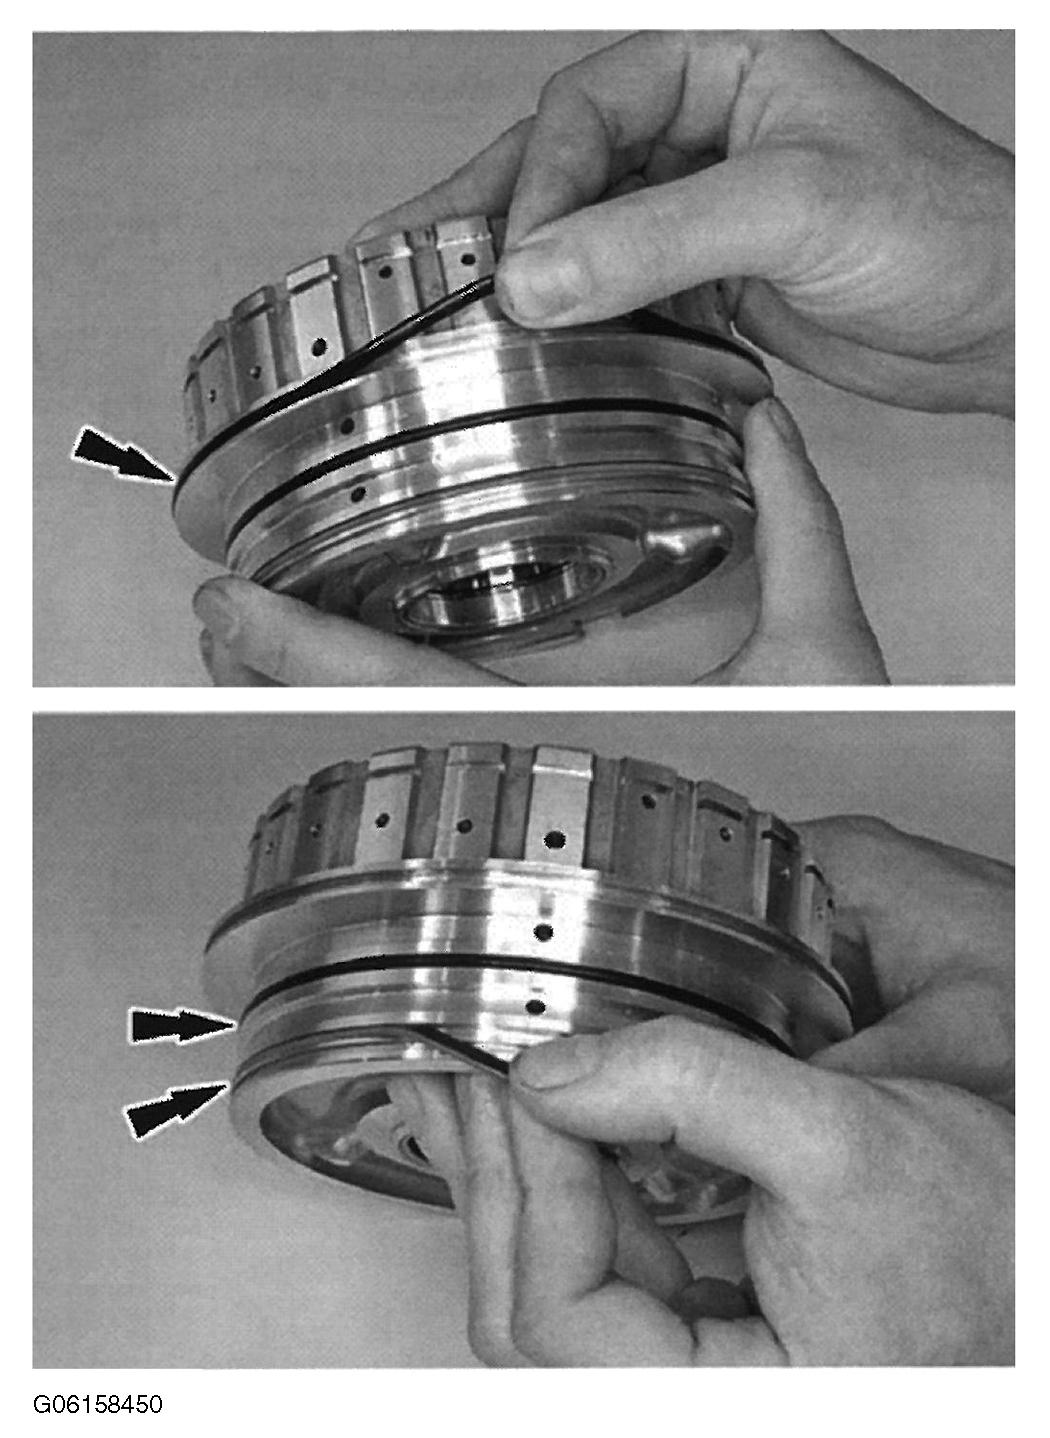 Courtesy of MAZDA MOTORS CORP.