Main Control Cover Removal/Installation: Installation
- Clean the main control cover sealing surface and inspect for damage.
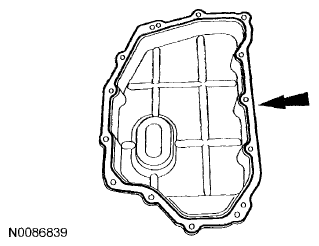 Courtesy of MAZDA MOTORS CORP.
- Apply silicone to the main control sealing surface of the transaxle case.
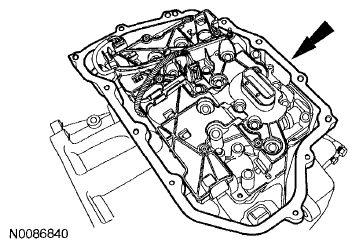 Courtesy of MAZDA MOTORS CORP.
- Position the main control cover in place.
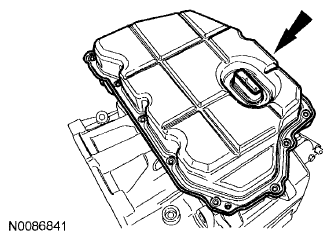 Courtesy of MAZDA MOTORS CORP.
- Tighten the 8 main control cover bolts and 5 stud bolts.
- Tighten to 12 N.m {1.2 kgf.m, 106 in.lbf}.
NOTE:
- Inspect the main control-to-main control cover grommet to make sure that the seals is on the inside of the main control cover. Transaxle fluid leak will occur.
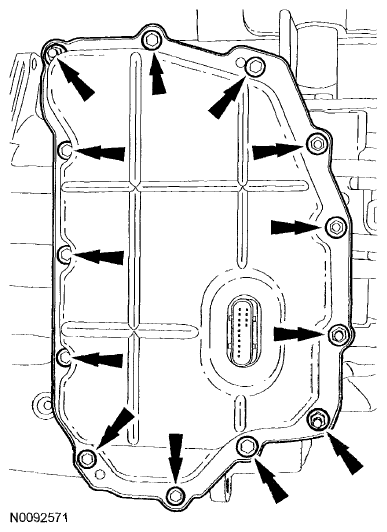 Courtesy of MAZDA MOTORS CORP.
- Position the transaxle fluid cooler tube bracket and transaxle fluid cooler tube assembly in place and install the 2 nuts.
- Tighten to 9 N.m {0.9 kgf.m, 80 in.lbf}.
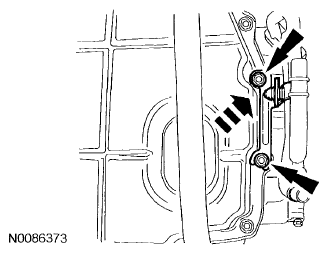 Courtesy of MAZDA MOTORS CORP.
- Connect the transaxle electrical connector.
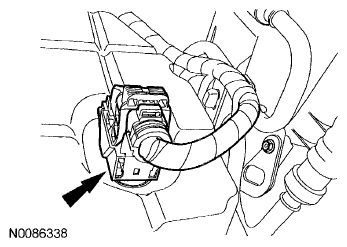 Courtesy of MAZDA MOTORS CORP.
- Connect the transaxle electrical wiring harness retainers.
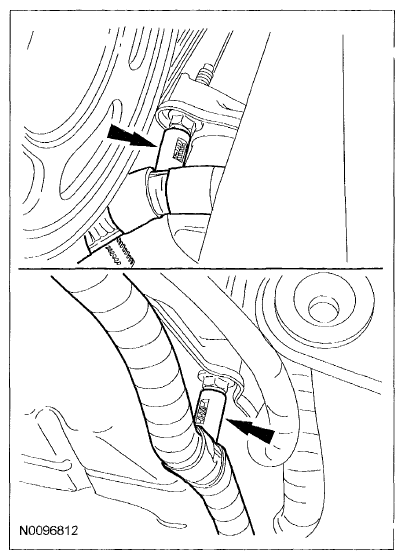 Courtesy of MAZDA MOTORS CORP.
- Install the ACL assembly.
- Install the ACL assembly bracket bolt.
- Tighten to 11 N.m {1.1 kgf.m, 97 in.lbf}.
- Connect the MAF sensor electrical connector.
- Connect the brake booster vacuum hose to the ACL outlet pipe.
- Attach the wiring harness fastener to the ACL assembly.
- Connect the engine breather to the ACL assembly.
- Tighten the ACL outlet pipe clamp at the TB.
- Tighten to 5 N.m {0.5 kgf.m, 44 in.lbf}.
- Fill with clean transaxle fluid to the correct level.
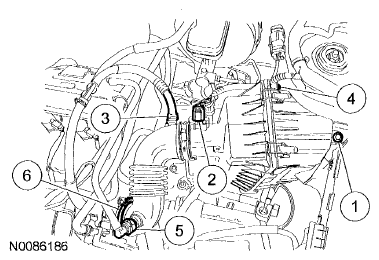 Courtesy of MAZDA MOTORS CORP.