Removal and Installation
- Remove the main control cover and gasket. See
DISASSEMBLED VIEWS
.
 Courtesy of MAZDA MOTORS CORP.
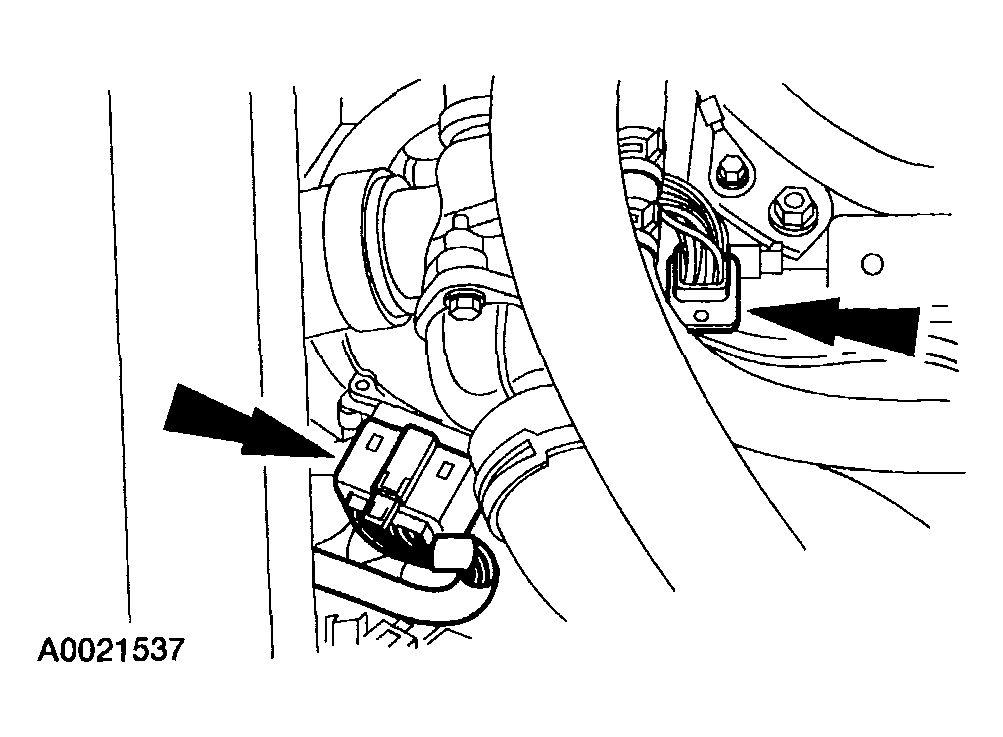
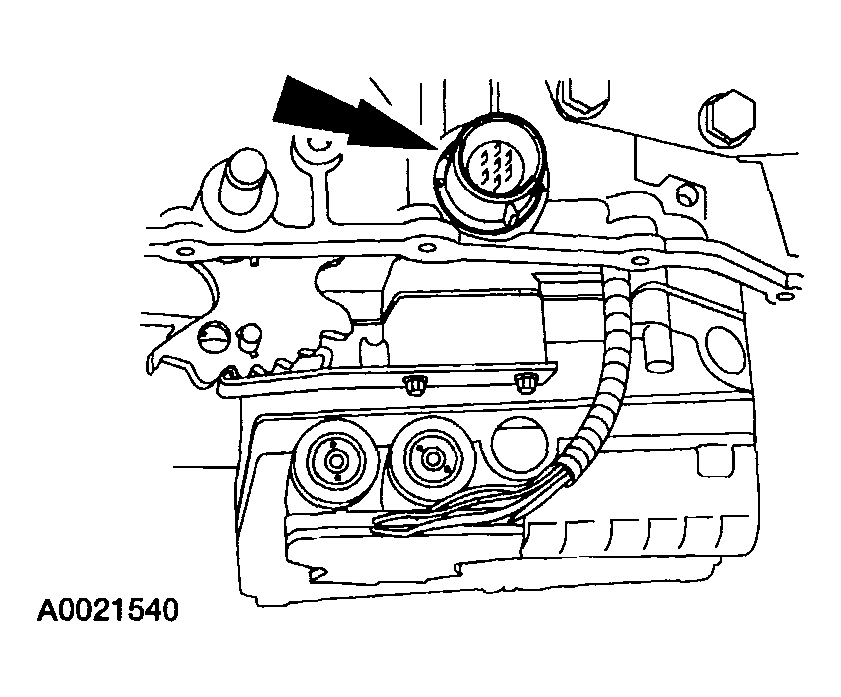
- Disconnect the transaxle wiring harness electrical connector and the transmission range (TR) sensor electrical connector.
 Courtesy of MAZDA MOTORS CORP.
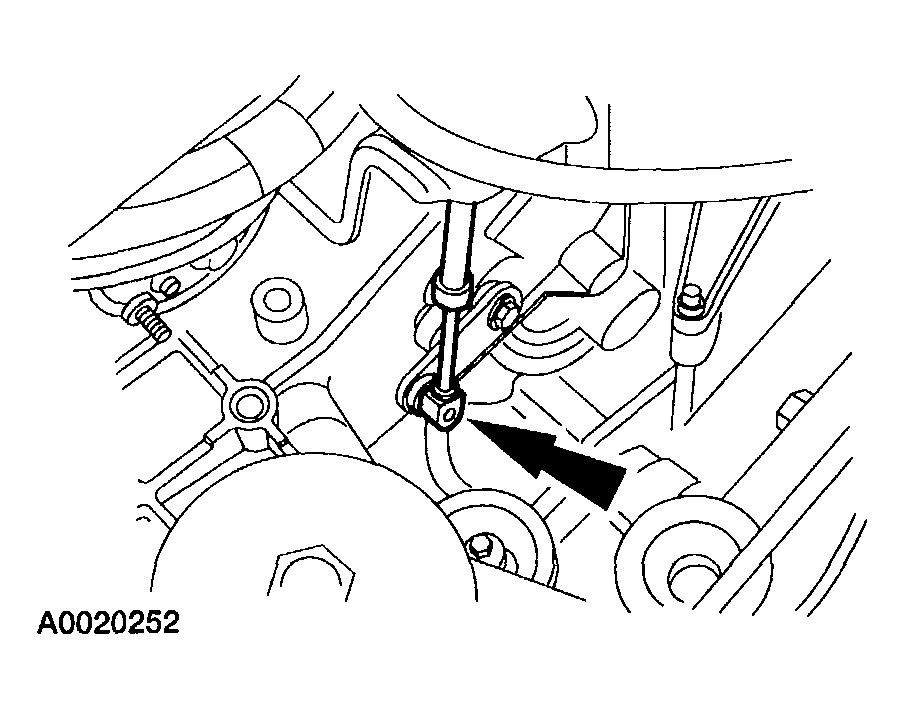
- Disconnect the shift cable.
 Courtesy of MAZDA MOTORS CORP.
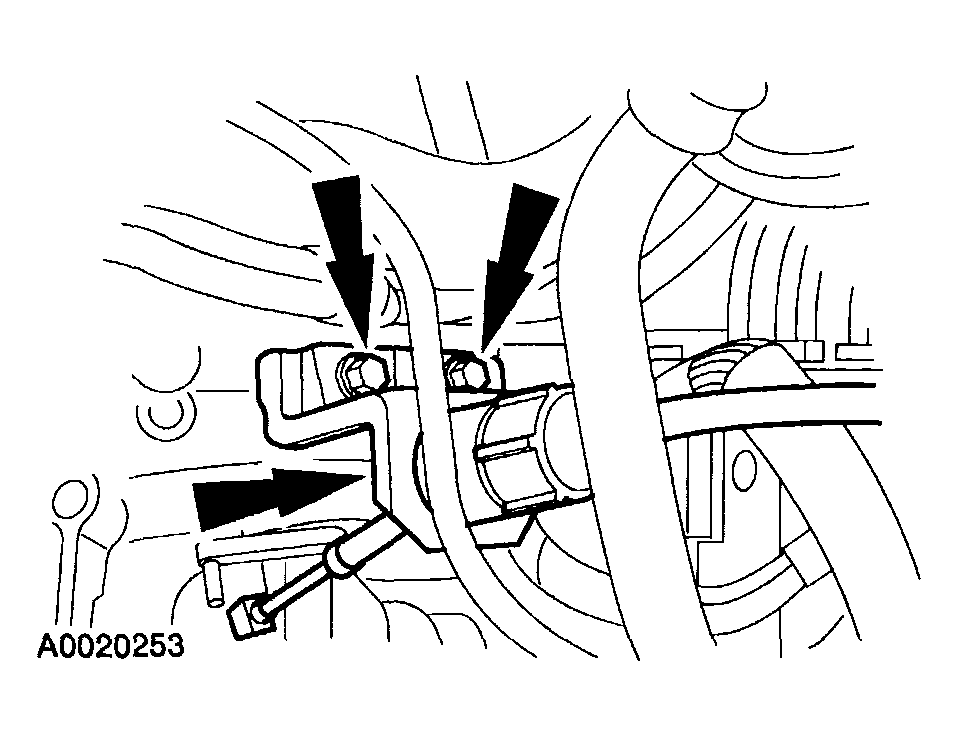
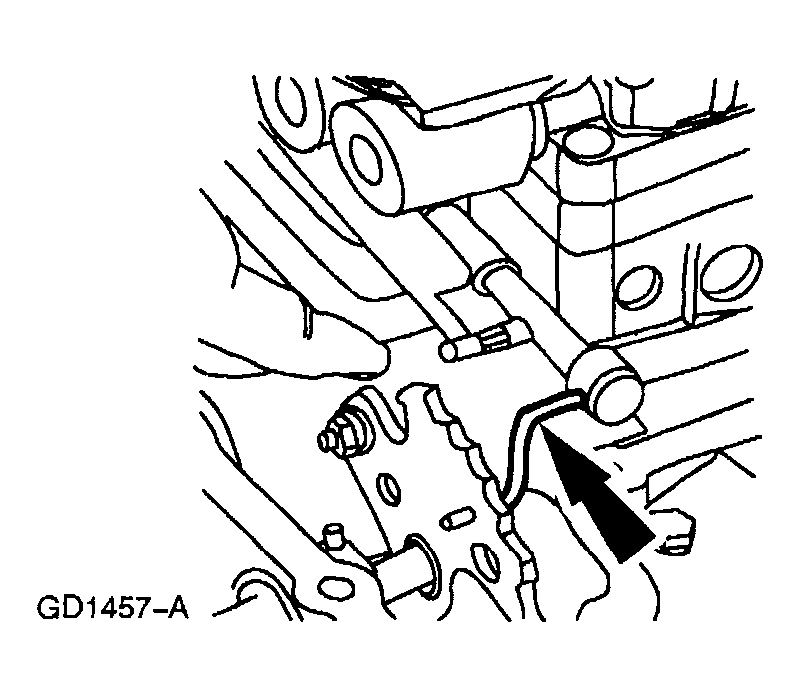
- Remove the shift cable and bracket and position it aside.
 Courtesy of MAZDA MOTORS CORP.
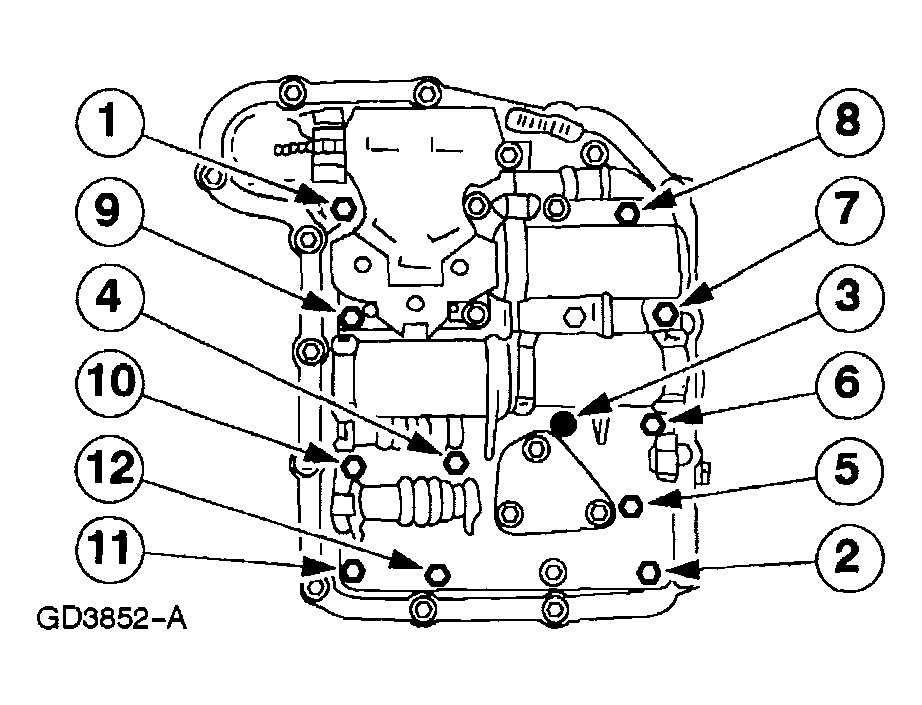
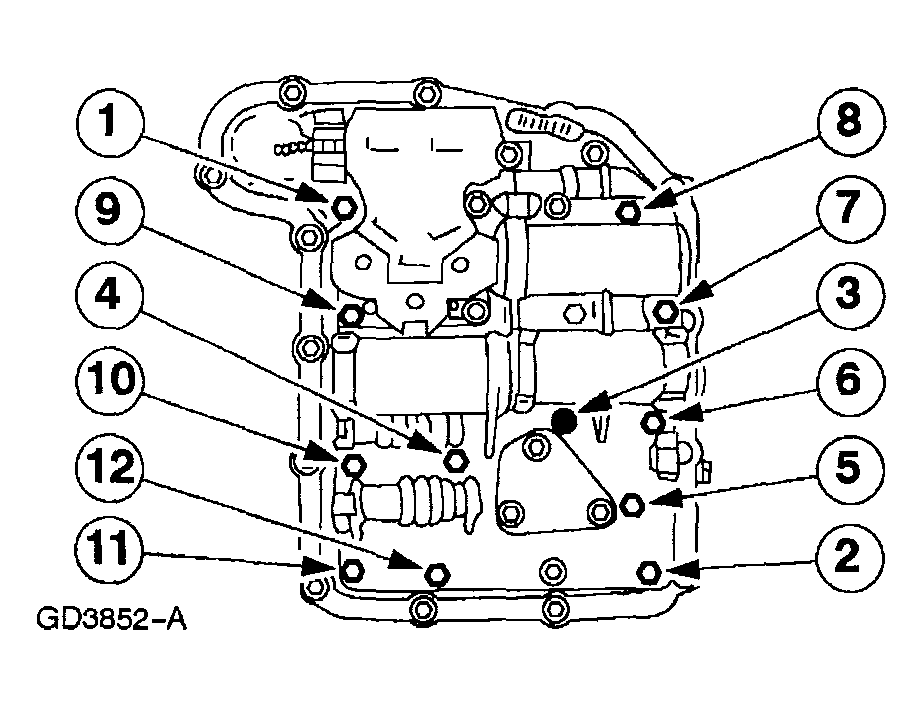
- Remove the main control valve body bolts in the sequence shown.
 Courtesy of MAZDA MOTORS CORP.
NOTE:
- Do not damage the manual valve.
- Lift the main control valve body while disconnecting the manual valve link.
 Courtesy of MAZDA MOTORS CORP.
- Depress the retaining tabs and push the solenoid valve body electrical connector down through the transaxle case.
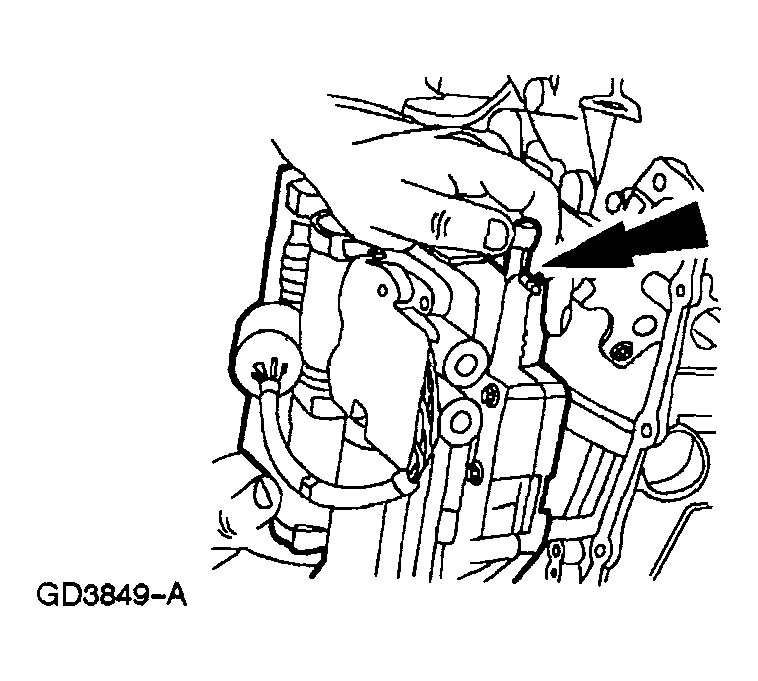 Courtesy of MAZDA MOTORS CORP.
- Make sure the manual valve control lever does not fall out of the main control valve body while removing from the vehicle.
NOTE:
- Inspect the solenoid valve body harness connector O-ring seal for damage. If damaged, install a new O-ring seal, before installing the connector into the case.
 Courtesy of MAZDA MOTORS CORP.
NOTE:
- Tighten the main control cover in the indicated sequence.
- To install reverse the removal procedure.