Forward/Coast/Direct Clutches: Disassembly
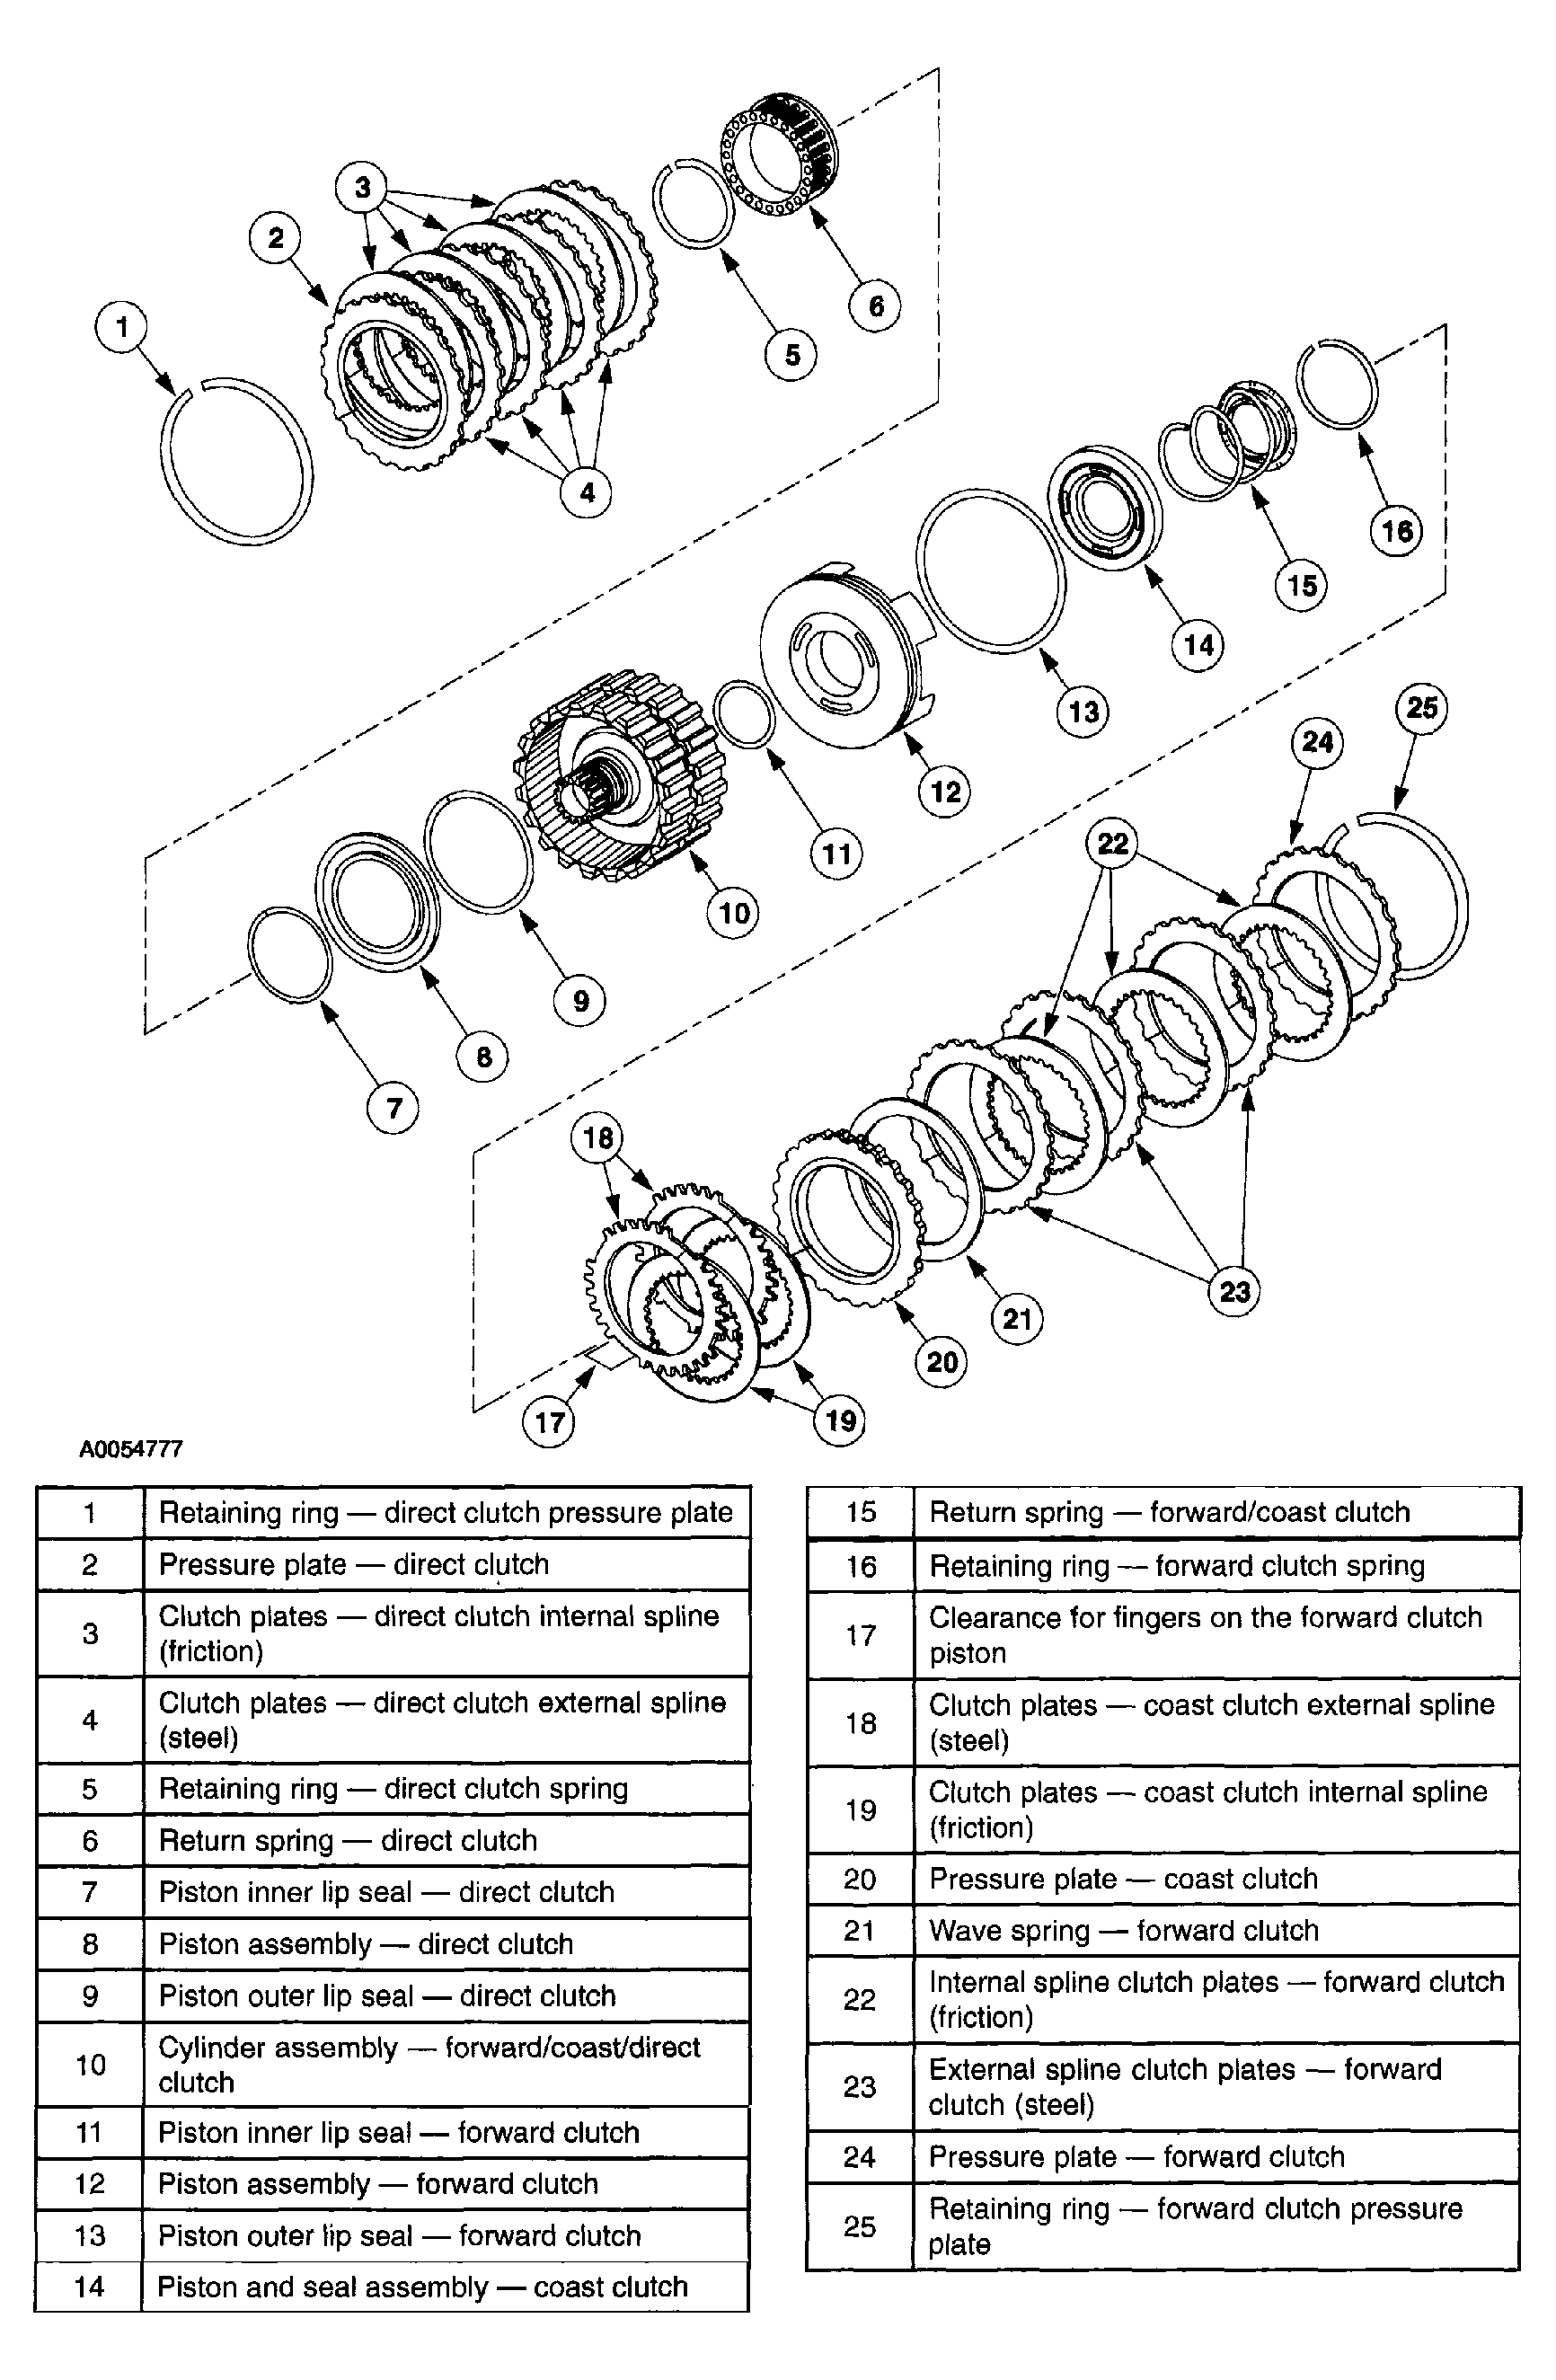 Courtesy of MAZDA MOTORS CORP.
 Courtesy of MAZDA MOTORS CORP.
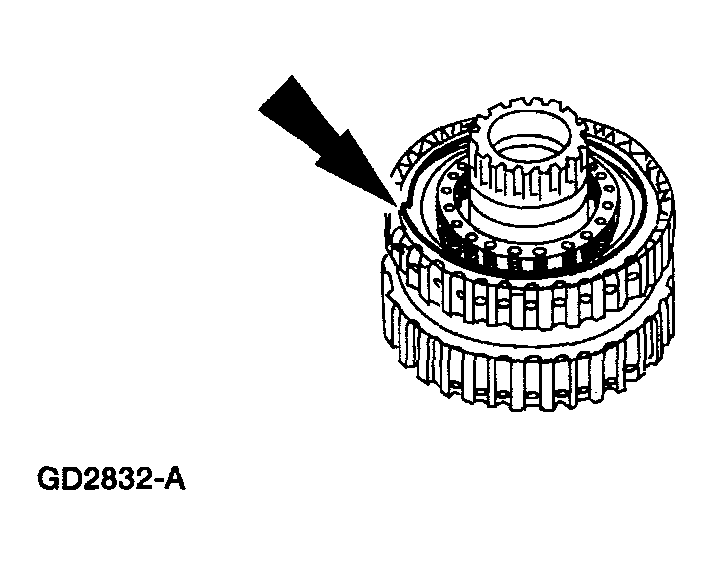
- Remove the direct clutch pressure plate retaining ring.
 Courtesy of MAZDA MOTORS CORP.
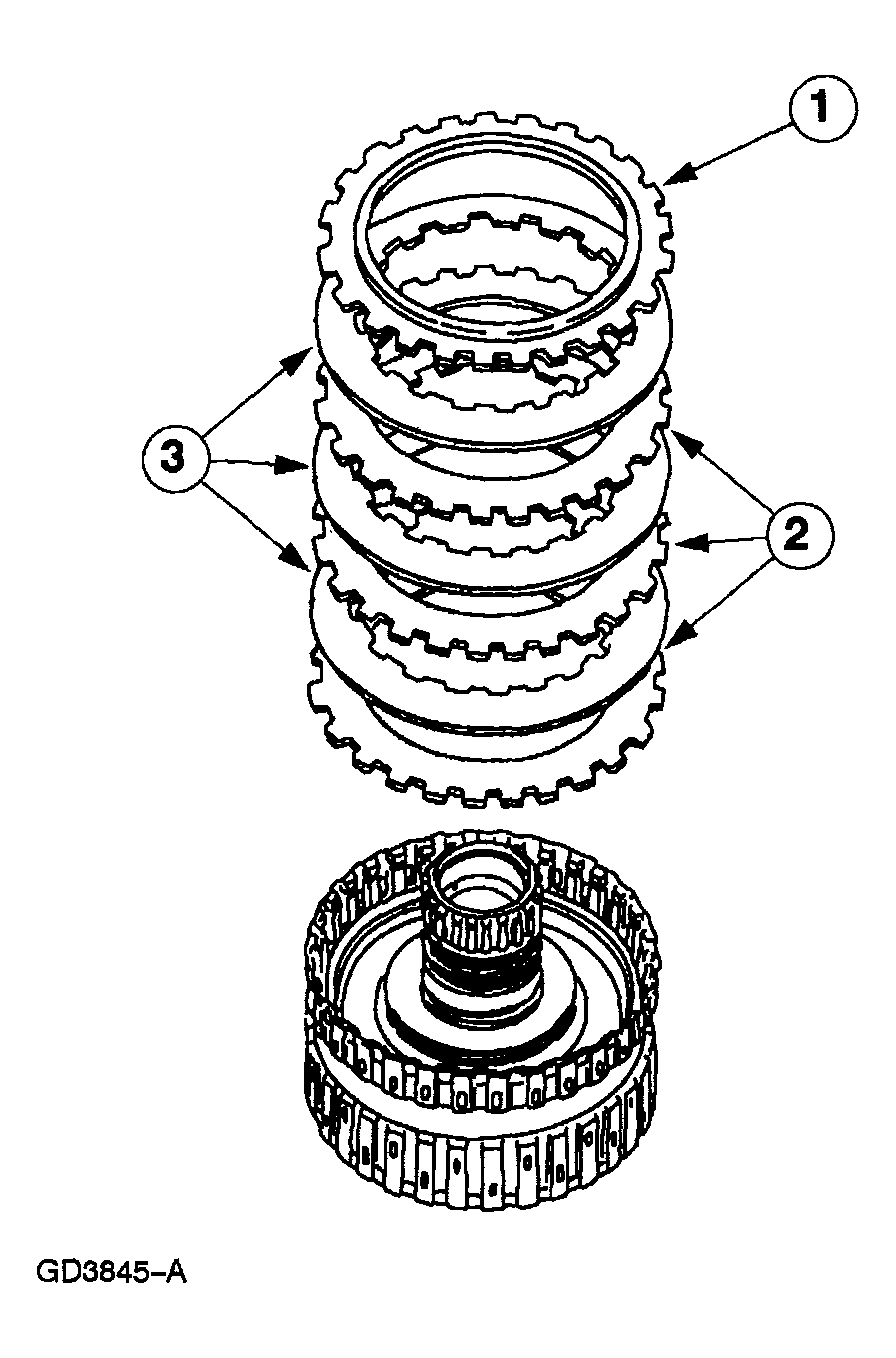
- Disassemble the direct clutch pack.
- Remove the direct clutch pressure plate.
- Remove the direct clutch steel plates.
- Remove the direct clutch friction plates.
 Courtesy of MAZDA MOTORS CORP.
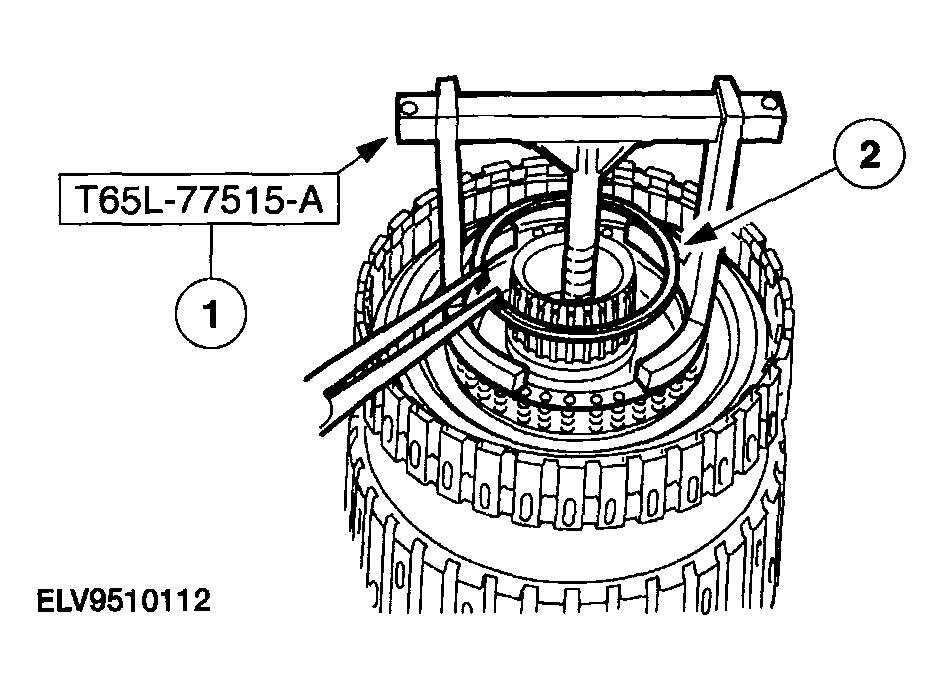
WARNING:
- Use caution when releasing tool pressure on the clutch piston springs. Failure to follow these instructions may result in personal injury.
CAUTION:
- Do not compress the direct clutch return springs completely.
- Remove the direct clutch spring retaining ring.
- Using the special tool, compress the direct clutch return springs.
- Remove the direct clutch return spring retaining ring.
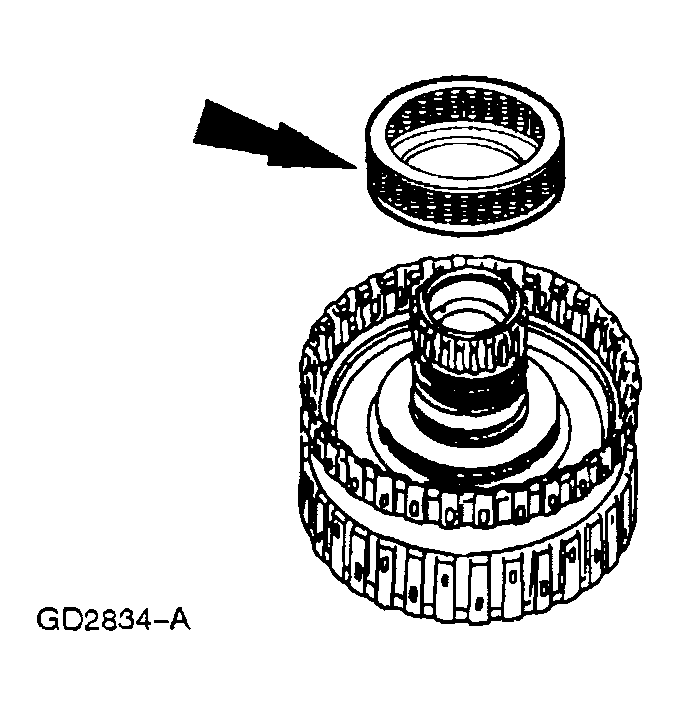 Courtesy of MAZDA MOTORS CORP.
- Remove the direct clutch return spring assembly.
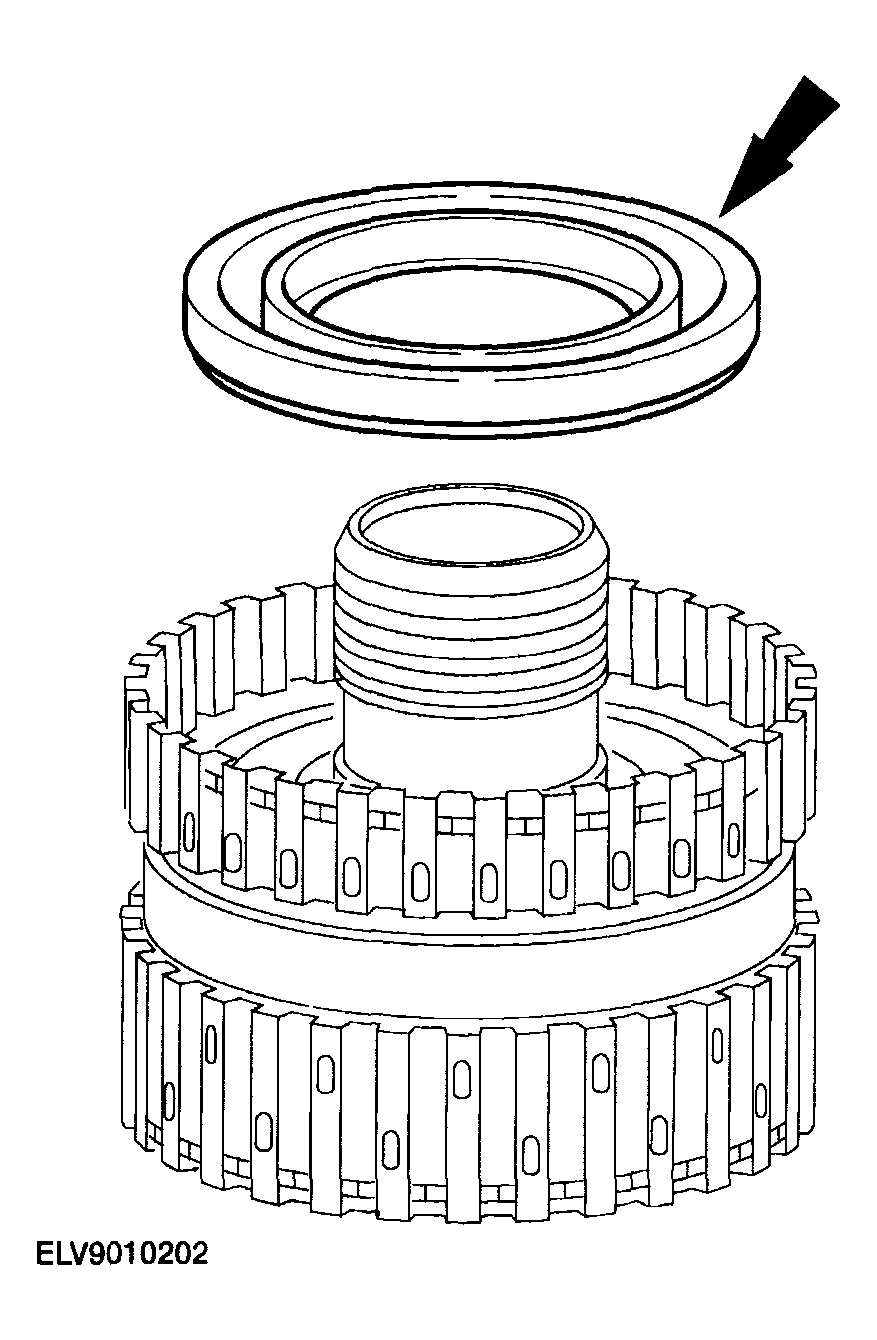 Courtesy of MAZDA MOTORS CORP.
- Remove the direct clutch piston assembly.
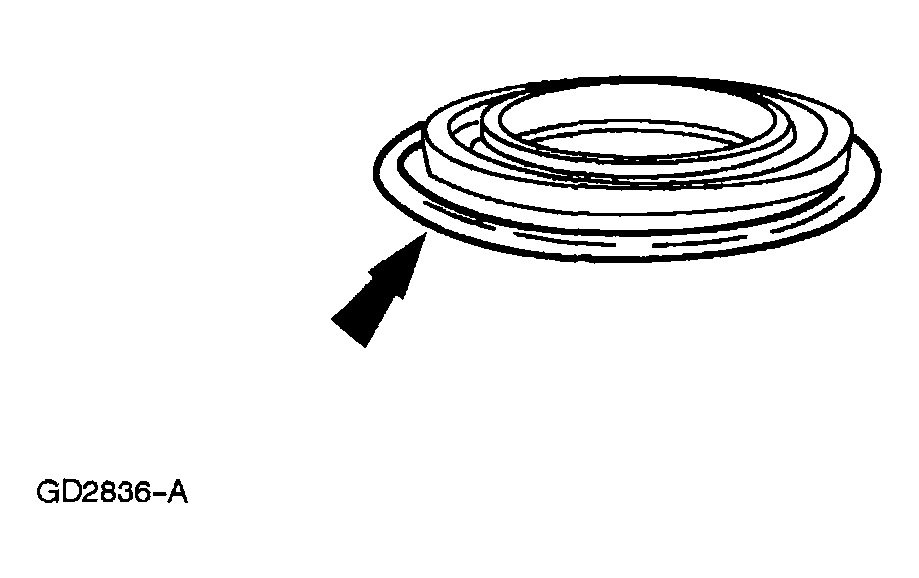 Courtesy of MAZDA MOTORS CORP.
- Remove and discard the direct clutch piston outer lip seal.
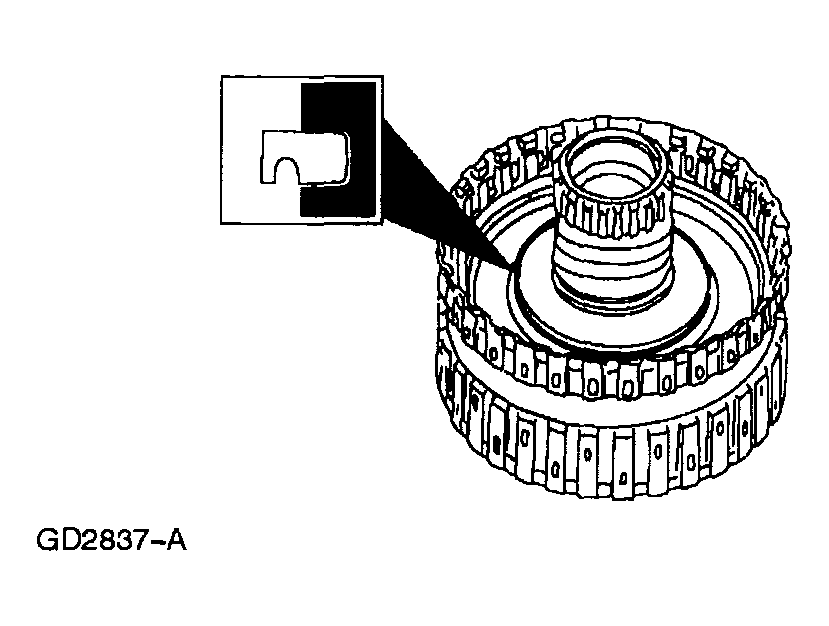 Courtesy of MAZDA MOTORS CORP.
- Remove and discard the direct clutch piston inner lip seal from the forward/coast/direct clutch cylinder assembly.
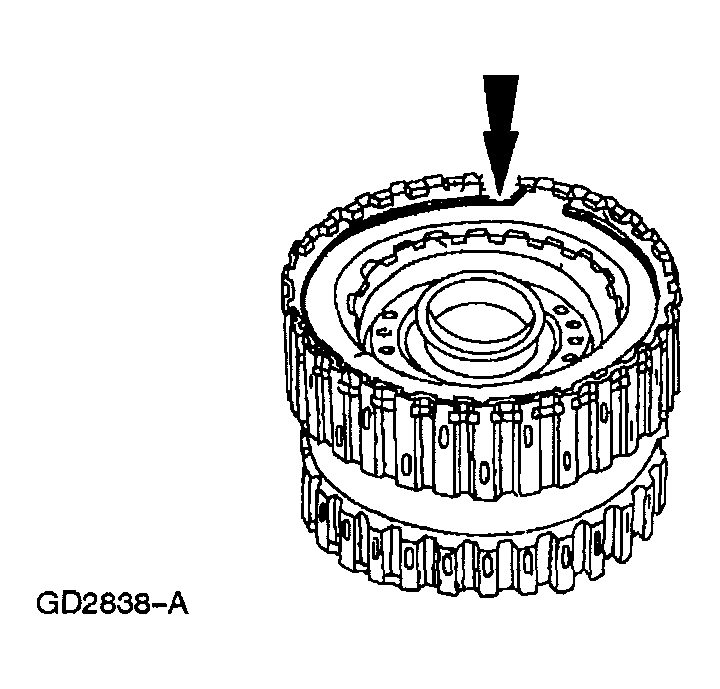 Courtesy of MAZDA MOTORS CORP.
- Remove the forward clutch pressure plate retaining ring.
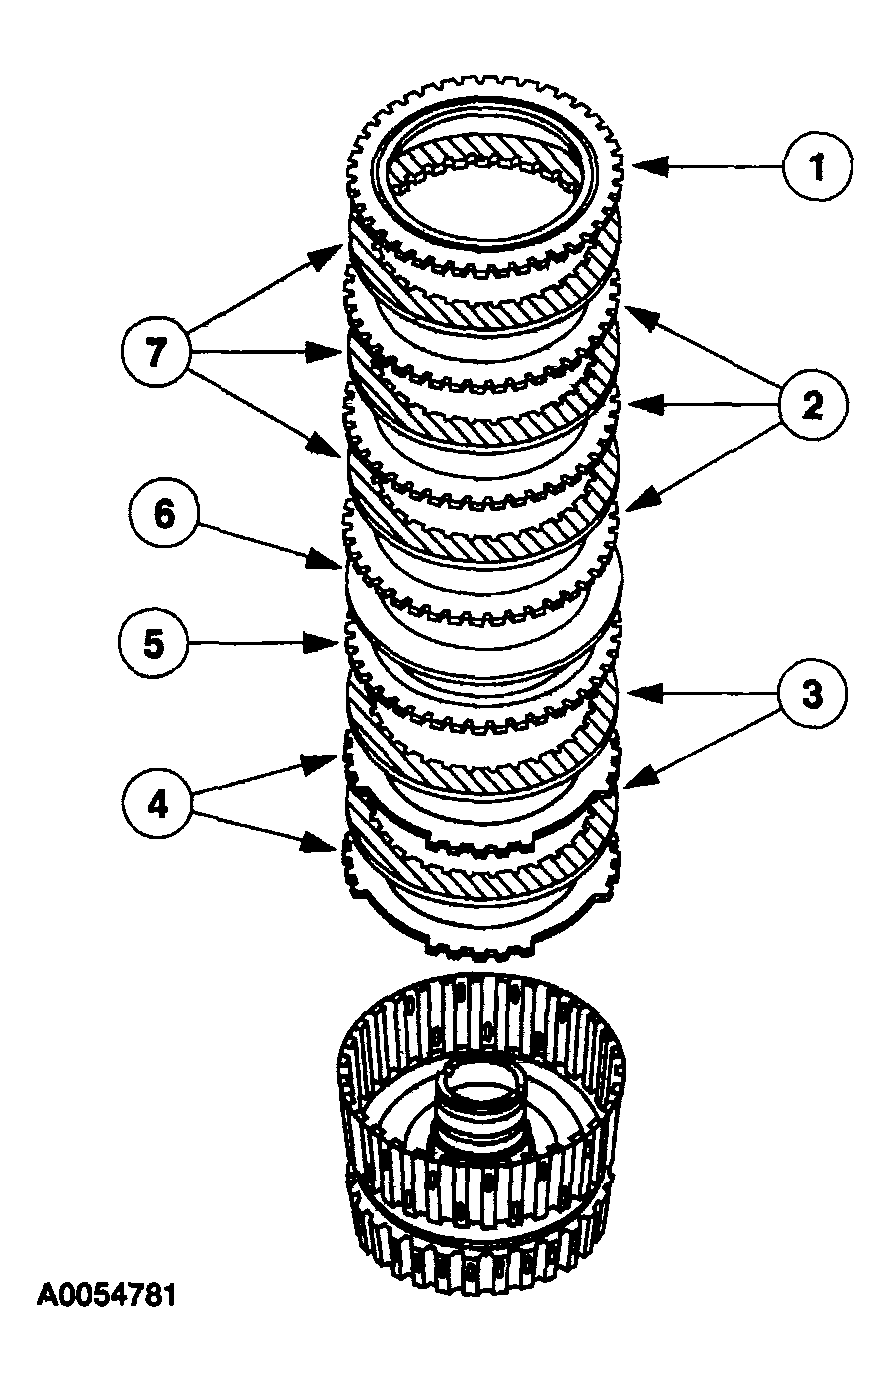 Courtesy of MAZDA MOTORS CORP.
- Remove the forward and coast clutch plates.
- forward clutch pressure plate
- forward clutch external spline clutch plates (steel)
- coast clutch internal spline clutch plates (friction)
- coast clutch external spline clutch plates (steel)
- coast clutch pressure plate
- forward clutch wave spring
- forward clutch internal spline clutch plates (friction)
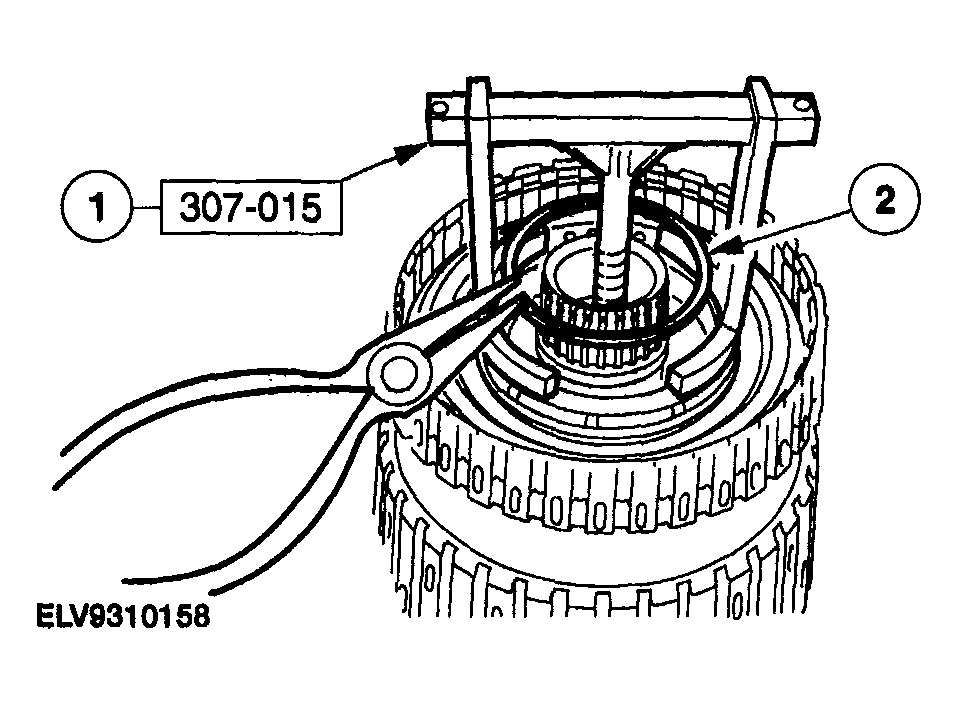 Courtesy of MAZDA MOTORS CORP.
WARNING:
- Use caution when releasing tool pressure on the clutch piston springs. Failure to follow these instructions can result in personal injury.
CAUTION:
- Do not compress the return springs completely.
- Remove the forward/coast clutch return spring retaining ring.
- Using the special tool, compress the return spring.
- Remove the retaining ring.
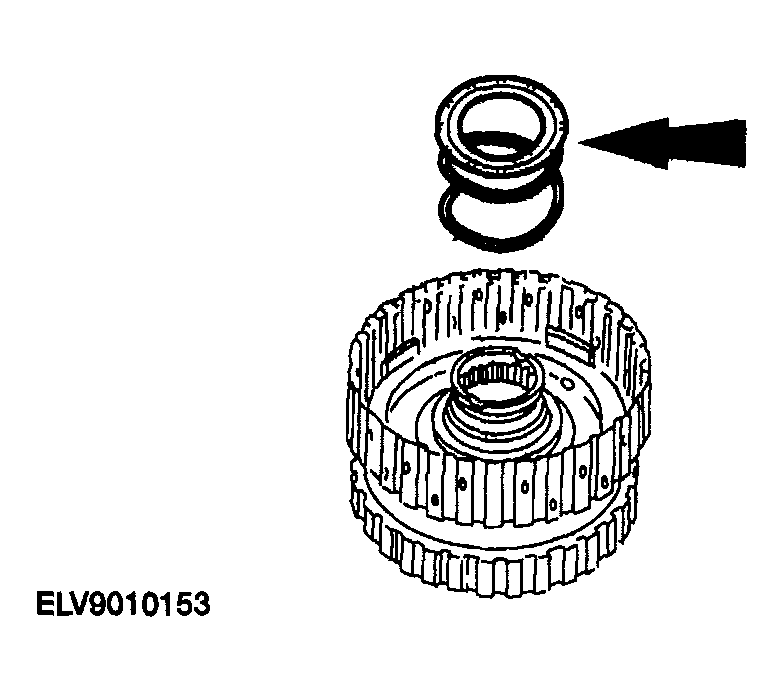 Courtesy of MAZDA MOTORS CORP.
- Remove the forward/coast clutch return spring assembly.
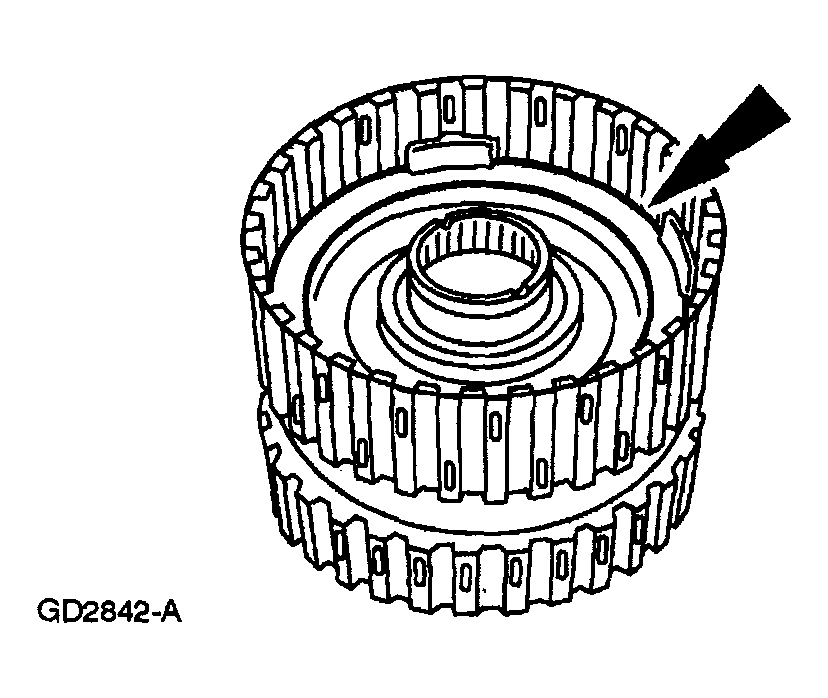 Courtesy of MAZDA MOTORS CORP.
- Remove the forward and coast clutch pistons.
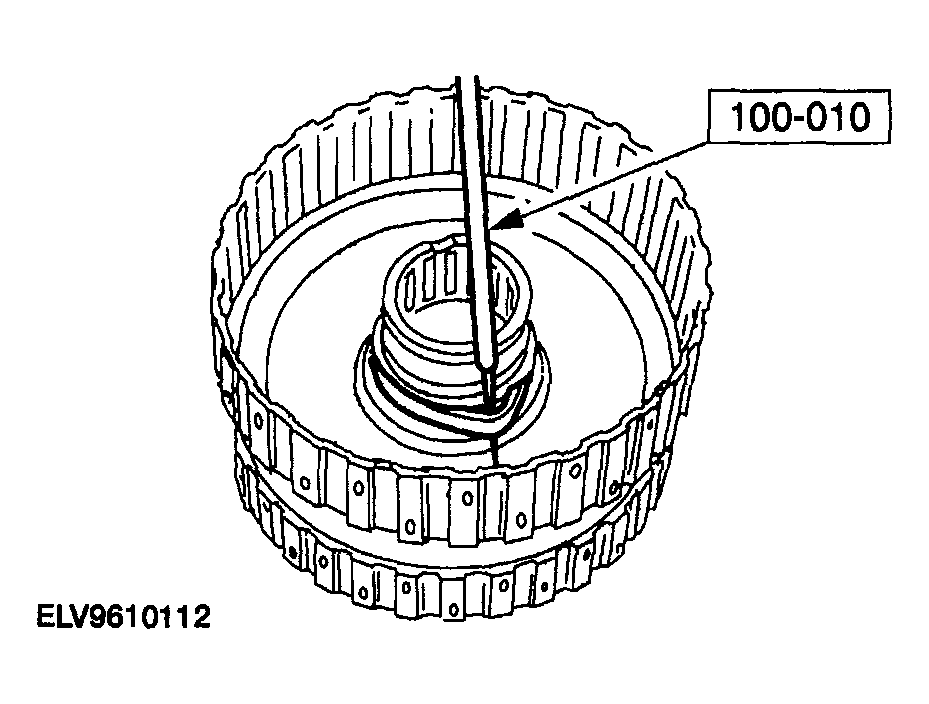 Courtesy of MAZDA MOTORS CORP.
- Using the special tool, remove and discard the forward clutch piston inner seal from the forward/coast/direct clutch cylinder assembly.
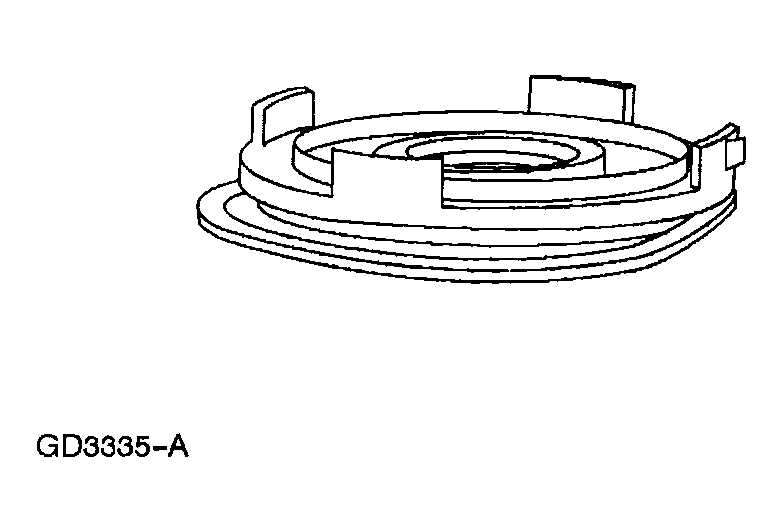 Courtesy of MAZDA MOTORS CORP.
- Remove and discard the forward clutch piston outer lip seal.
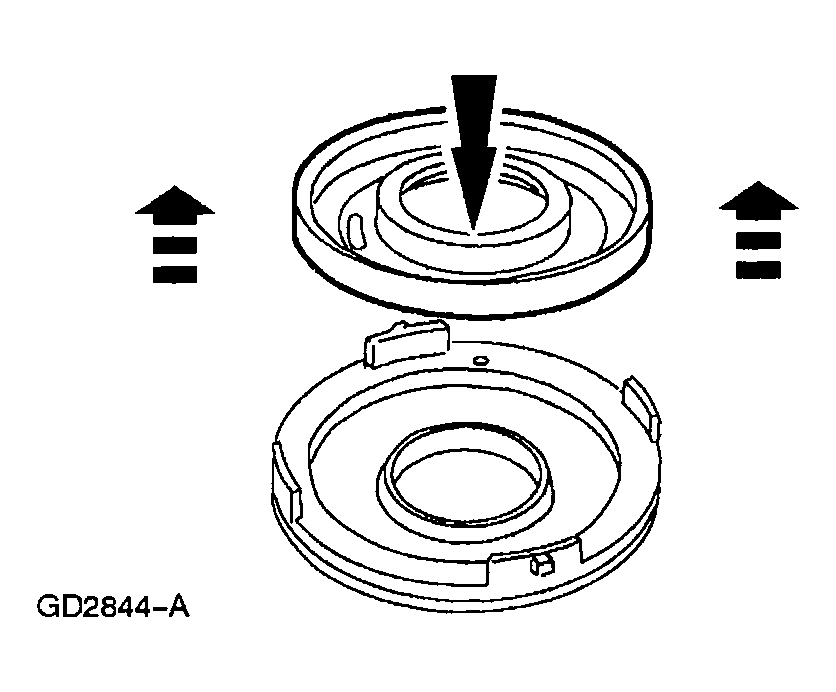 Courtesy of MAZDA MOTORS CORP.
- Separate the coast clutch piston assembly from the forward clutch piston assembly.
WARNING:
- Air pressure must not exceed 138 kPa (20 psi). Wear safety glasses when using compressed air. Failure to follow these instructions can result in personal injury.
NOTE:
- Do not clean the clutch plates in a vapor degreaser or in any other type of detergent solution.
- Clean all parts thoroughly in a clean solvent and blow dry with moisture-free regulated compressed air.
- Clean the steel clutch plates with a lint-free cloth.
- Soak the new clutch plates in the specified transaxle fluid before assembly.
- Inspect the parts for damage, cracks or wear.
- spline teeth
- clutch plates
- seals
- bushing
- check balls in pistons
- piston bore
- passages and lubrication holes in the forward/coast/direct clutch cylinder
- center hub weld
- large snap ring grooves