Windshield Glass: Removal
 Courtesy of MAZDA MOTORS CORP.
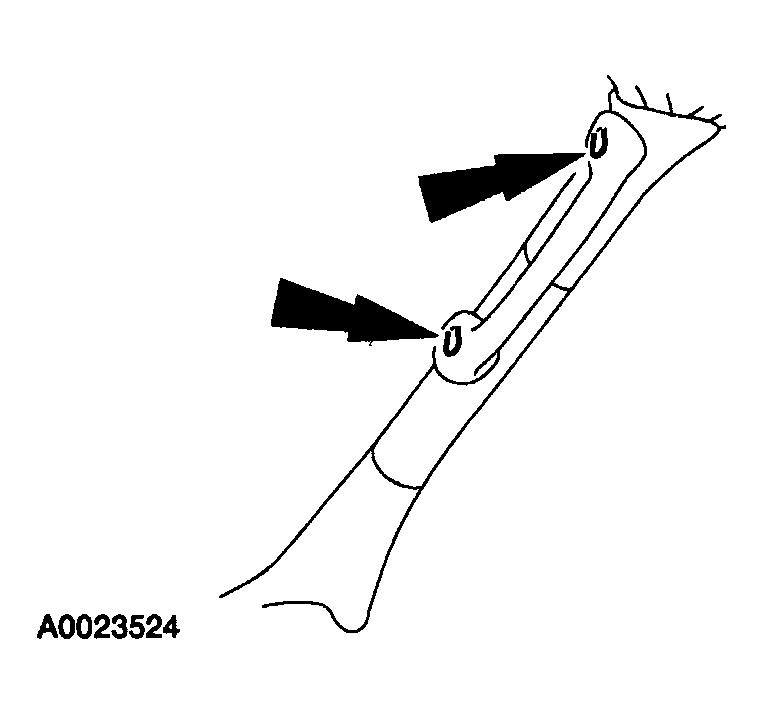
- Open the four A-pillar passenger assist handle covers.
 Courtesy of MAZDA MOTORS CORP.
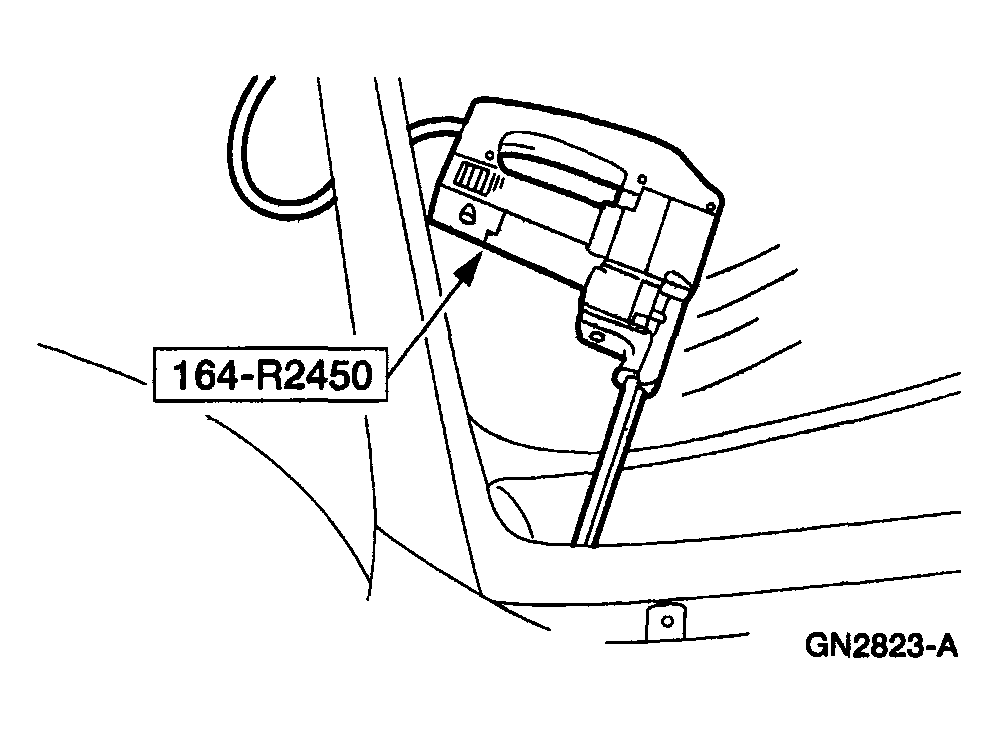
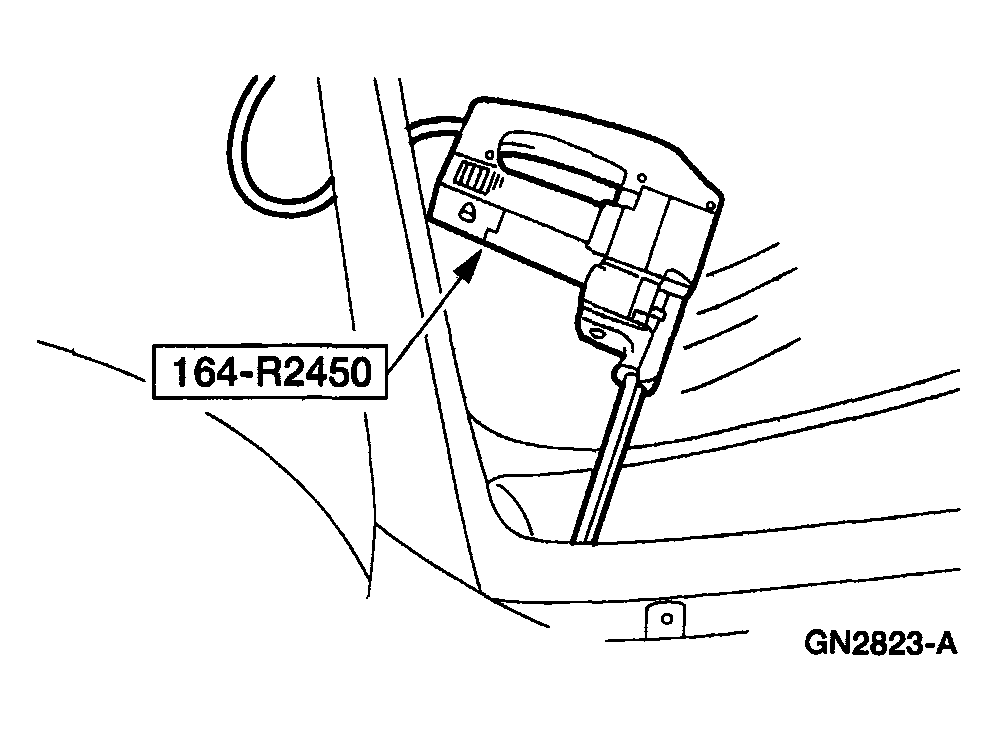
- Remove the two A-pillar passenger assist handles.
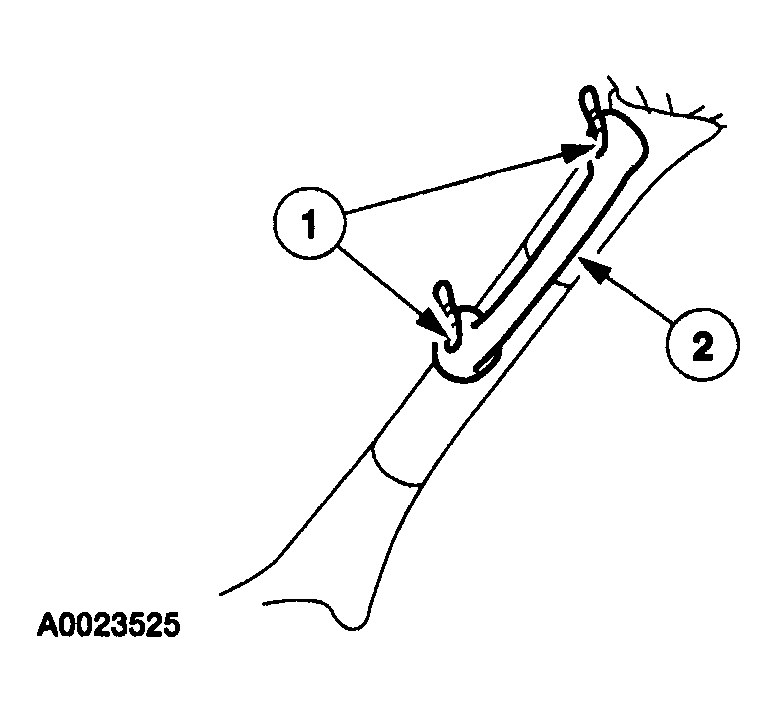
- Remove the four bolts.
- Remove the two A-pillar passenger assist handles.
 Courtesy of MAZDA MOTORS CORP.
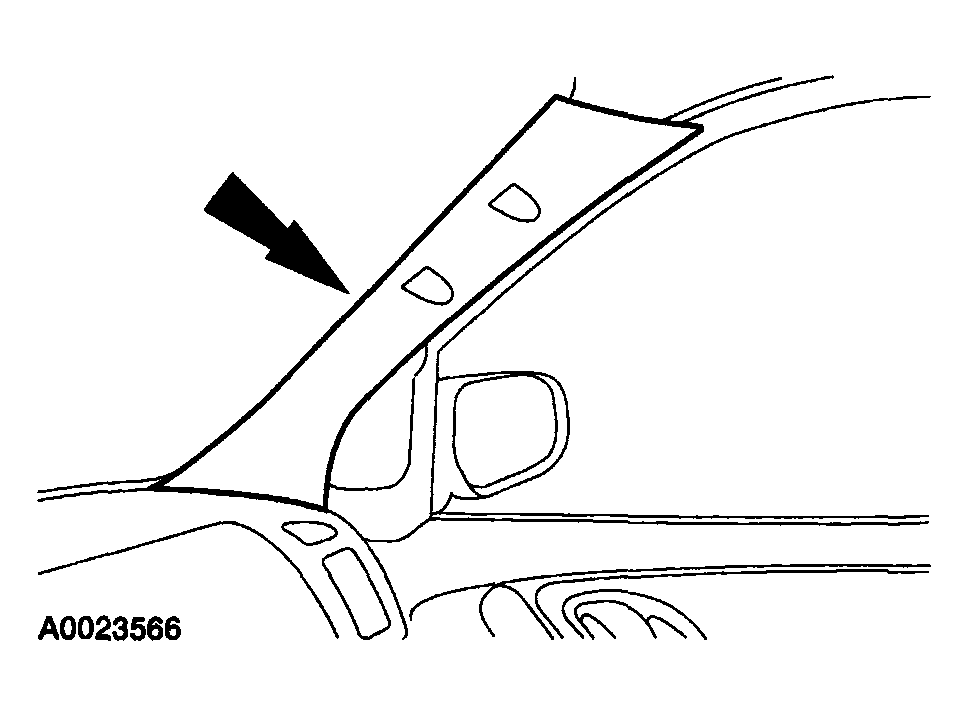
- Remove the two windshield side garnish mouldings.
- Remove the overhead console. See
CONSOLE - OVERHEAD
 Courtesy of MAZDA MOTORS CORP.
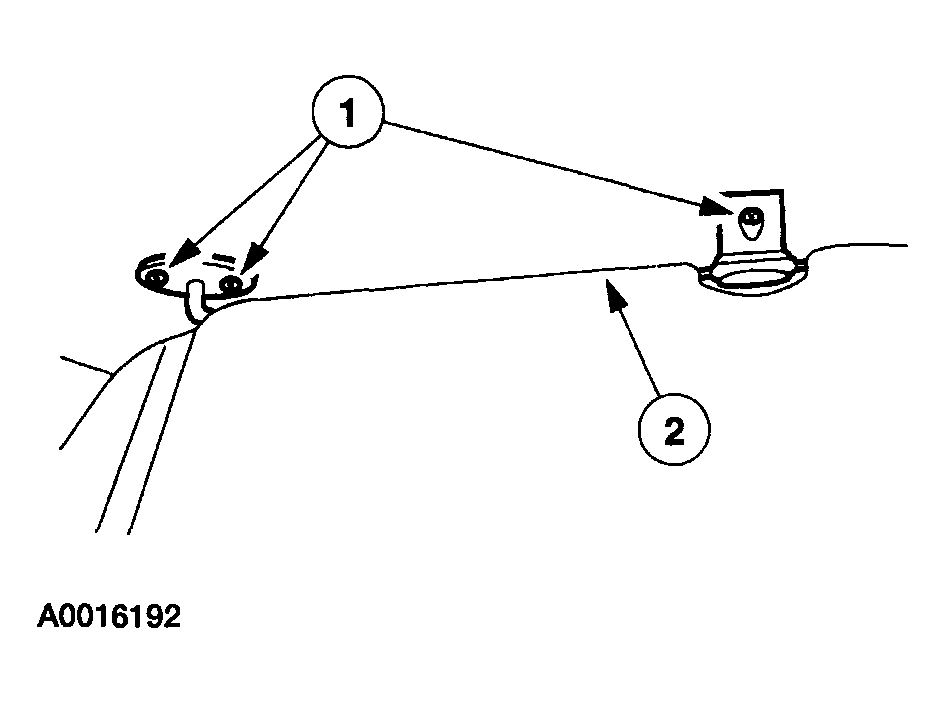
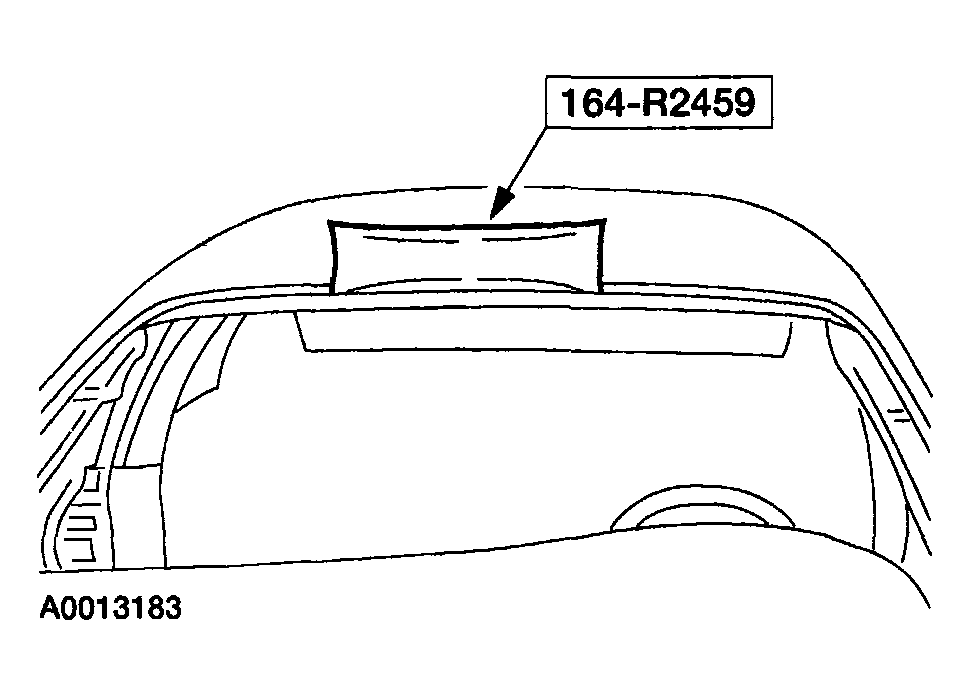
- Remove the two sun visors and two clips.
- Remove the six screws.
- Remove the sun visors and clips.
- Remove the interior mirror.
- Lower the front portion of the headliner.
- Remove the cowl panel grille. See
COWL PANEL GRILLE
- Using a soft brush or vacuum, remove any dirt or foreign material from the pinch weld.
NOTE:
- Lubricate the urethane adhesive with water to aid the special tool when cutting.
NOTE:
- Be sure not to scratch the pinch weld while removing windshield glass.
 Courtesy of MAZDA MOTORS CORP.
- Using the special tool, cut the urethane adhesive from the windshield glass starting at the top center and working towards the bottom corners.
 Courtesy of MAZDA MOTORS CORP.
- Using the special tool, distance the windshield from the body.
 Courtesy of MAZDA MOTORS CORP.
NOTE:
- Removing the windshield glass requires more than one technician.
- Using the special tool, cut the remaining urethane adhesive and remove the windshield glass.
- Using a soft brush or vacuum, remove any dirt and foreign material from the pinch weld.