Transfer Case Shift Motor Removal / Installation
- Raise the vehicle on a hoist. See
LIFTING
.
- Disconnect the transfer case harness connector.
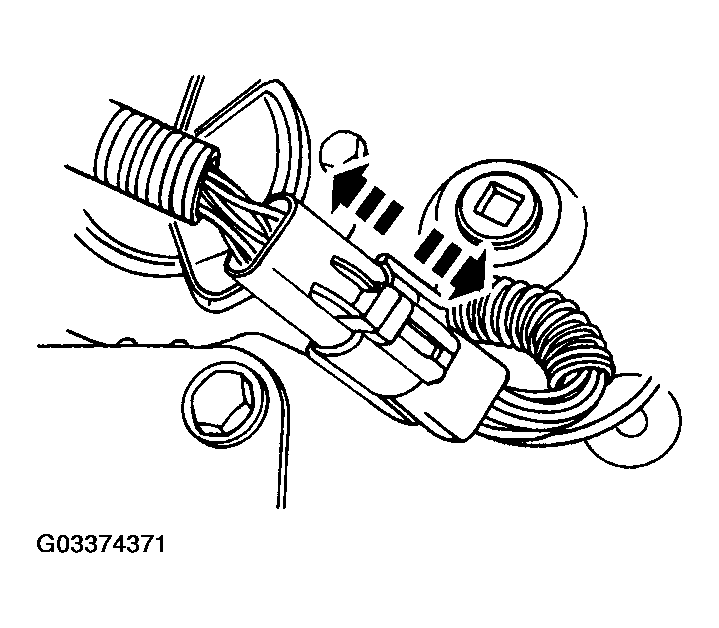 Courtesy of MAZDA MOTORS CORP.
- Remove the two bolts retaining the harness to the shift motor assembly and connector.
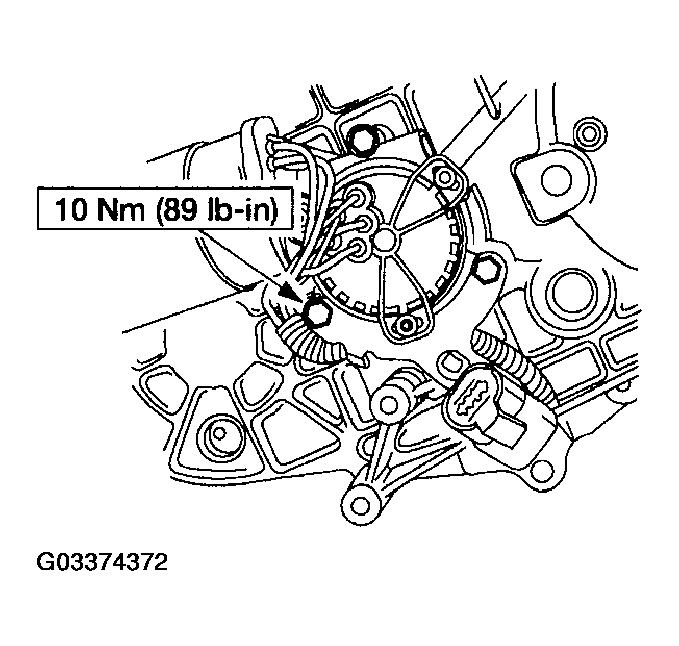 Courtesy of MAZDA MOTORS CORP.
- Remove the rear bolt.
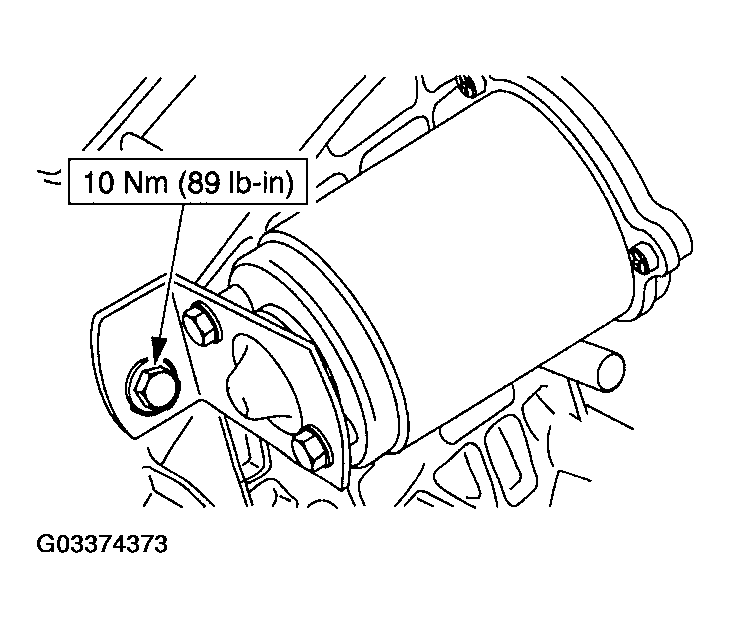 Courtesy of MAZDA MOTORS CORP.
NOTE:
- Note the position of the triangular shaft extending out of the rear of the case.
- Remove the remaining front bolt and the shift motor assembly and connector. Note the position of the triangular shaft extending out of the transfer case cover.
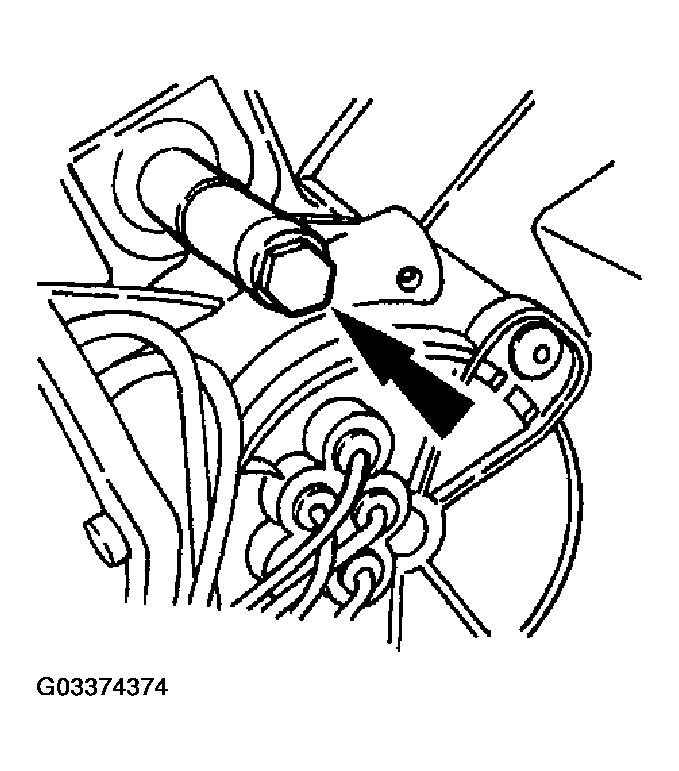 Courtesy of MAZDA MOTORS CORP.
CAUTION:
- Do not gouge or nick the aluminum surface.
- Clean the mating surfaces of the shift motor and the transfer case cover.
CAUTION:
- The shift motor must be installed within 15 minutes of the application of silicone, or new sealant must be applied. If possible, allow one hour before filling with lubricant to make sure the silicone sealant has properly cured.
- Apply a thin coat of silicone to the shift motor housing base.
- To install, reverse the removal procedure.