Headliner Removal/Installation
- Disconnect the negative battery cable.
- Remove the interior light.
- Remove the overhead console.
- Remove the seaming welt.
- Remove the A-pillar trim. See A-PILLAR TRIM REMOVAL/INSTALLATION
.
- Remove the B-pillar upper trim. See B-PILLAR UPPER TRIM REMOVAL/INSTALLATION
.
- Remove the C-pillar trim. See C-PILLAR TRIM REMOVAL/INSTALLATION
.
- Remove the rear console. See REAR CONSOLE REMOVAL/INSTALLATION
.
- Remove the sunvisors and the assist handles.
- Remove the fasteners.
- Move the shift lever to 4th gear if equipped with MTX. Move the shift lever to 1 position if equipped with ATX.
- Slide the seat back to the maximum rearward position.
- Recline both seat backs to the maximum reclined position.
- Slide the headliner towards the rear of the vehicle to disengage the headliner hook A from the roof.
- Remove the headliner from the vehicle through the passenger's side front door at a 45°
angle, with the right edge at the lower right corner and the left edge at the upper left corner of the door opening.
- Install in the reverse order of removal.
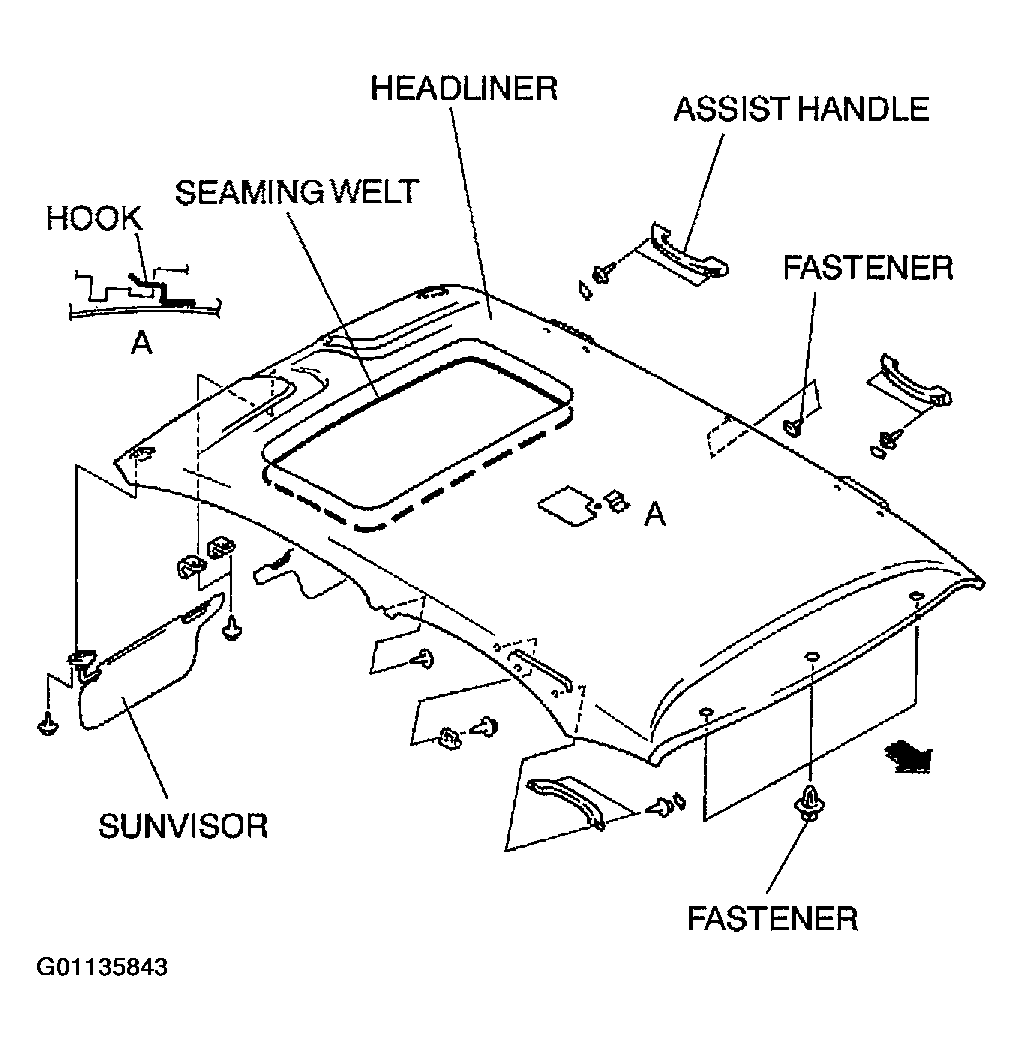 Courtesy of MAZDA MOTORS CORP.