Removal and Installation
- Remove the rear floor console. For additional information, refer to CONSOLE - LONG, FLOOR .
- Remove the refrigerator module lid.
- Remove the 10 refrigerator opening trim panel screws and remove the refrigerator opening trim panel.
- Disconnect the power point connector.
- Disconnect the temperature switch connector.
- Disconnect the 16 pin electrical connector.
- Release the electrical harness push pins.
- Separate the upper and lower console inner structure panels by removing the 8 screws on each side.
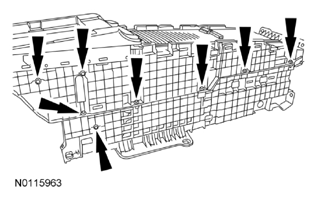 Courtesy of FORD MOTOR CO.
- Remove the two Torx screws from the lower rear of the refrigerator.
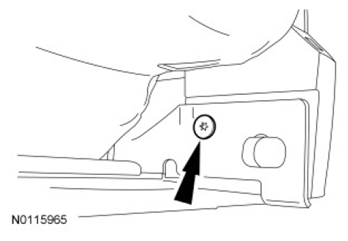 Courtesy of FORD MOTOR CO.
- Remove the six Torx screws from the refrigerator.
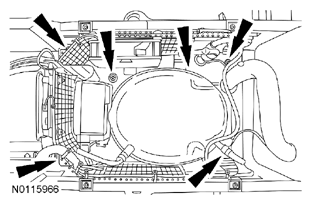 Courtesy of FORD MOTOR CO.
- Remove the refrigerator.
- To install, reverse the removal procedure.
- Transfer parts as needed.
- Make sure to align the trim panel retaining clips to the retaining clip holes in the rear floor console.