Seat Control Switch - 6-Way: Installation
- If equipped, remove the rivet and the cushion side shield front bracket.
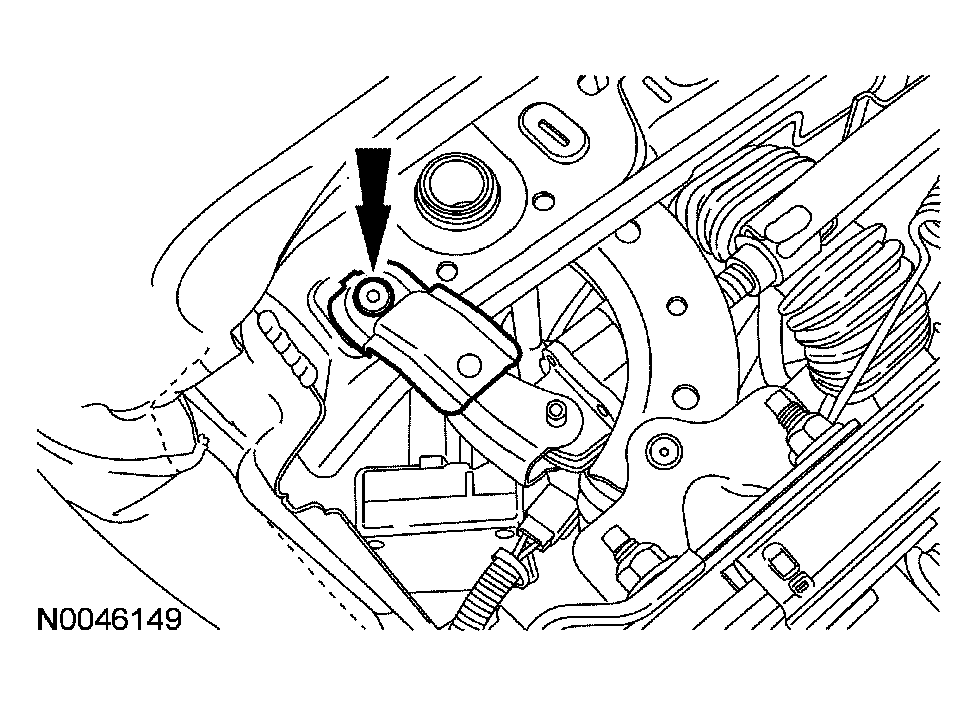 Courtesy of FORD MOTOR CO.
- If equipped, remove the zip tie from the seat control switch wire harness.
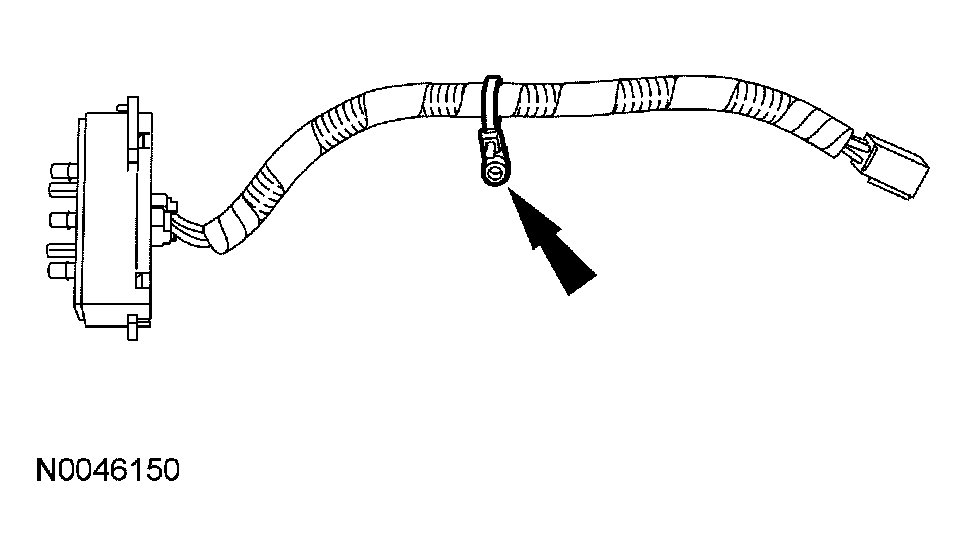 Courtesy of FORD MOTOR CO.
- If not equipped, install a wire harness retainer (382931) in the hole shown.
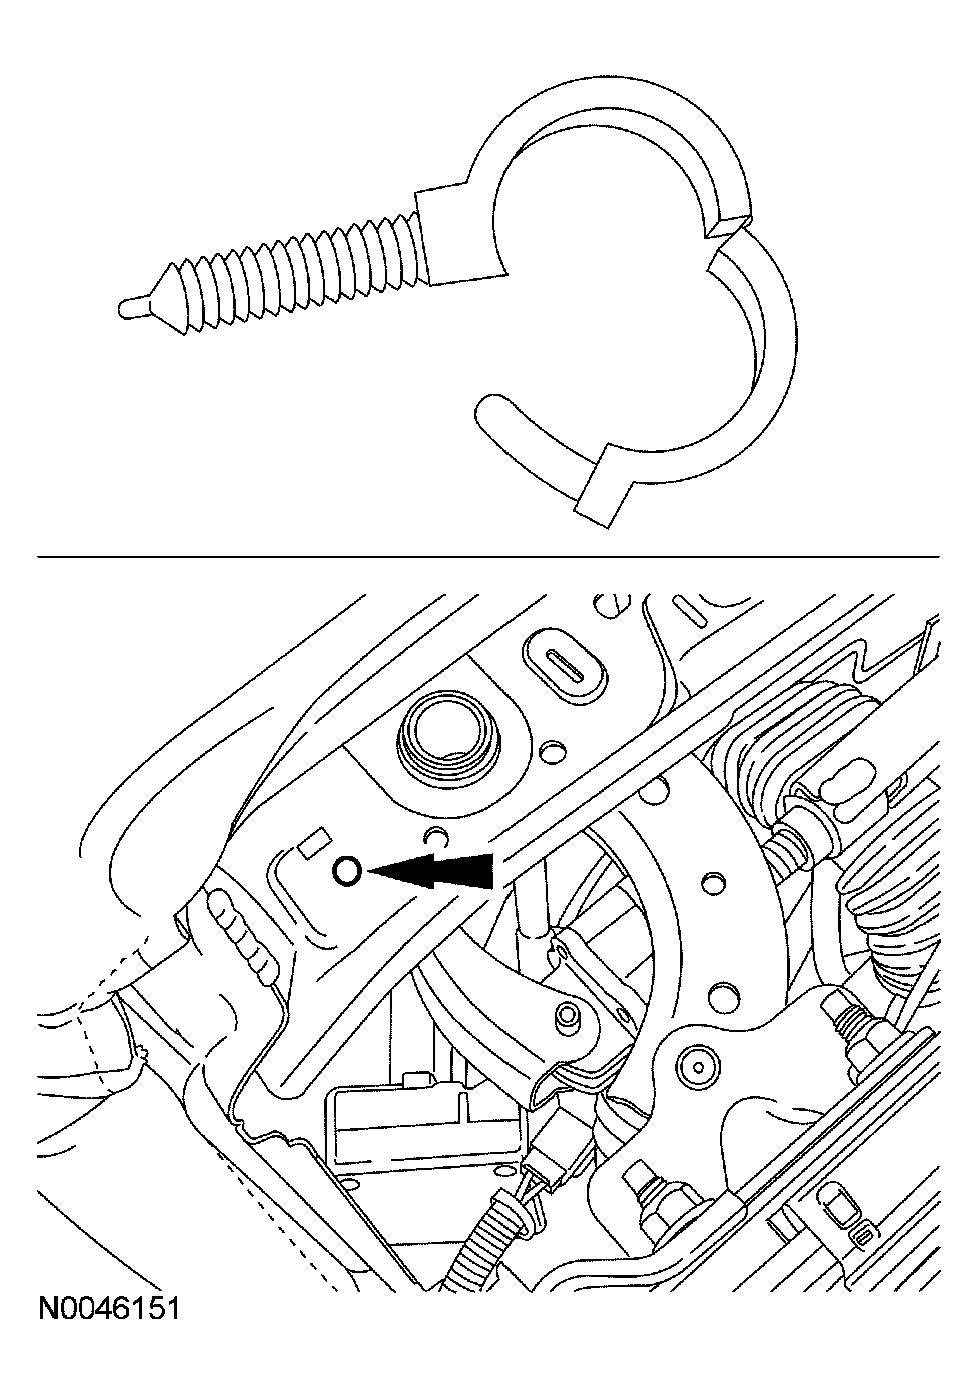 Courtesy of FORD MOTOR CO.
- Install the 6-way power seat switch on the side shield and install the two screws.
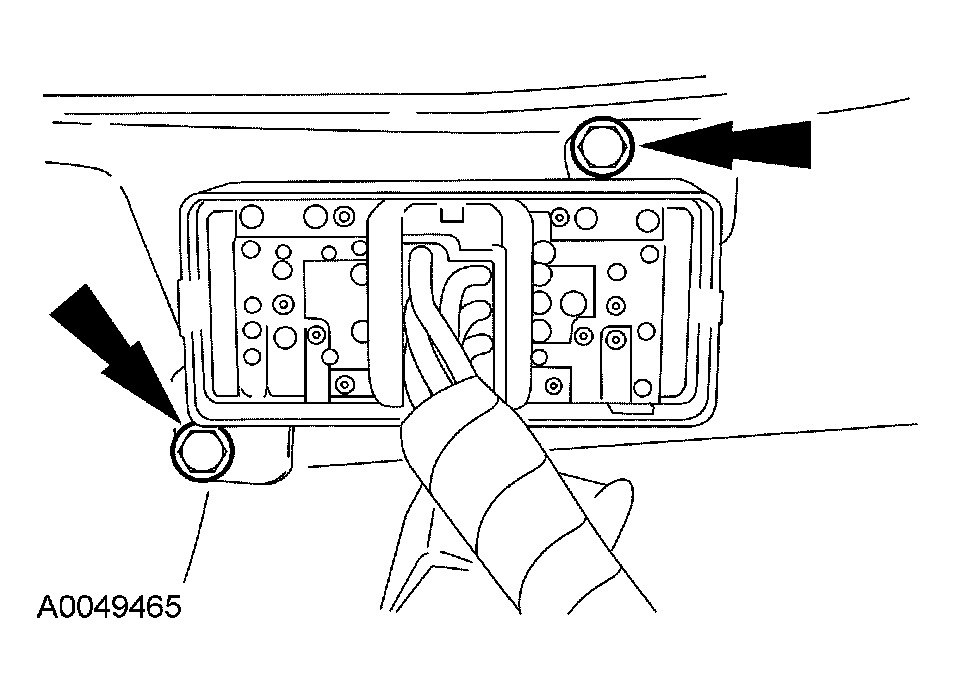 Courtesy of FORD MOTOR CO.
- Position the cushion side shield to the seat and install the 6-way seat control switch wire harness into the wire harness retainer.
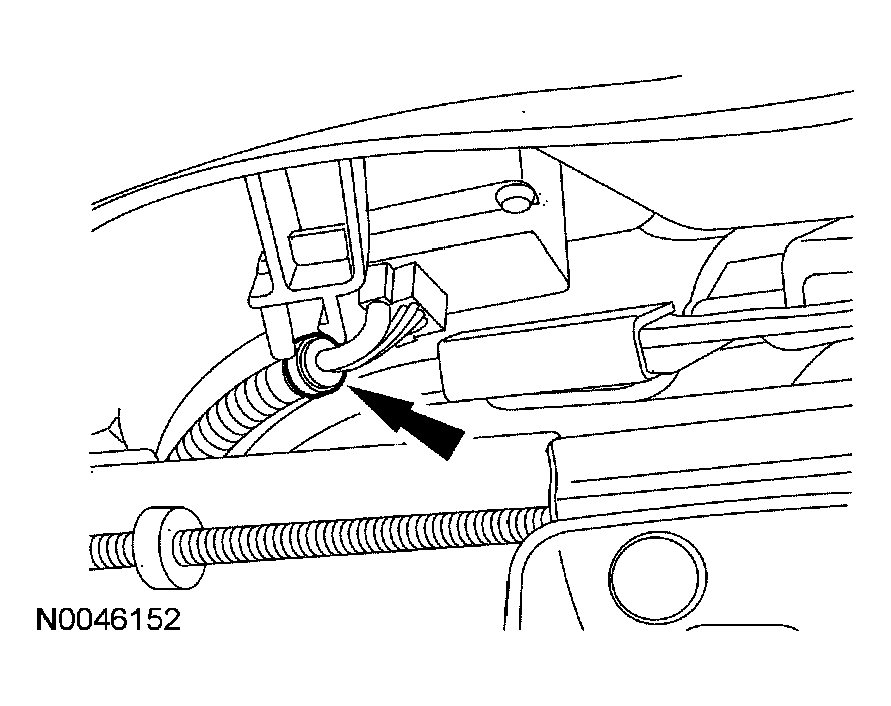 Courtesy of FORD MOTOR CO.
- Push to install the rear side shield retainer on the seat frame.
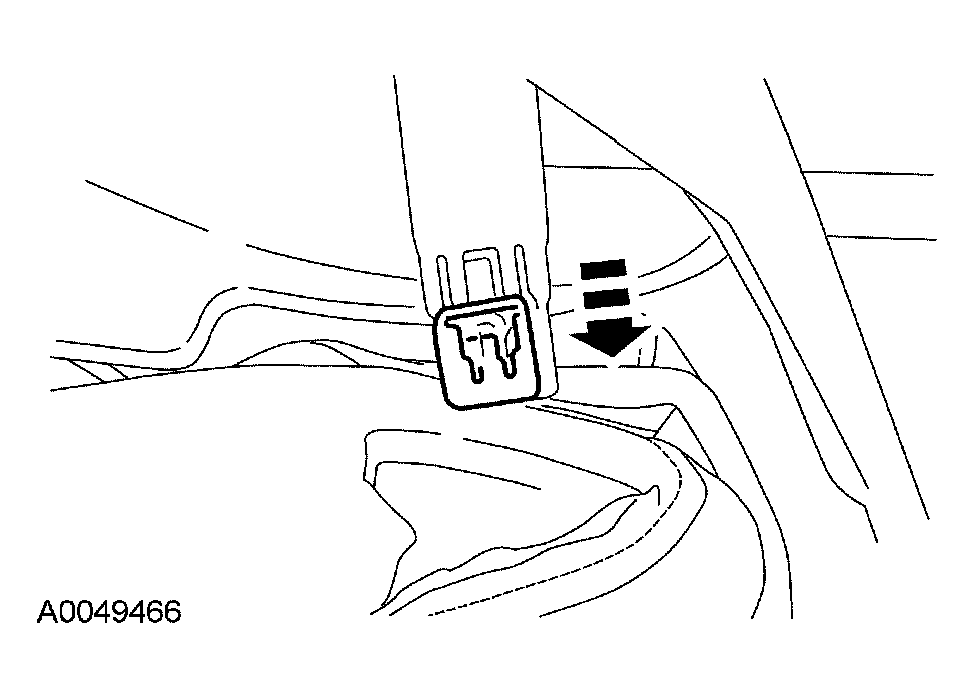 Courtesy of FORD MOTOR CO.
- Install the cushion side shield pin-type retainer to the cushion frame.
- Access and install the front side shield screw.
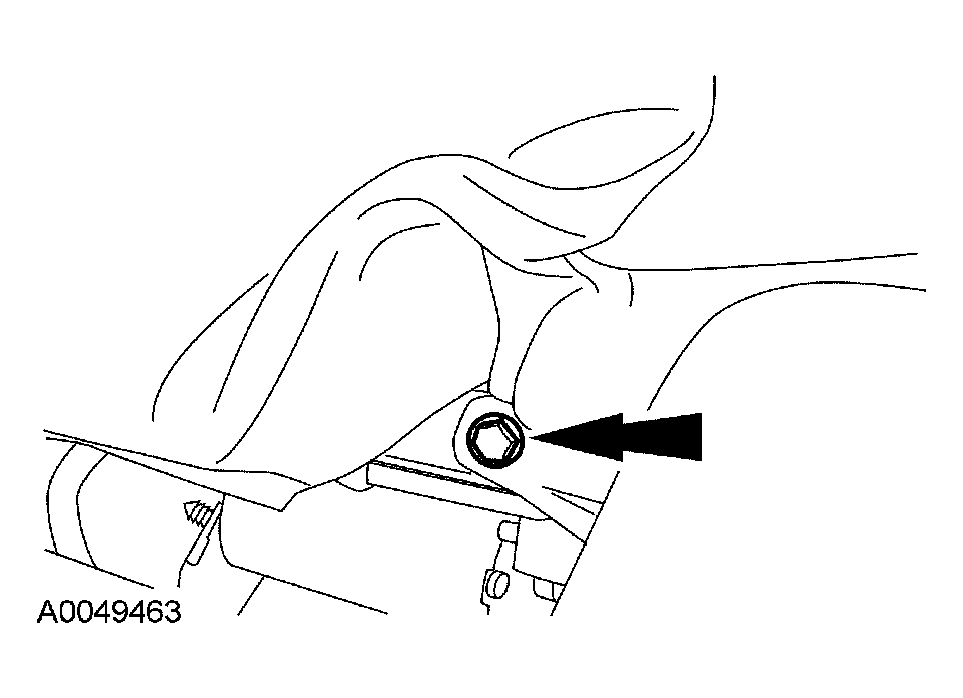 Courtesy of FORD MOTOR CO.
- Install the 6-way power seat knob.
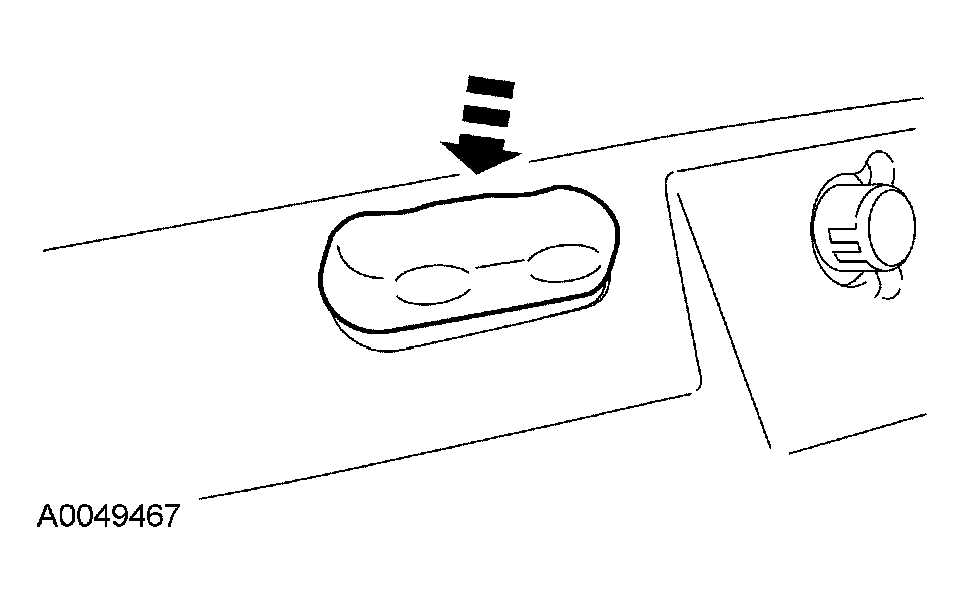 Courtesy of FORD MOTOR CO.
- Install the screw on the side shield under the lumbar knob.
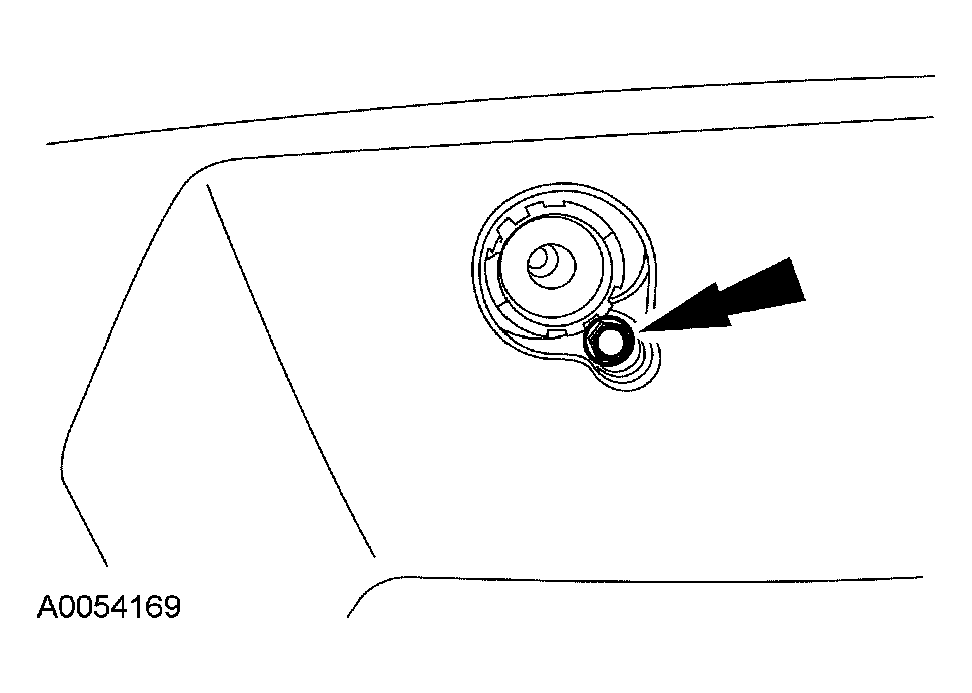 Courtesy of FORD MOTOR CO.
- Align and install the lumbar knob.
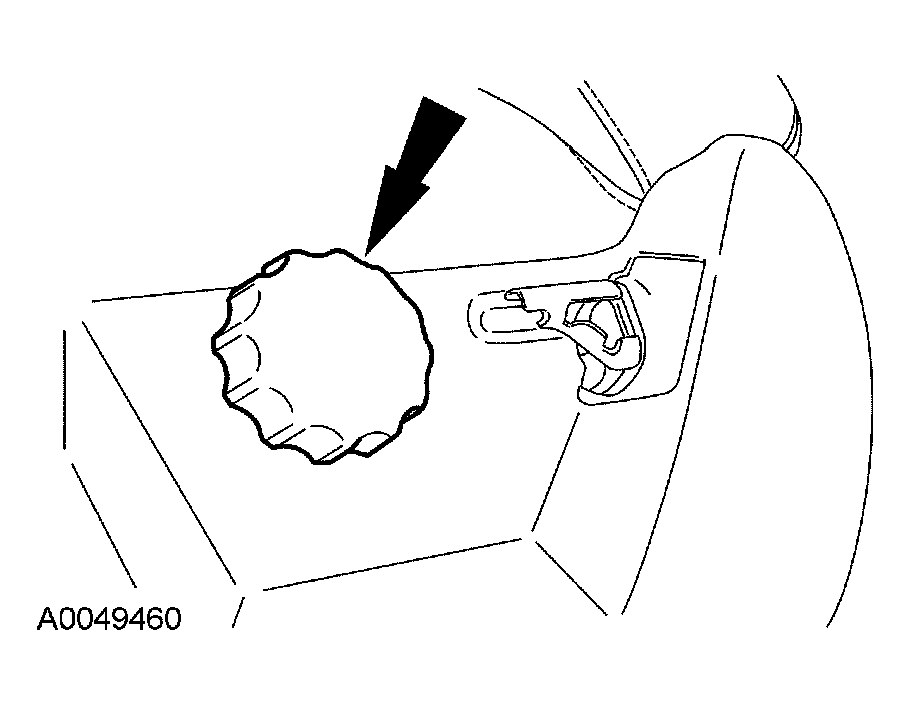 Courtesy of FORD MOTOR CO.
- Install the recliner handle and install the screw.
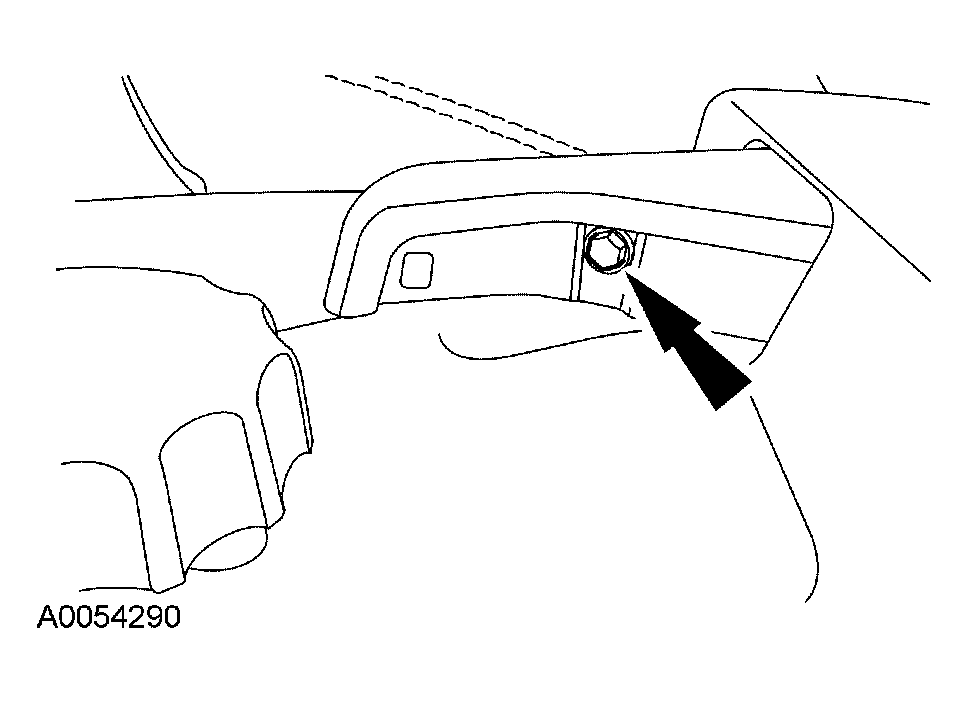 Courtesy of FORD MOTOR CO.
- Install the recliner handle cover.
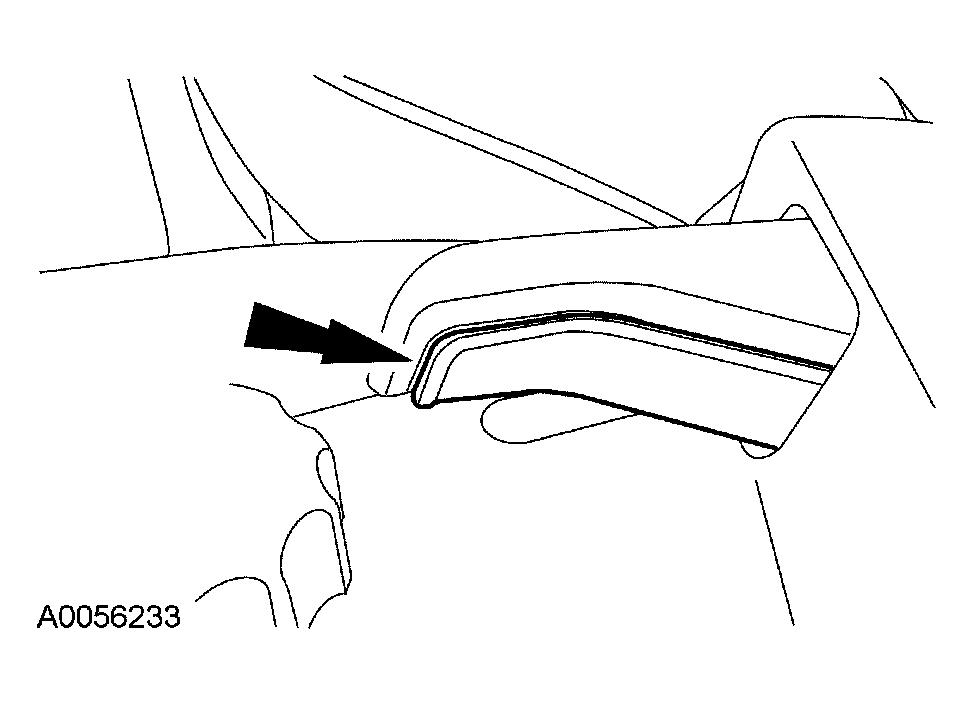 Courtesy of FORD MOTOR CO.
- Connect the 6-way power seat switch electrical connector.
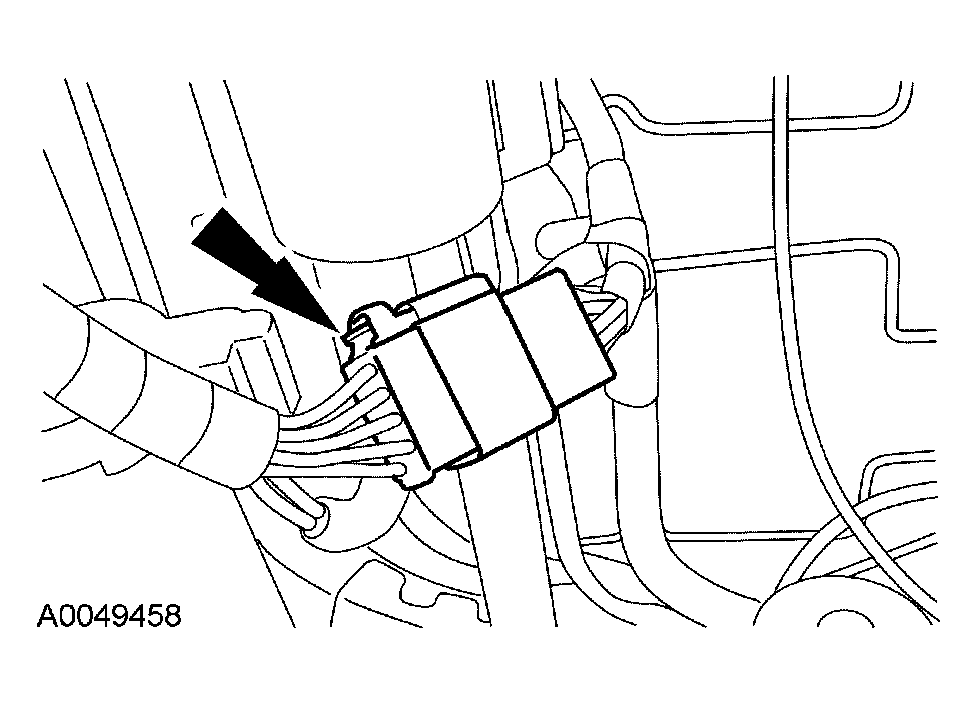 Courtesy of FORD MOTOR CO.
- Install the affected seat and repower the SRS. For additional information, refer to FRONT SEAT - 40 PERCENT .