Repair procedures: Removal
- Disconnect the battery negative terminal.
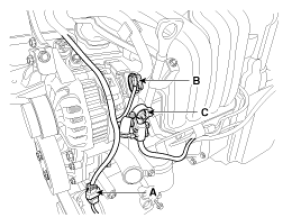
- Disconnect the air compressor connector (A) and the alternator connector (B), and remove the cable from alternator "B" terminal (C).
 Courtesy of KIA MOTORS AMERICA, INC.
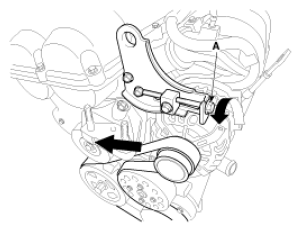
- Loosen the mounting bolts, and then turn the adjusting bolt (A) clockwise to loosen tension.
 Courtesy of KIA MOTORS AMERICA, INC.
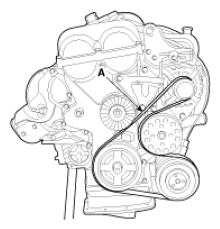
- Remove the drive belt (A).
 Courtesy of KIA MOTORS AMERICA, INC.
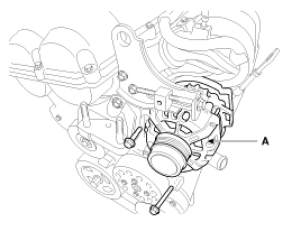
- Remove the alternator (A) after remove the mounting bolts.
 Courtesy of KIA MOTORS AMERICA, INC.