Repair Procedures: Removal
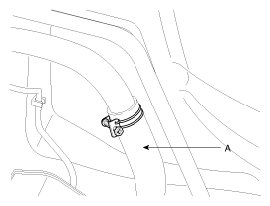
- Disconnect the fuel filler hose (A).
 Courtesy of KIA MOTORS AMERICA, INC.
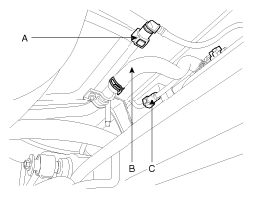
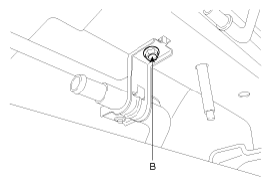
- Disconnect the recirculation pipe quick-connector (A), the vapor hose (B) connecting the canister with the fuel tank air filter and the purge tube quick-connector (C) connecting the canister and the intake manifold.
 Courtesy of KIA MOTORS AMERICA, INC.
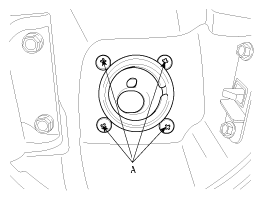
- Open the fuel filler door and unfasten the filler-neck assembly mounting screws (A).
 Courtesy of KIA MOTORS AMERICA, INC.
- Remove the rear-LH wheel, tire, and the inner wheel house (Refer to TIRES/WHEELS
).
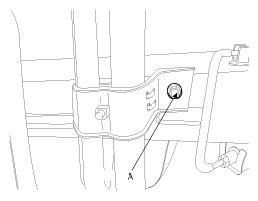
- Remove the bracket mounting bolts (A) and remove the filler-neck assembly.
 Courtesy of KIA MOTORS AMERICA, INC.
 Courtesy of KIA MOTORS AMERICA, INC.