- Mark corresponding cylinder number on rod cap and connecting rod with a numbering stamp.
NOTE:
Mark connecting rods on same side and make a reference mark on block so that rods are installed in correct position and direction. Failure to install rods properly with result in oil starvation, spun bearings, or damaged internal engine components.
- Rotate crankshaft so that cylinders No.2 and No.3 are at Bottom Dead Center (BDC) and repeat marking procedure.
- Remove connecting rod nuts and gently loosen rod caps by tapping cap with a light plastic mallet.
- Remove rod caps.
NOTE:
Cover connecting rod bolts to protect crankshaft journals
- Push connecting rod and piston as far up into cylinder as possible. Using a wooden dowel, tap gently on piston to release it from cylinder.
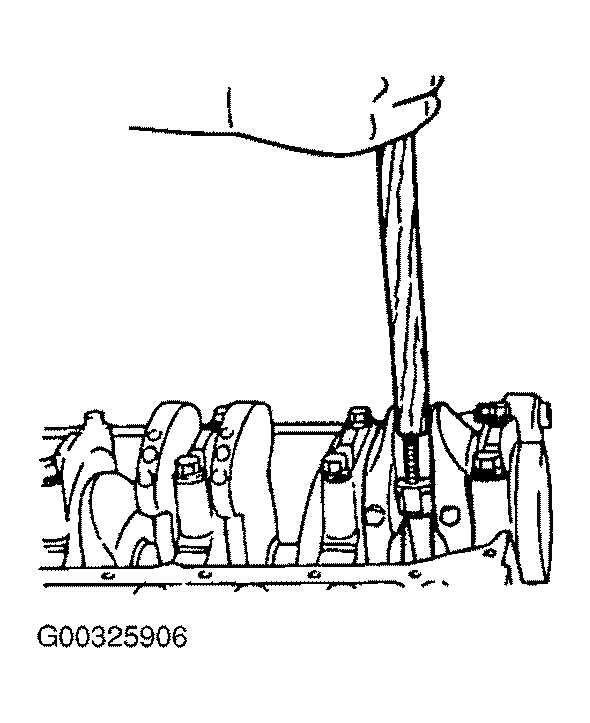 Courtesy of KIA MOTORS AMERICA, INC.
- Repeat this procedure for each cylinder.
- Mark tops of pistons with corresponding cylinder numbers they were removed from.
- Using a piston ring expander, remove piston rings.
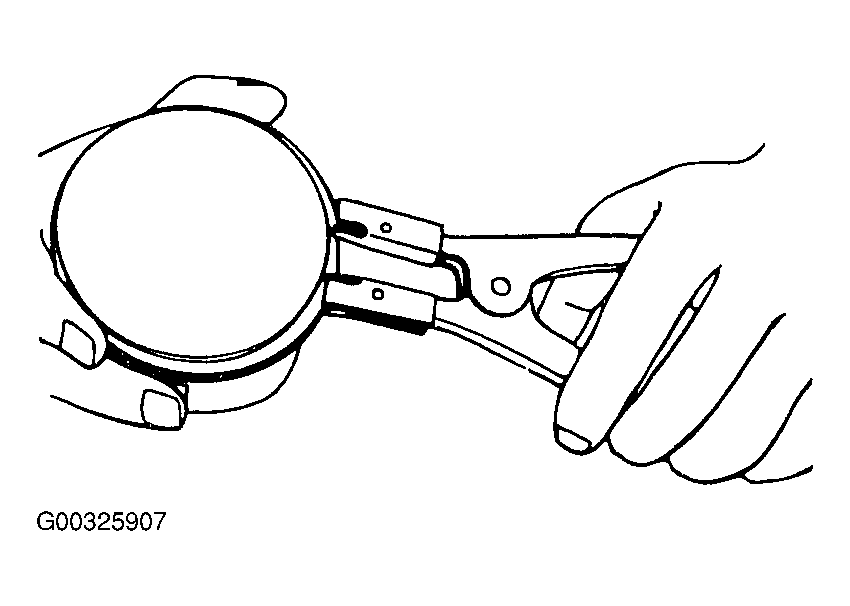 Courtesy of KIA MOTORS AMERICA, INC.
- Hold piston upright and gently move connecting rod.
- Release connecting rod and observe its movement.
NOTE:
Do not swing connecting rod widely. Constant, hard contact with piston will cause a bell-mouth condition that will require piston replacement.
- If connecting rod does not move freely, check piston pin bore and connecting rod for straightness and deformation.
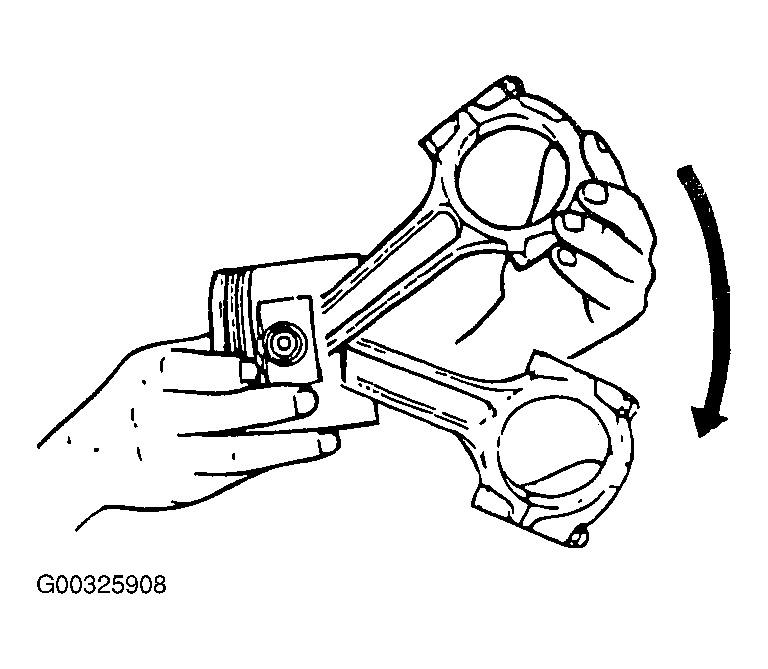 Courtesy of KIA MOTORS AMERICA, INC.
- Remove piston pin clip from ends of piston pin bore.
- Tilt piston and allow piston pin to slide out into your hand. Piston pins may need to be pressed out.
NOTE:
Do not allow pins to drop to the ground.
- Remove connecting rod from piston. Keep individual piston and piston pin together for reassembly.