Automatic Transmission - Removal & Installation: Removal
- Disconnect negative battery cable, then positive battery cable.
- Raise and properly support vehicle.
- Place a drain pan under transaxle drain plug.
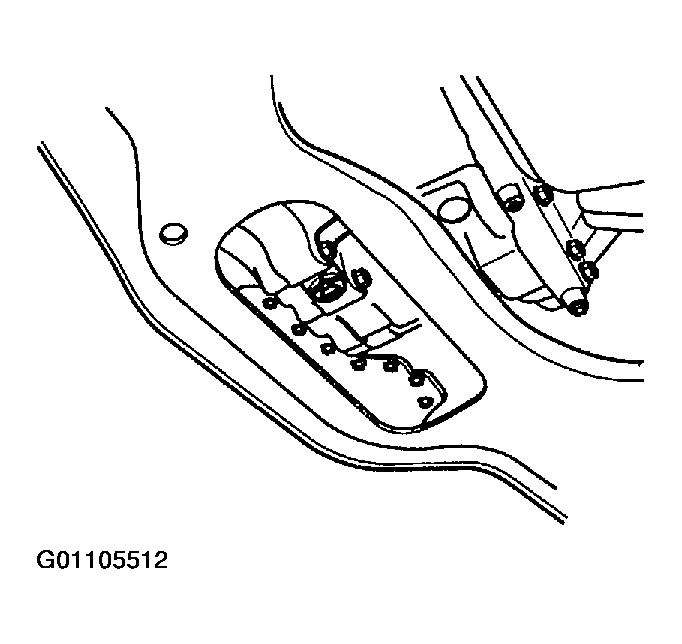 Courtesy of KIA MOTORS AMERICA, INC.
- Remove the fresh air duct.
- Disconnect input/turbine speed sensor, solenoid and transaxle range switch connector.
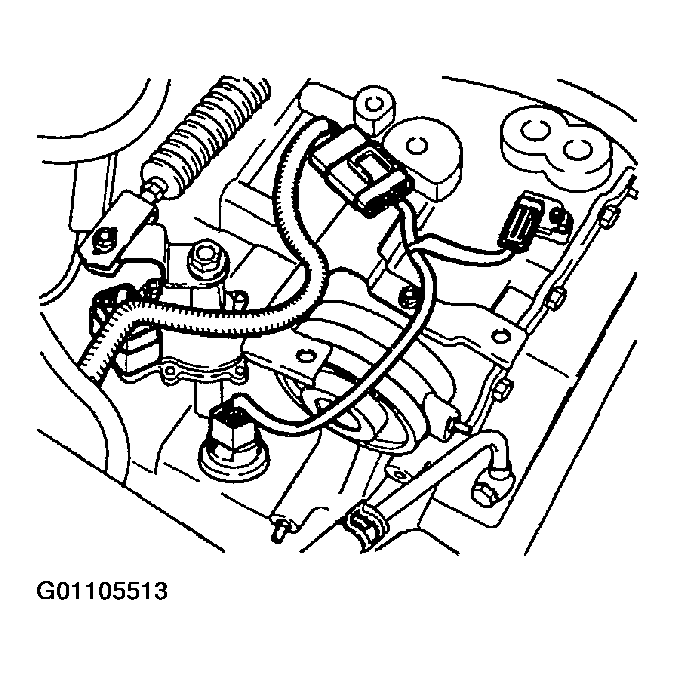 Courtesy of KIA MOTORS AMERICA, INC.
- Remove ground strap bolt from top of automatic transaxle then disconnect ground strap.
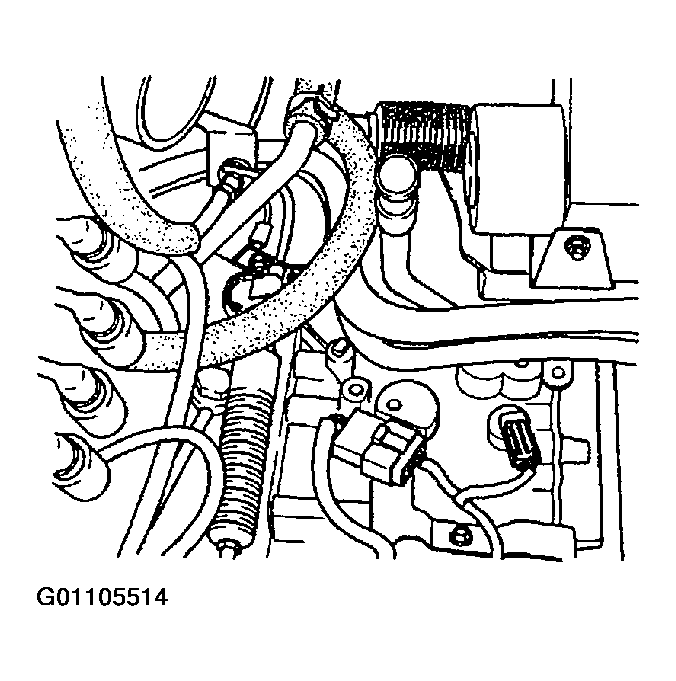 Courtesy of KIA MOTORS AMERICA, INC.
- Disconnect vehicle speed sensor connector from right side of automatic transaxle.
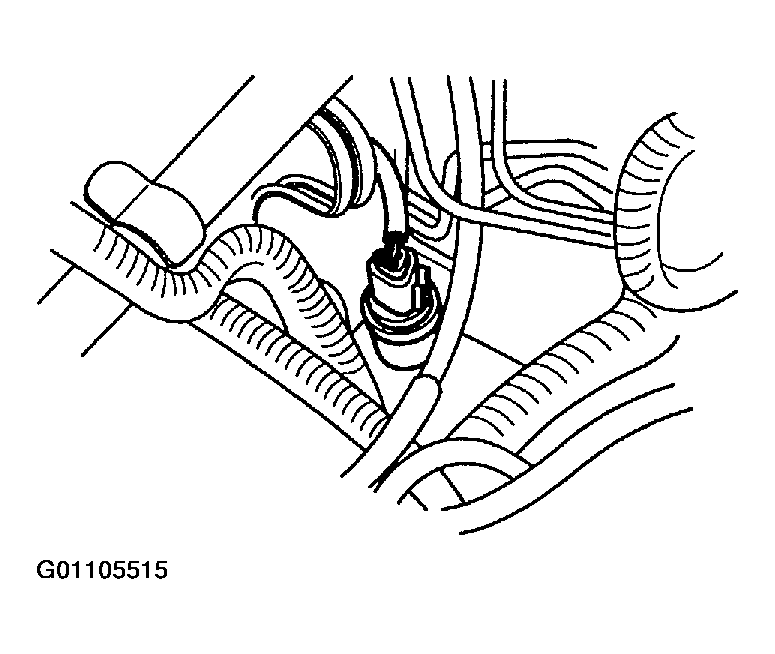 Courtesy of KIA MOTORS AMERICA, INC.
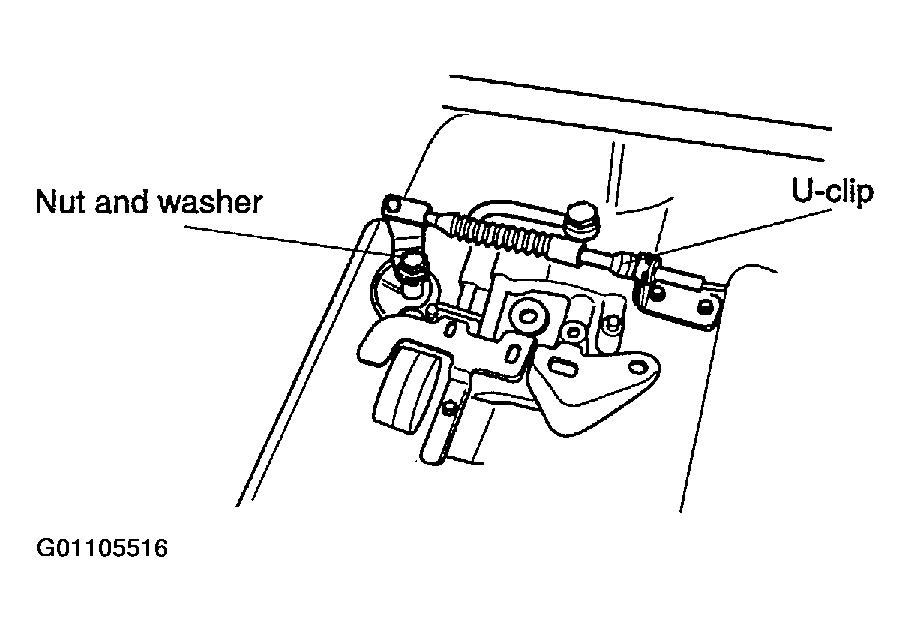
- Remove U-clip from selector cable to automatic transaxle linkage.
 Courtesy of KIA MOTORS AMERICA, INC.
- Remove nut and washer from automatic transaxle linkage.
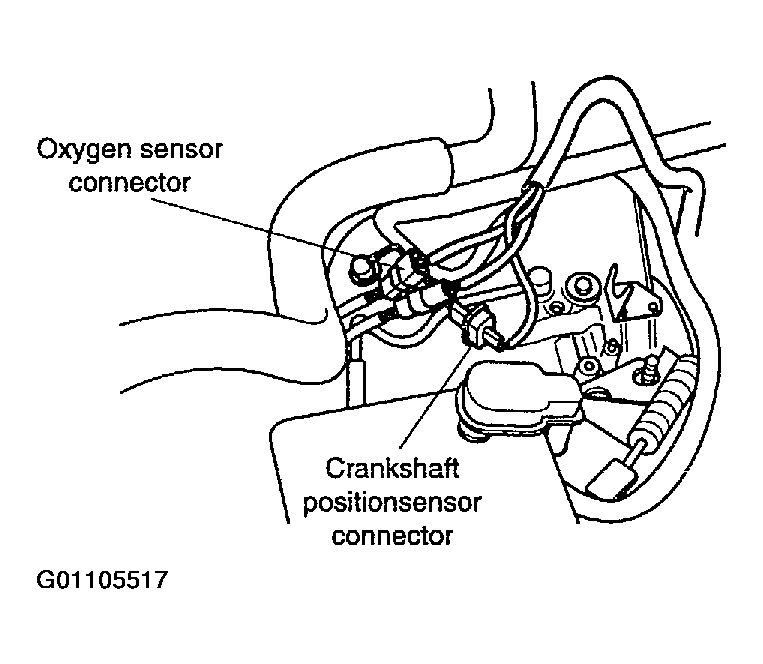
- Disconnect crankshaft position sensor connector.
- Disconnect oxygen sensor connector.
 Courtesy of KIA MOTORS AMERICA, INC.
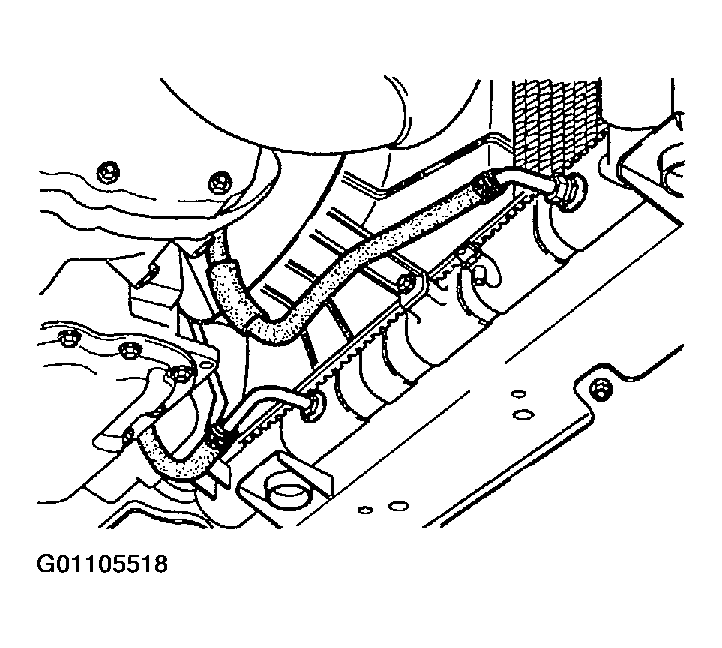
- Disconnect two ATF cooler hoses.
 Courtesy of KIA MOTORS AMERICA, INC.
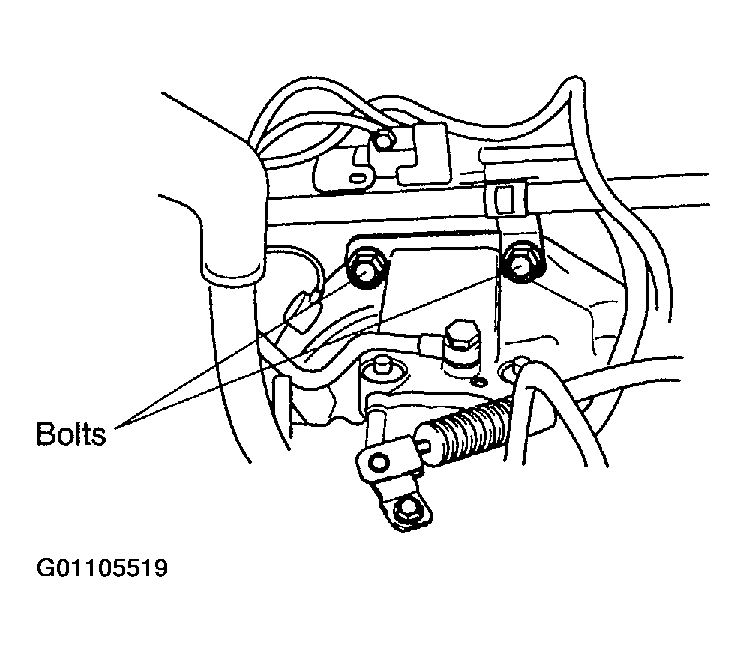
- Remove two upper converter housing bolts, (top two).
 Courtesy of KIA MOTORS AMERICA, INC.
- Support engine by using SST (0K201 170 AAO).
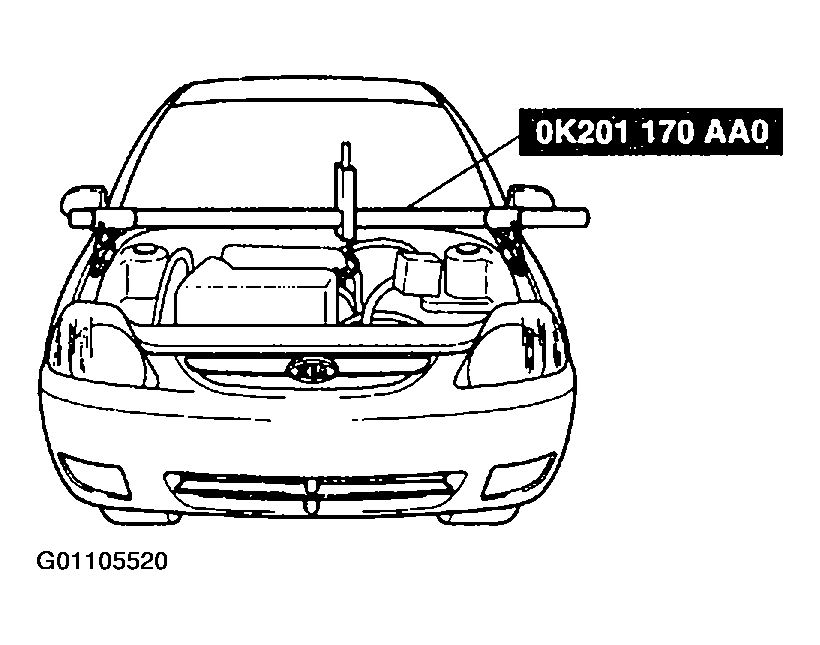 Courtesy of KIA MOTORS AMERICA, INC.
- Remove both front wheels, (four lug nuts each).
- Remove splash shield from under engine.
- Remove two nuts from U-bolt.
- Remove catalytic converter.
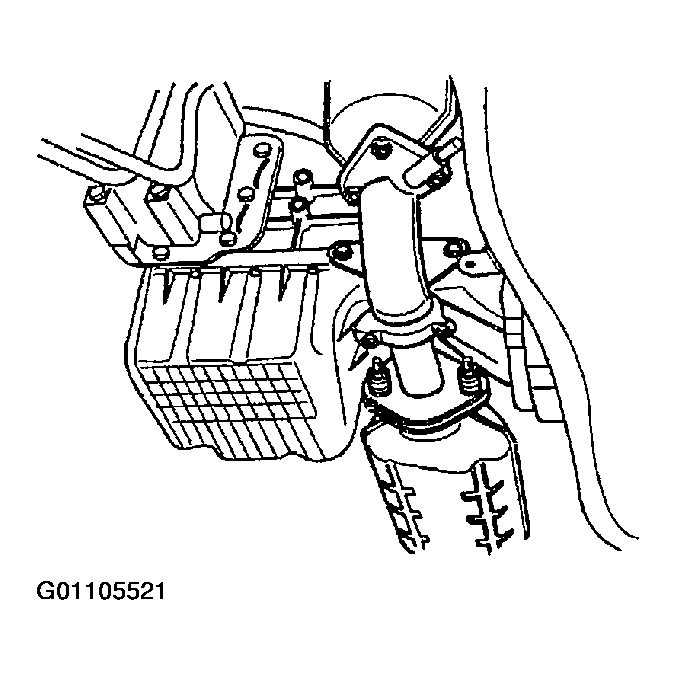 Courtesy of KIA MOTORS AMERICA, INC.
- Remove converter housing access cover and remove four drive plate-to-torque converter mounting nuts. Rotate engine at crank pulley to gain access to all four nuts.
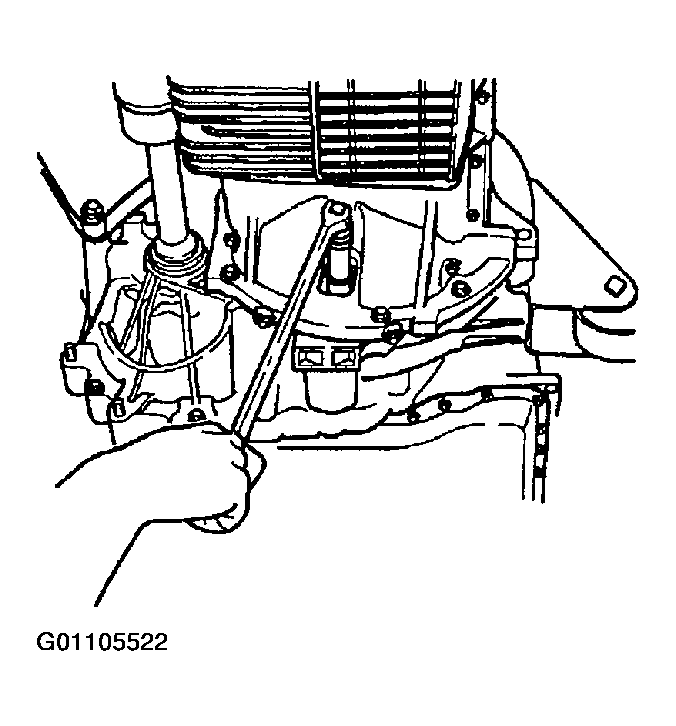 Courtesy of KIA MOTORS AMERICA, INC.
- Remove one lower starter bolt.
- Remove four engine oil pan-to-transaxle mounting bolts.
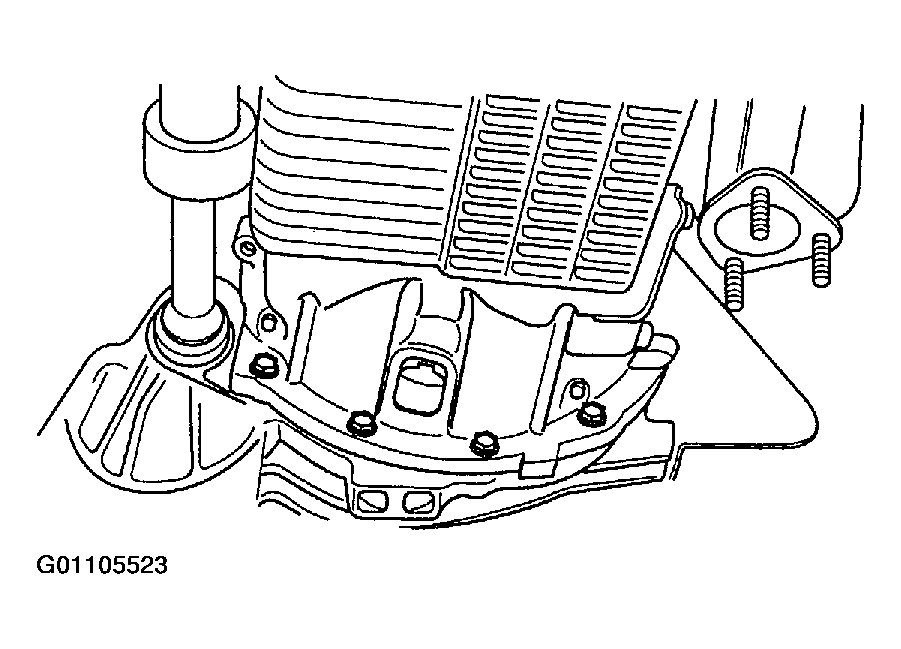 Courtesy of KIA MOTORS AMERICA, INC.
- Remove left tie rod end from steering knuckle by removing one cotter pin and one nut.
- Remove the tension rod.
- Remove nut after removing cotter pin from the lower arm side.
- Remove the tension rod after loosening bolt from the vehicle.
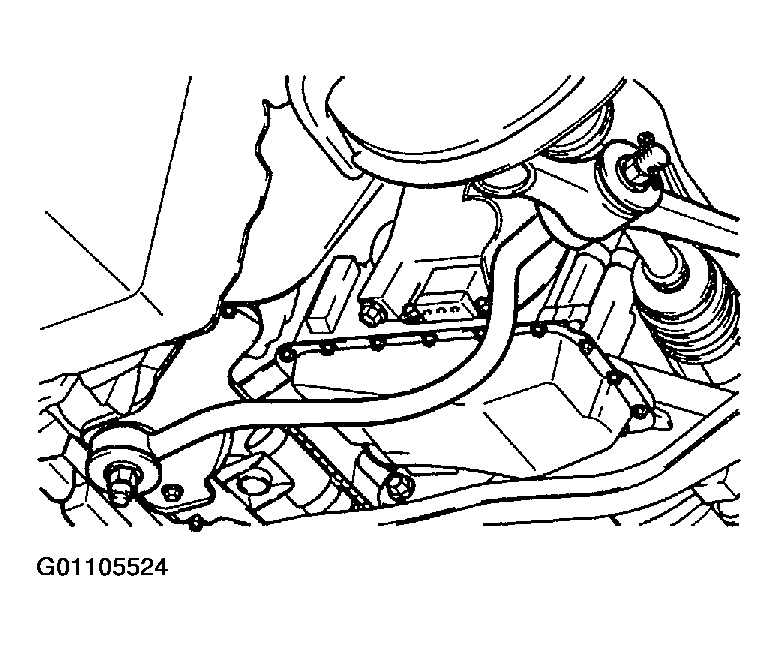 Courtesy of KIA MOTORS AMERICA, INC.
- Remove pinch bolt and nut from left ball joint.
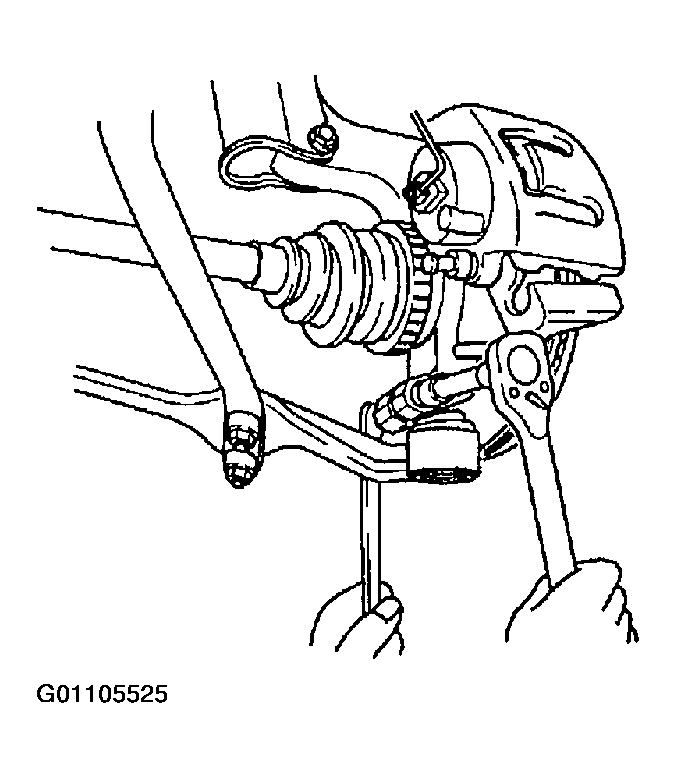 Courtesy of KIA MOTORS AMERICA, INC.
- Remove No. 1 and 2 mounting nuts from engine mounting member.
- Remove engine mounting member-to-chassis bolts (two front) and nuts (two rear), then remove engine mounting member.
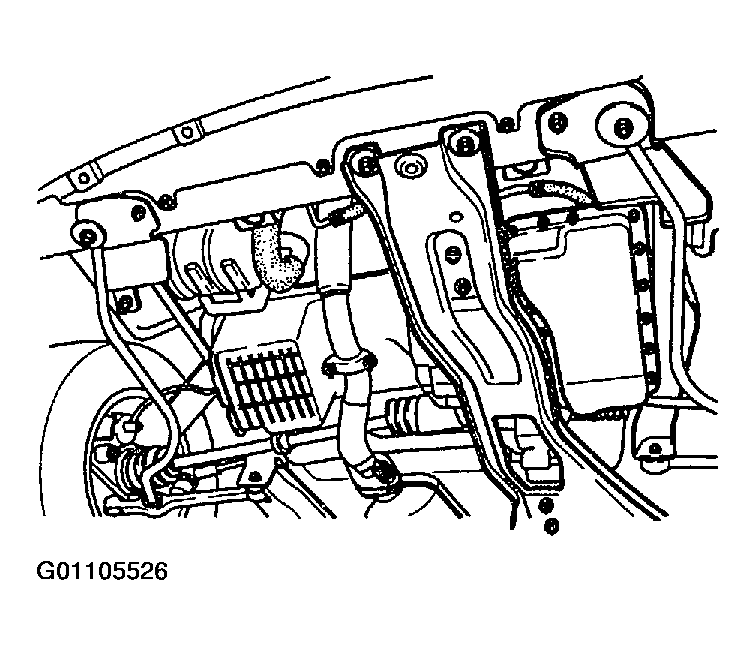 Courtesy of KIA MOTORS AMERICA, INC.
- Remove the stabilizer bar and control link.
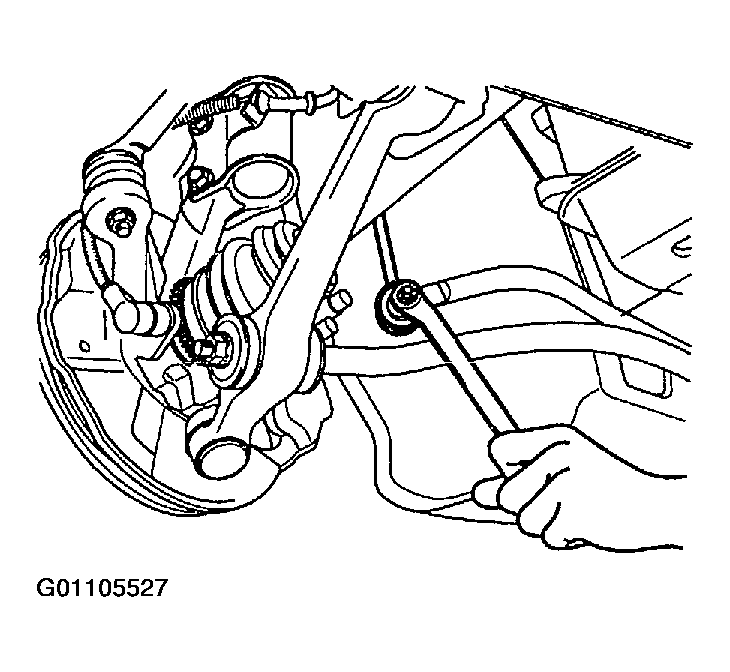 Courtesy of KIA MOTORS AMERICA, INC.
- Gently pry left drive shaft from automatic transaxle.
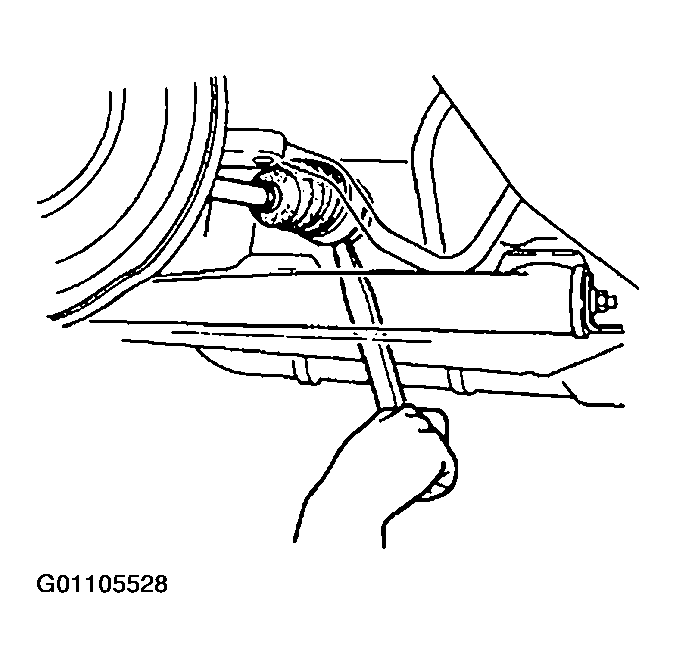 Courtesy of KIA MOTORS AMERICA, INC.
- Install SST (0K201 270 014) to prevent side gear from becoming misaligned.
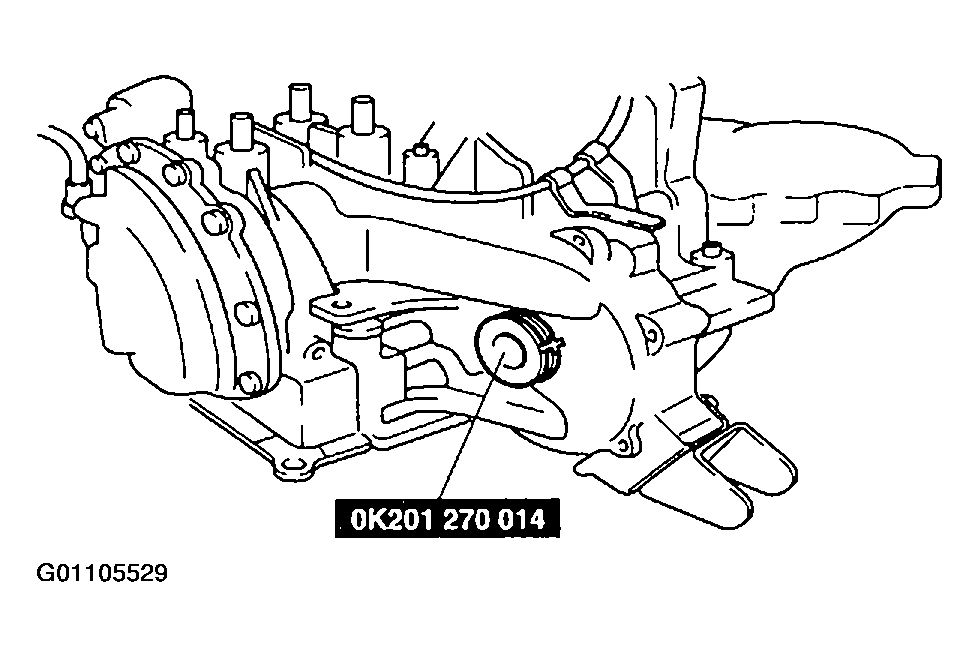 Courtesy of KIA MOTORS AMERICA, INC.
- Remove No. 2 engine mounting from automatic transaxle.
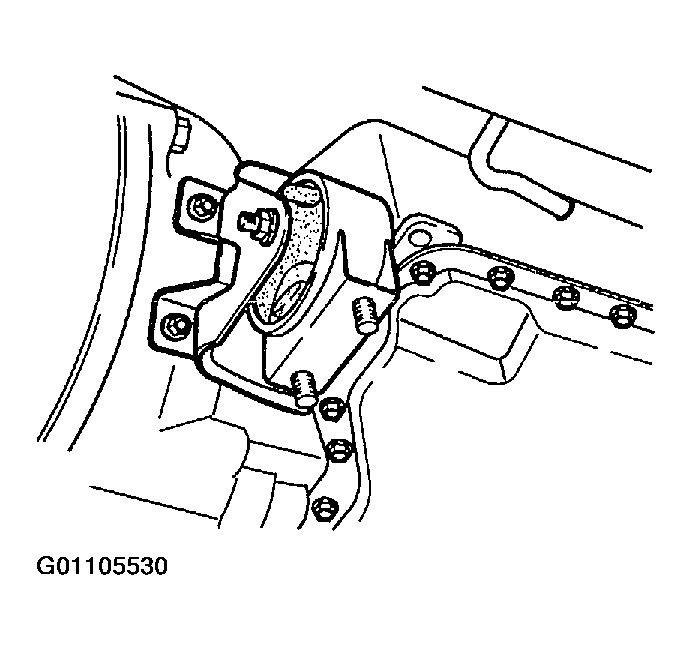 Courtesy of KIA MOTORS AMERICA, INC.
- Support (and secure if possible) automatic transaxle with a transaxle jack or suitable floor jack.
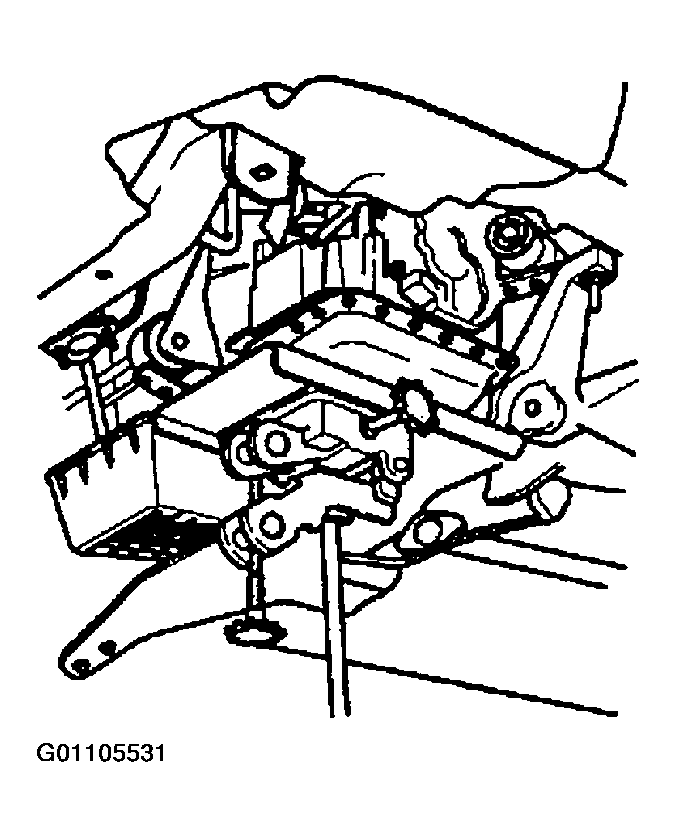 Courtesy of KIA MOTORS AMERICA, INC.
- Remove two remaining converter housing bolts on front and rear sides of transaxle.
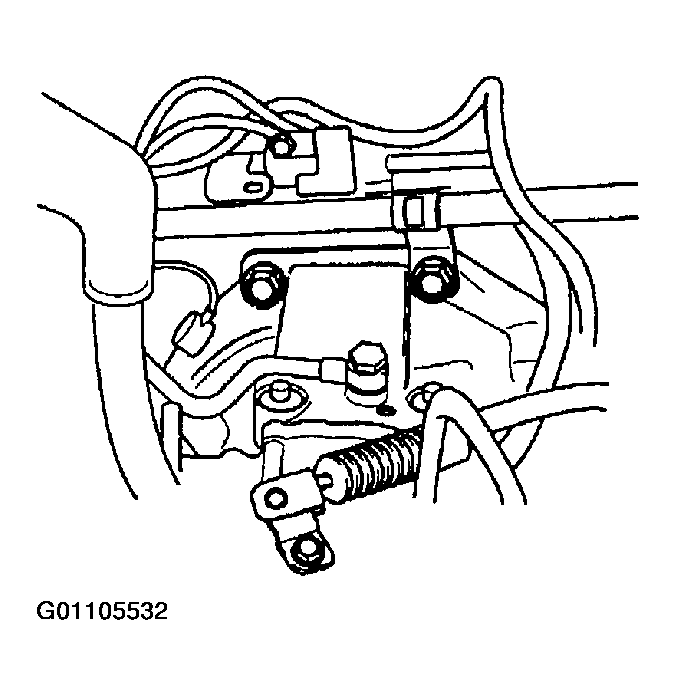 Courtesy of KIA MOTORS AMERICA, INC.
- Slowly lower drive train, allowing transaxle to tilt toward ground.
- Gently separate transaxle from engine and pull unit out through wheel well.