Module, Wireless Charging Pad: Removal: Removal
- Disconnect and isolate the negative battery cable. If equipped with an Intelligent Battery Sensor (IBS), disconnect the IBS connector first before disconnecting the negative battery cable.
- Remove the tray assembly from the center console.
- Set the end stops to full out positions.
 Courtesy of CHRYSLER GROUP, LLC
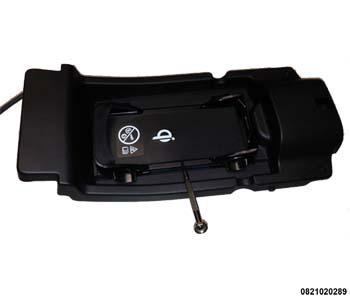
- Using a flathead mini screwdriver gently pry one side of anti-slip mat.
 Courtesy of CHRYSLER GROUP, LLC
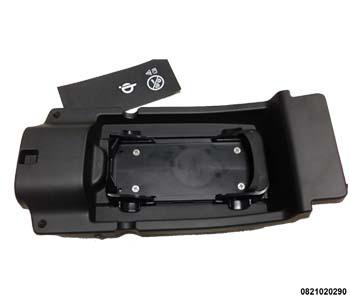
- Remove the anti slip mat.
 Courtesy of CHRYSLER GROUP, LLC
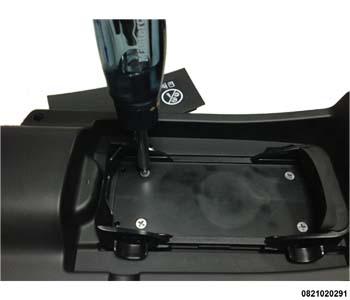
- Remove four screws using a Phillips #2 screwdriver.
 Courtesy of CHRYSLER GROUP, LLC
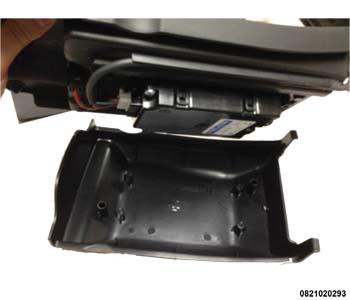
- The bottom cover should be free to come off now.
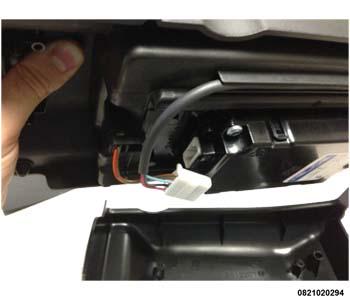 Courtesy of CHRYSLER GROUP, LLC
- Remove the Tyco connector to separate the Lower Tray from the Upper tray assembly.
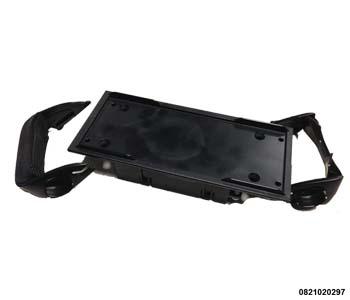 Courtesy of CHRYSLER GROUP, LLC
- Remove the rigid and flexible end stops by pressing down on the paddles and sliding them off each side.
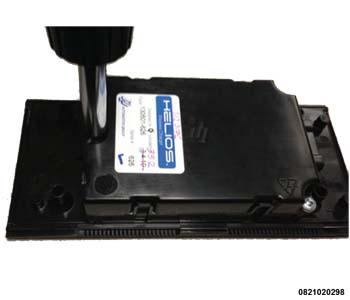 Courtesy of CHRYSLER GROUP, LLC
- Remove three screws using the Robertson #S2 screwdriver that secure the wireless charging module to the upper tray.
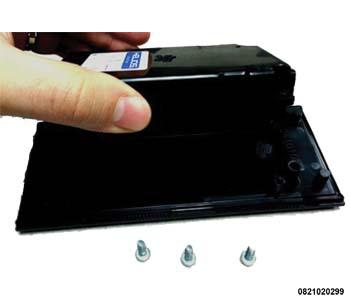 Courtesy of CHRYSLER GROUP, LLC
- The wireless charging module can now be lifted from the tray assembly.
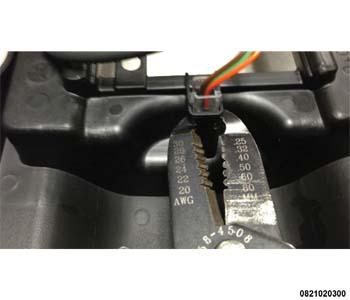 Courtesy of CHRYSLER GROUP, LLC
- Using needle nose pliers, squeeze the tabs of the LED lens to pull the Lens out of its nest.
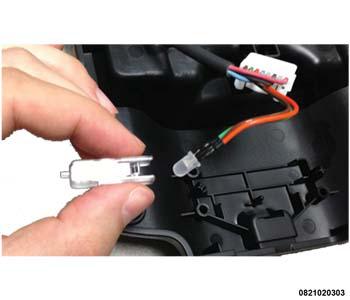 Courtesy of CHRYSLER GROUP, LLC
- Squeeze the legs of the LED Lens to pull the LED out from the Lens.
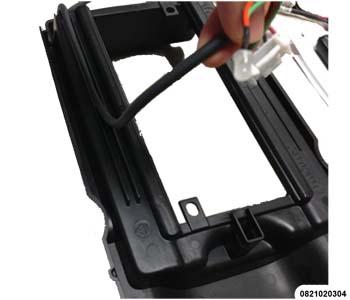 Courtesy of CHRYSLER GROUP, LLC
- Peel the harness out of the channel as shown in illustration.