2.2L Diesel
- Remove the battery. Refer to BATTERY, REMOVAL
.
- Remove the engine cover. Refer to
- Remove the belly pan. Refer to BELLY PAN, REMOVAL
.
- Drain the cooling system. Refer to STANDARD PROCEDURE .
 Courtesy of CHRYSLER GROUP, LLC
- Remove the bolt (1) securing the left Charge Air Cooler (CAC) tube.
 Courtesy of CHRYSLER GROUP, LLC
- Open the retaining clip (1a) and disconnect the vacuum brake booster hose (1b) quick-disconnect fitting (1b).
 Courtesy of CHRYSLER GROUP, LLC
- Remove the bolts (1a) and the CAC tube (1b).
 Courtesy of CHRYSLER GROUP, LLC
- Loosen clamp and remove the coolant hose (1).
 Courtesy of CHRYSLER GROUP, LLC
- Loosen the clamp and remove the degas hose (1) from the thermostat housing.
- Loosen clamp and remove the upper radiator hose (2) from the thermostat housing.
 Courtesy of CHRYSLER GROUP, LLC
- Disconnect the front oxygen sensor wire connector (1) and detach wire harness connector from the bracket.
 Courtesy of CHRYSLER GROUP, LLC
- Disconnect the coolant temperature sensor wire harness connector wire harness connector (1).
 Courtesy of CHRYSLER GROUP, LLC
- Remove the bolts (1) and the EGR tubes from the thermostat housing.
 Courtesy of CHRYSLER GROUP, LLC
- Remove bolts (1a) and the thermostat housing assembly (1b).
- Remove and discard the gasket seals (1).
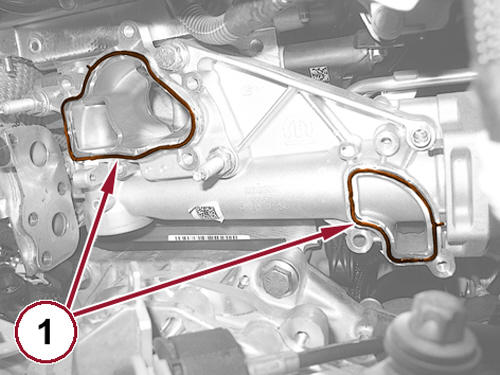 Courtesy of CHRYSLER GROUP, LLC