T355 Manual Transmission (Service Information): Installation: Installation
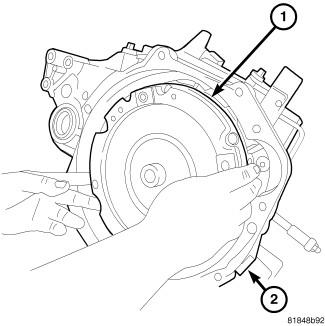 Courtesy of CHRYSLER LLC
- Install clutch module (1) (if equipped) onto input shaft.
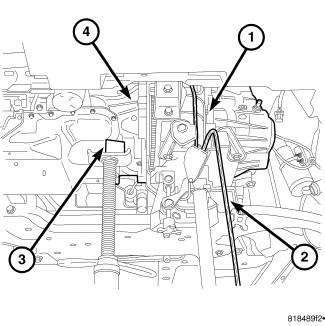 Courtesy of CHRYSLER LLC
- Install transaxle (1) into position.
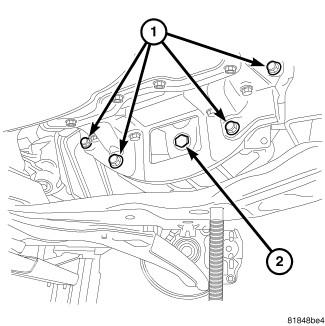 Courtesy of CHRYSLER LLC
- Install transaxle-to-engine lower (1) mounting bolts and tighten to 48 N.m (35 ft. lbs.).
- If equipped, install the PTU.
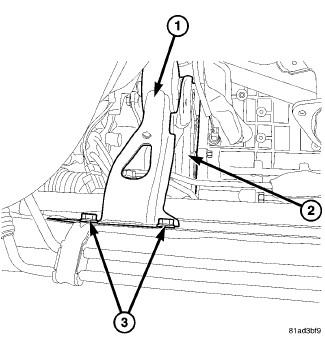 Courtesy of CHRYSLER LLC
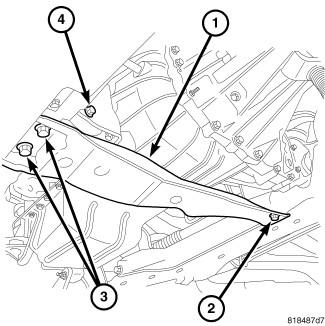
- Install the rear transmission mount bracket (2) and bolts, tighten to 68 N.m (50 ft. lbs.).
- Install the rear transmission mount (1) and bolts, tighten to 68 N.m (50 ft. lbs.).
- Install the rear transmission mount through bolt (4) at this time and tighten to 68 N.m (50 ft. lbs.).
 Courtesy of CHRYSLER LLC
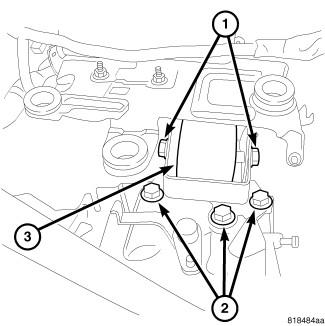
- Install front mount bracket to transmission and tighten to 68 N.m (50 ft. lbs.).
- Install the transmission crossmember and tighten to 68 N.m (50 ft. lbs.).
 Courtesy of CHRYSLER LLC
- Lower the vehicle on hoist.
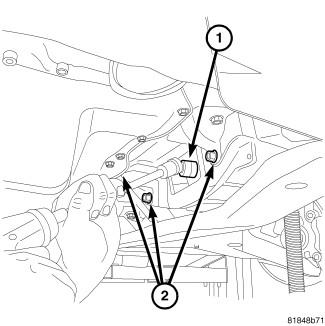
- Raise engine and transaxle until upper mount bracket aligns with upper mount. Install mount bolts (2) and tighten to 68 N.m (50 ft. lbs.).
- Tighten through bolt to 68 N.m (50 ft. lbs.).
- Remove jack.
 Courtesy of CHRYSLER LLC
- Raise the vehicle on the hoist.
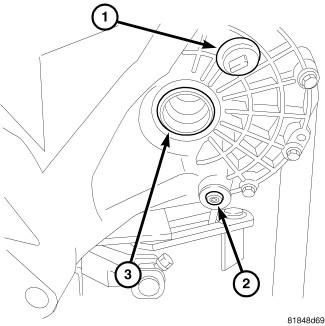
- Install four (4) modular clutch-to-driveplate bolts (4). Align drive plate and modular clutch alignment marks placed upon disassembly. Start with tight-tolerance (slotted) hole, install and torque bolts to 88 N.m (65 ft. lbs.).
- Install starter motor, make sure to fasten ground cable to upper starter bolt. Refer to Electrical/Starting/STARTER - Installation
.
- Install bell housing dust cover.
- Install both front axle driveshafts. Refer to Differential and Driveline/Half Shaft - Installation
.
 Courtesy of CHRYSLER LLC
- Fill transaxle with suitable amount of fluid (2.7 liters). See Standard Procedure
.
- Install the splash shields. Refer to Body/Exterior/SHIELD, Splash - Installation
.
- Lower the vehicle.
- Install the remaining top bell housing bolts and tighten to 48 N.m (35 ft. lbs.).
- Connect the hydraulic clutch slave cylinder (1). An audible click should be heard. Verify connection by pushing and pulling quick connect.
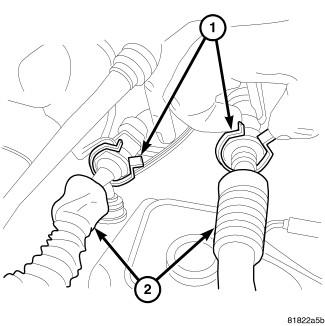 Courtesy of CHRYSLER LLC
- Connect shift and selector cables (2) to shift lever. Install cables to bracket (1).
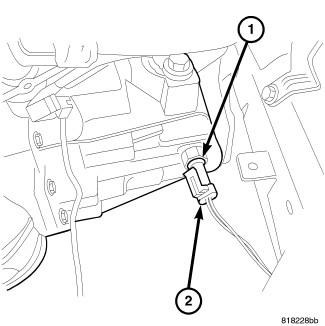 Courtesy of CHRYSLER LLC
- Connect back-up lamp switch connector (1).
- Connect the vehicle speed sensor connector if equipped.
- Install battery and battery tray.
- Install the air cleaner assembly.
- Connect the battery cables.
- Road test vehicle and inspect for leaks.