- Release fuel rail pressure then disconnect the fuel supply quick connect fitting at the fuel rail. Refer to STANDARD PROCEDURE
and STANDARD PROCEDURE
.
- Remove the strut tower support (1).
 Courtesy of CHRYSLER LLC
- Disconnect the battery negative cable.
- Remove air cleaner assembly.
- Remove fan shroud with viscous fan assembly.
- Remove drive belt.
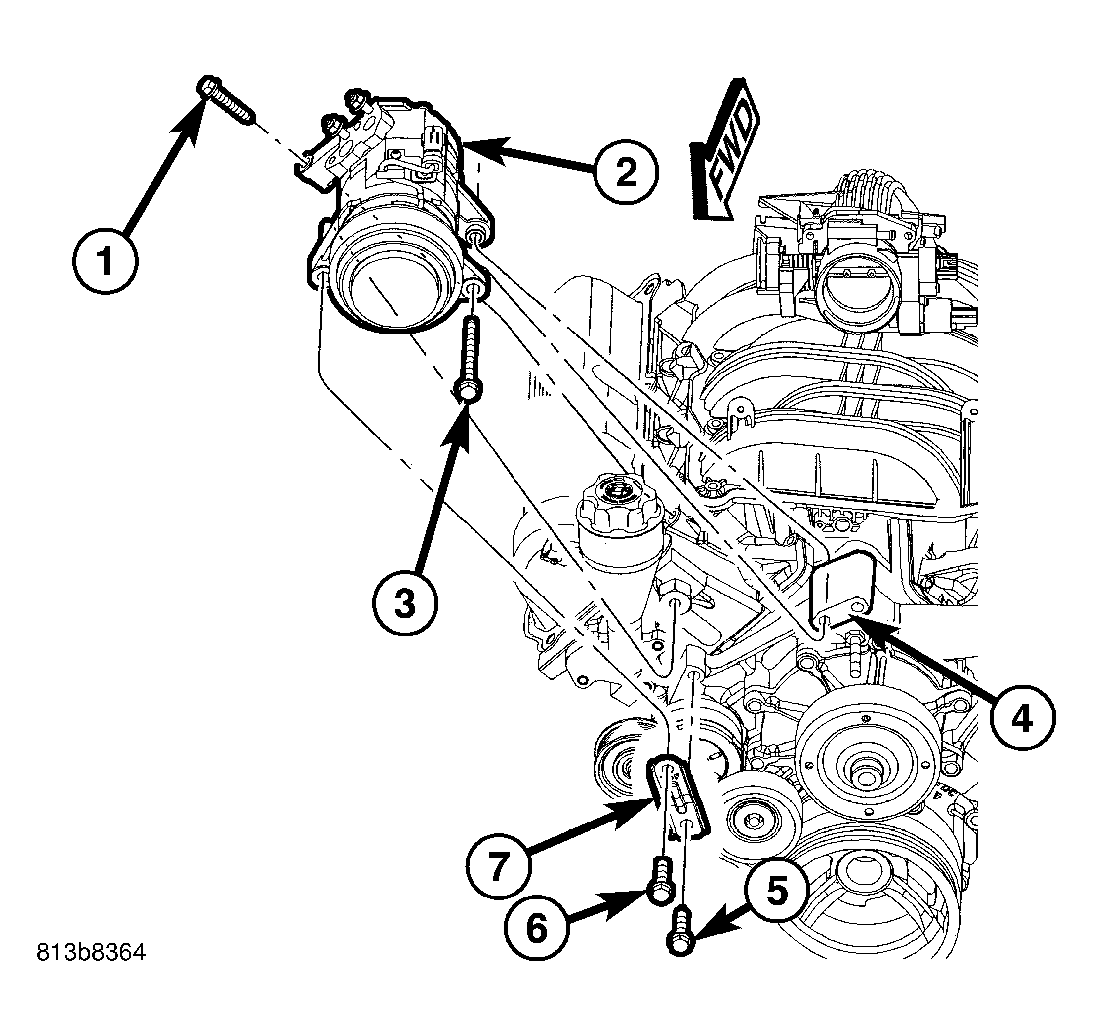
- Remove A/C compressor (2) and secure away from engine.
 Courtesy of CHRYSLER LLC
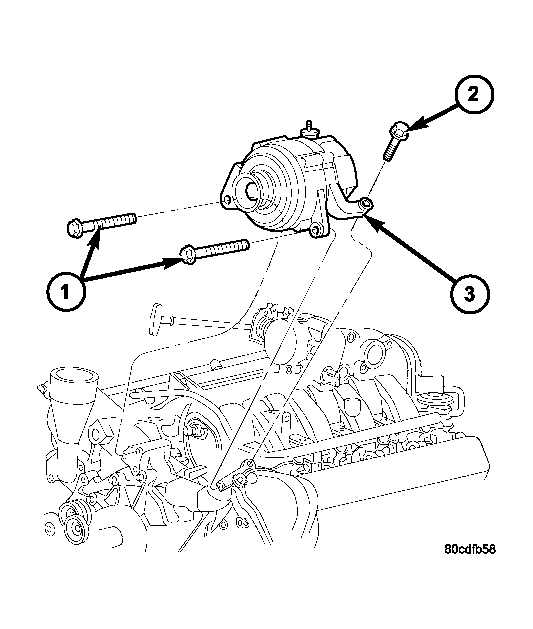
- Remove generator (3) and secure away from engine.
NOTE:
Do NOT remove the phenolic pulley from the P/S pump. It is not required for P/S pump removal.
- Remove power steering pump with lines attached and secure away from engine.
- Drain cooling system.
- Disconnect the heater hoses from the engine.
- Disconnect heater hoses from heater core and remove hose assembly.
- Remove upper radiator hose from engine.
- Remove lower radiator hose from engine.
- Remove radiator/cooling module assembly.
- Disconnect the engine to body ground straps at the left side of cowl.
 Courtesy of CHRYSLER LLC
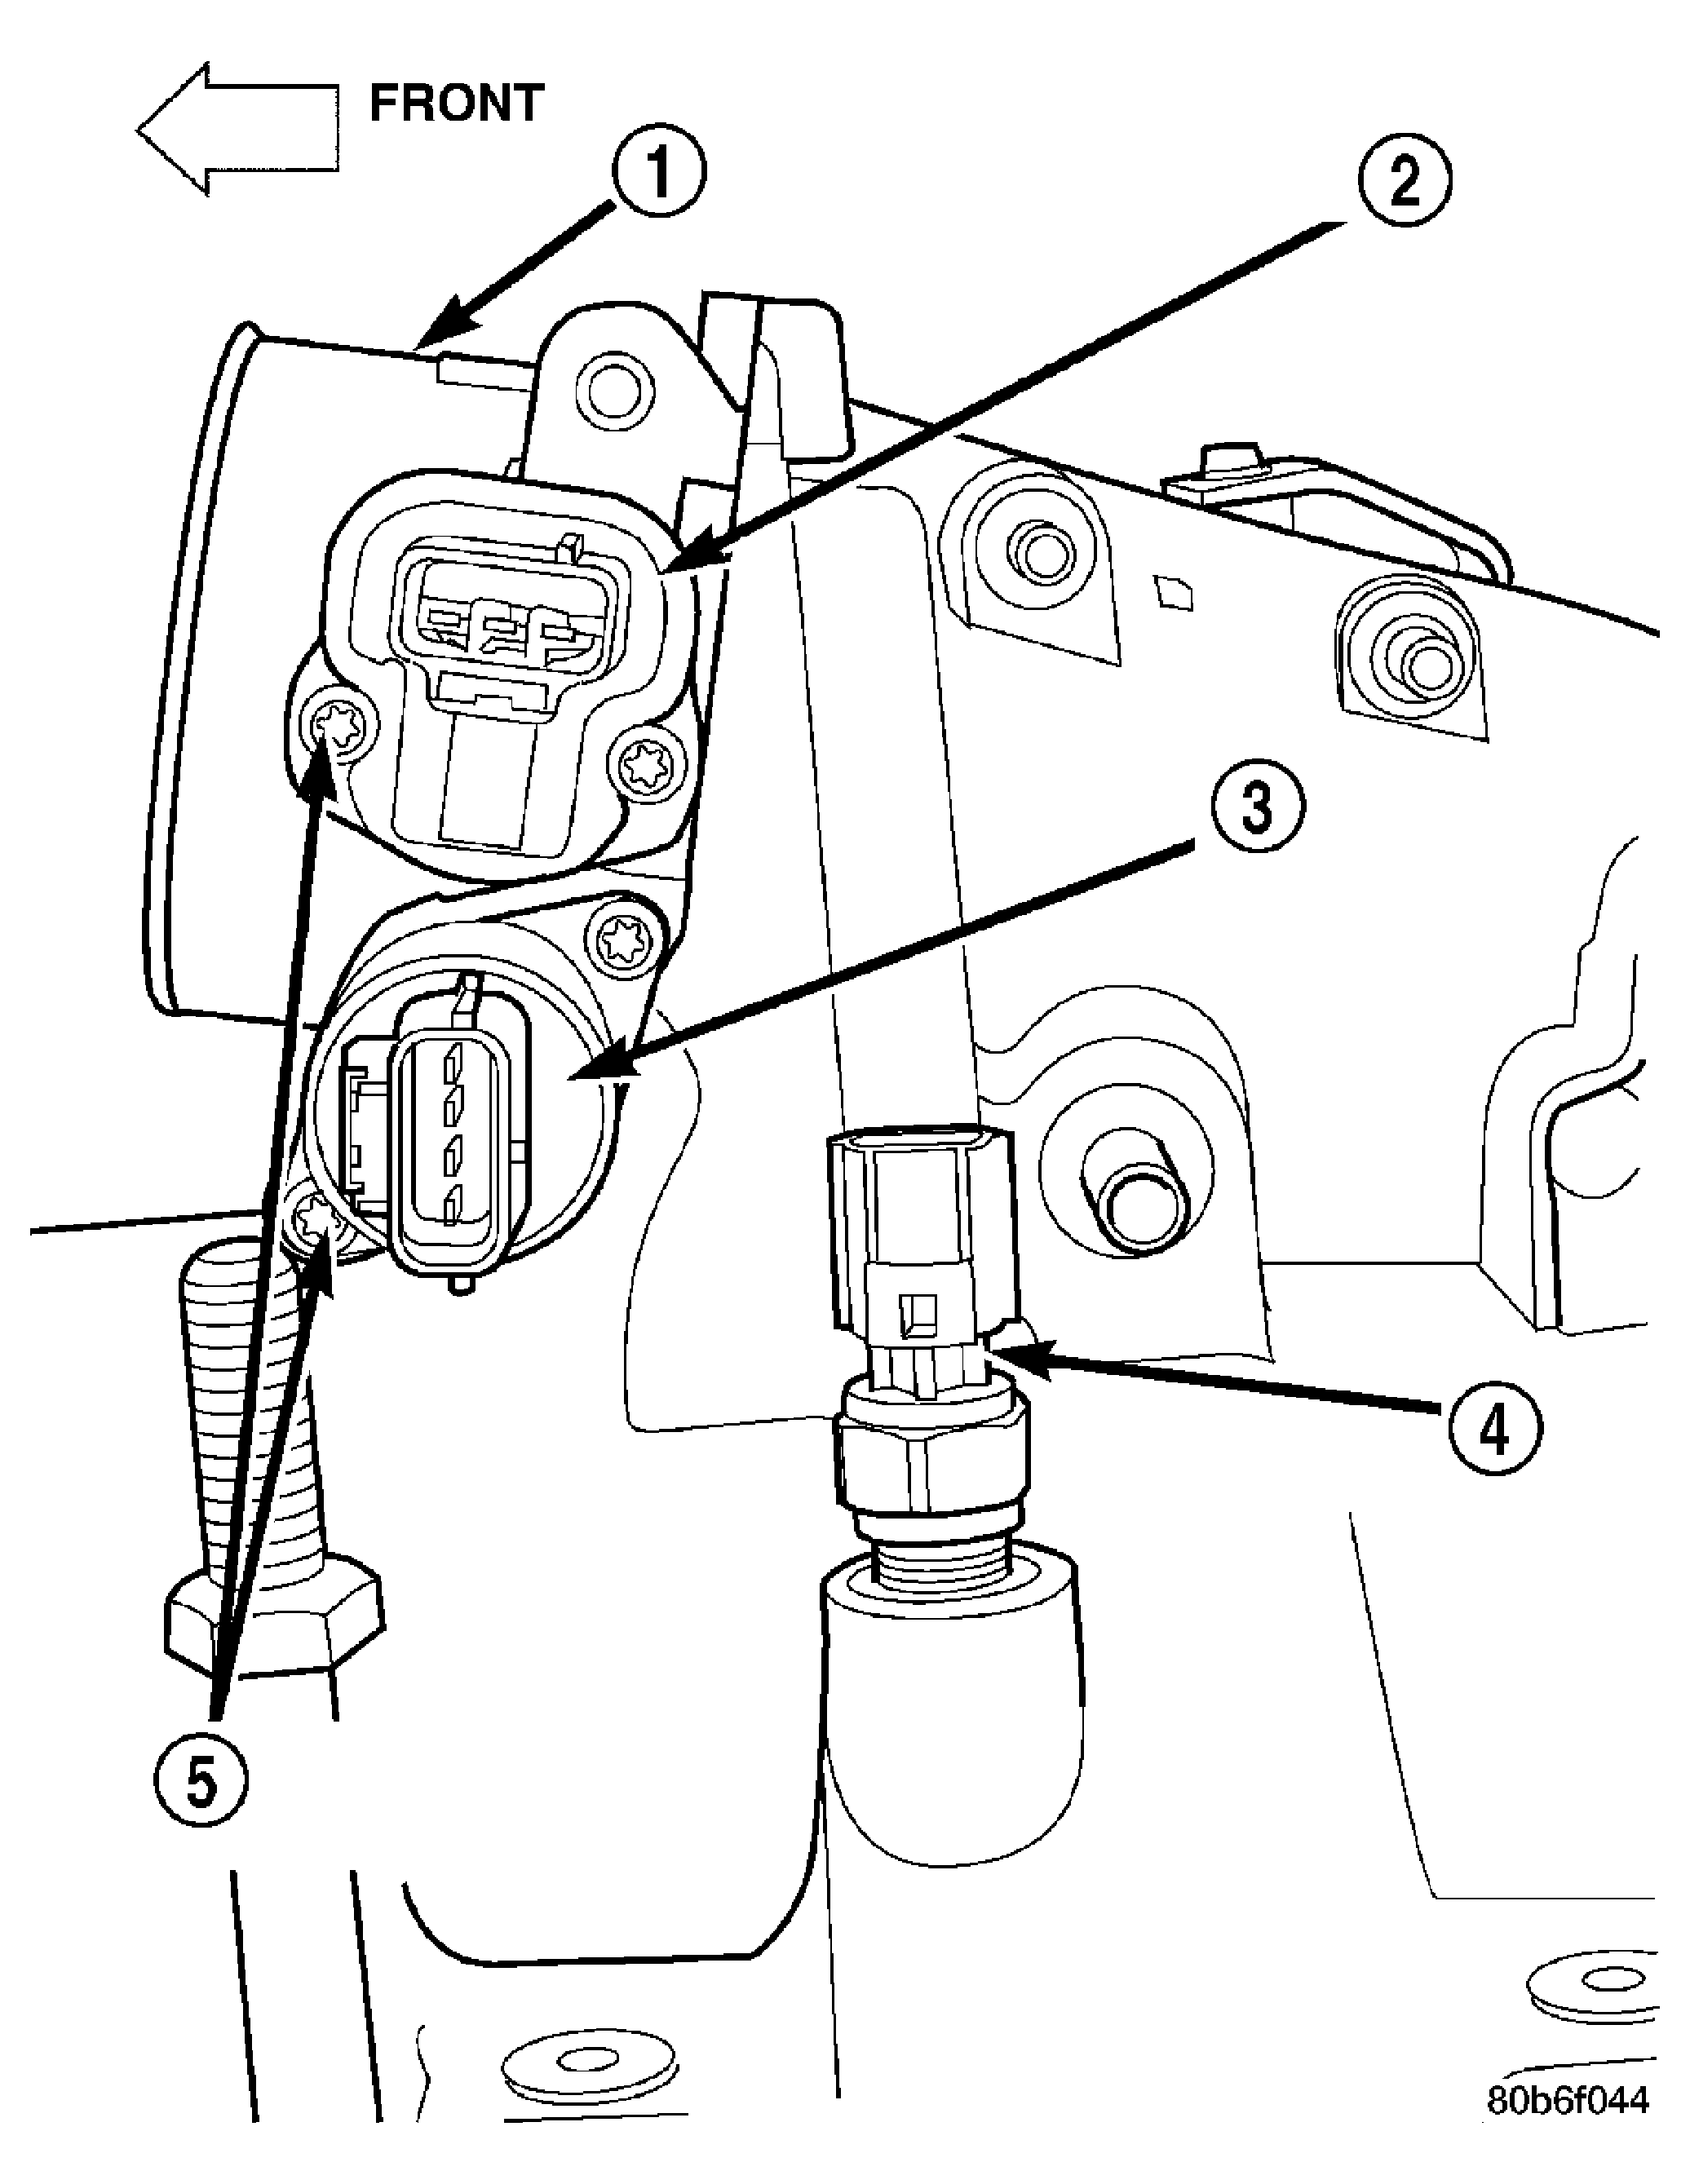
| 1 - THROTTLE BODY |
| 2 - TPS |
| 3 - IAC MOTOR |
| 4 - IAT SENSOR (THREADED TYPE) |
| 5 - MOUNTING SCREWS |
- Disconnect the engine wiring harness at the following points:
- Intake air temperature (IAT) sensor (4)
- Fuel Injectors
- Throttle Body (2)
- Idle Air Control (IAC) Motor (3)
- Engine Oil Pressure Switch
- Engine Coolant Temperature (ECT) Sensor
- Manifold Absolute Pressure MAP) Sensor
- Camshaft Position (CMP) Sensor
- Coil Over Plugs
- Crankshaft Position Sensor
- Remove coil over plugs.
 Courtesy of CHRYSLER LLC
- Remove fuel rail and secure away from engine.
NOTE:
It is not necessary to release the quick connect fitting from the fuel supply line for engine removal.
- Remove the PCV hose.
- Remove the breather hoses.
- Remove the vacuum hose for the power brake booster.
- Disconnect knock sensors.
- Remove engine oil dipstick tube.
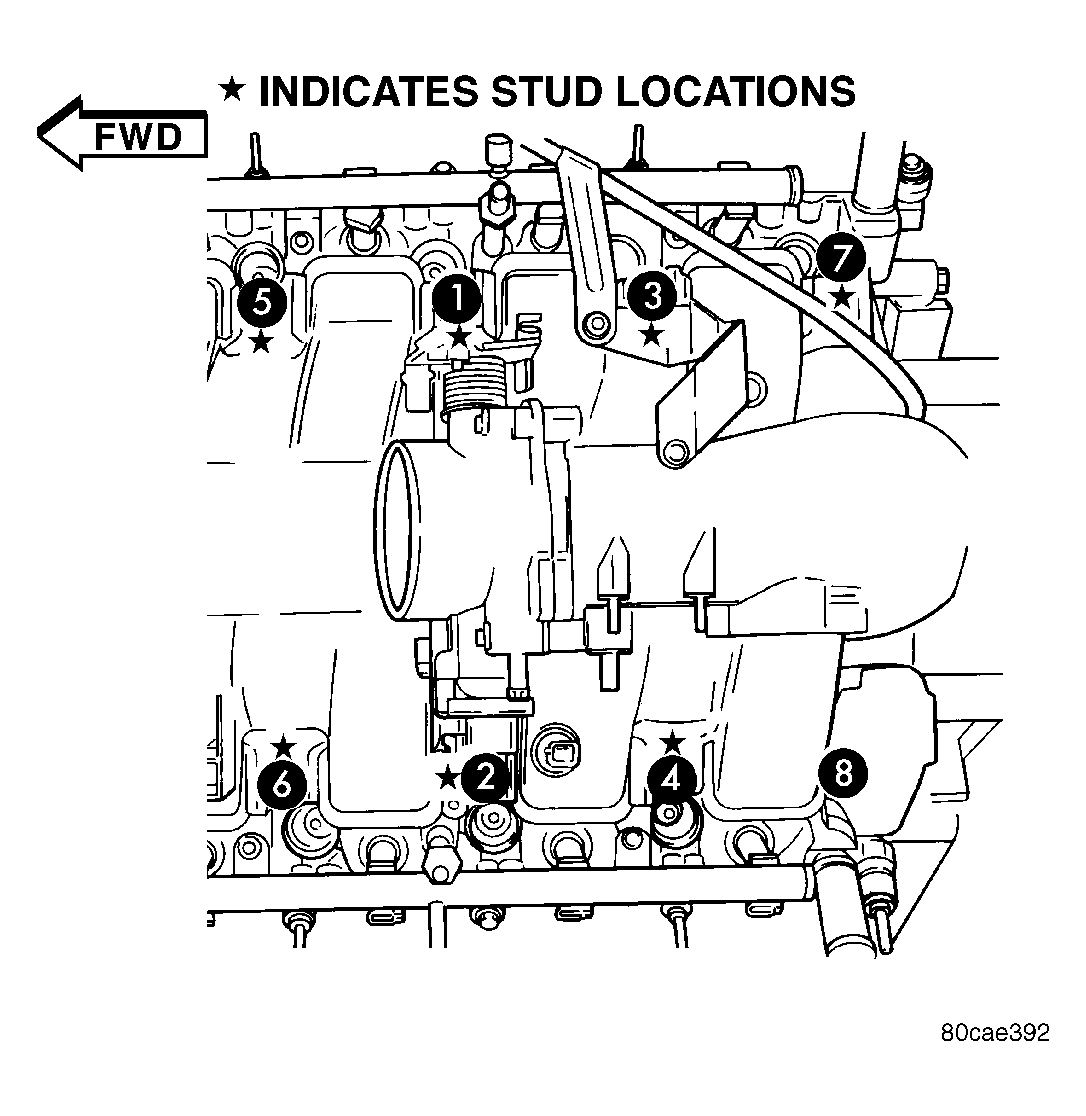
- Remove the intake manifold. See REMOVAL .
- Install Engine Lifting Fixture 8427 using original fasteners from the removed intake manifold, and fuel rail. Torque to factory specifications.
NOTE:
Recheck bolt torque on the Engine Lift Fixture before removing engine.
 Courtesy of CHRYSLER LLC
- Disconnect oxygen sensor wiring.
- Disconnect crankshaft position sensor.
- Disconnect the engine block heater power cable, if equipped.
- Disconnect the front propshaft at the front differential and secure out of way.
NOTE:
It is necessary to disconnect the front propshaft for access to the starter and left side exhaust flange.
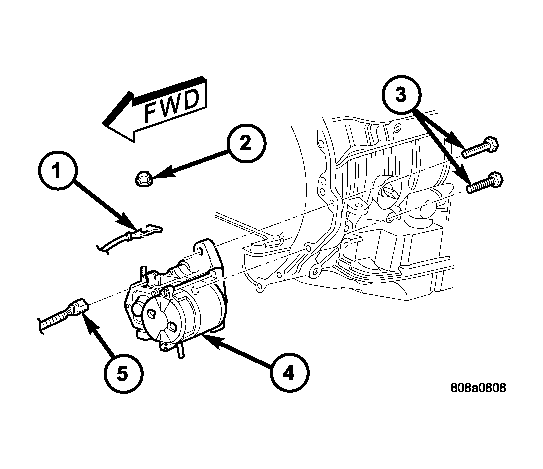
- Remove the starter (4).
 Courtesy of CHRYSLER LLC
 Courtesy of CHRYSLER LLC
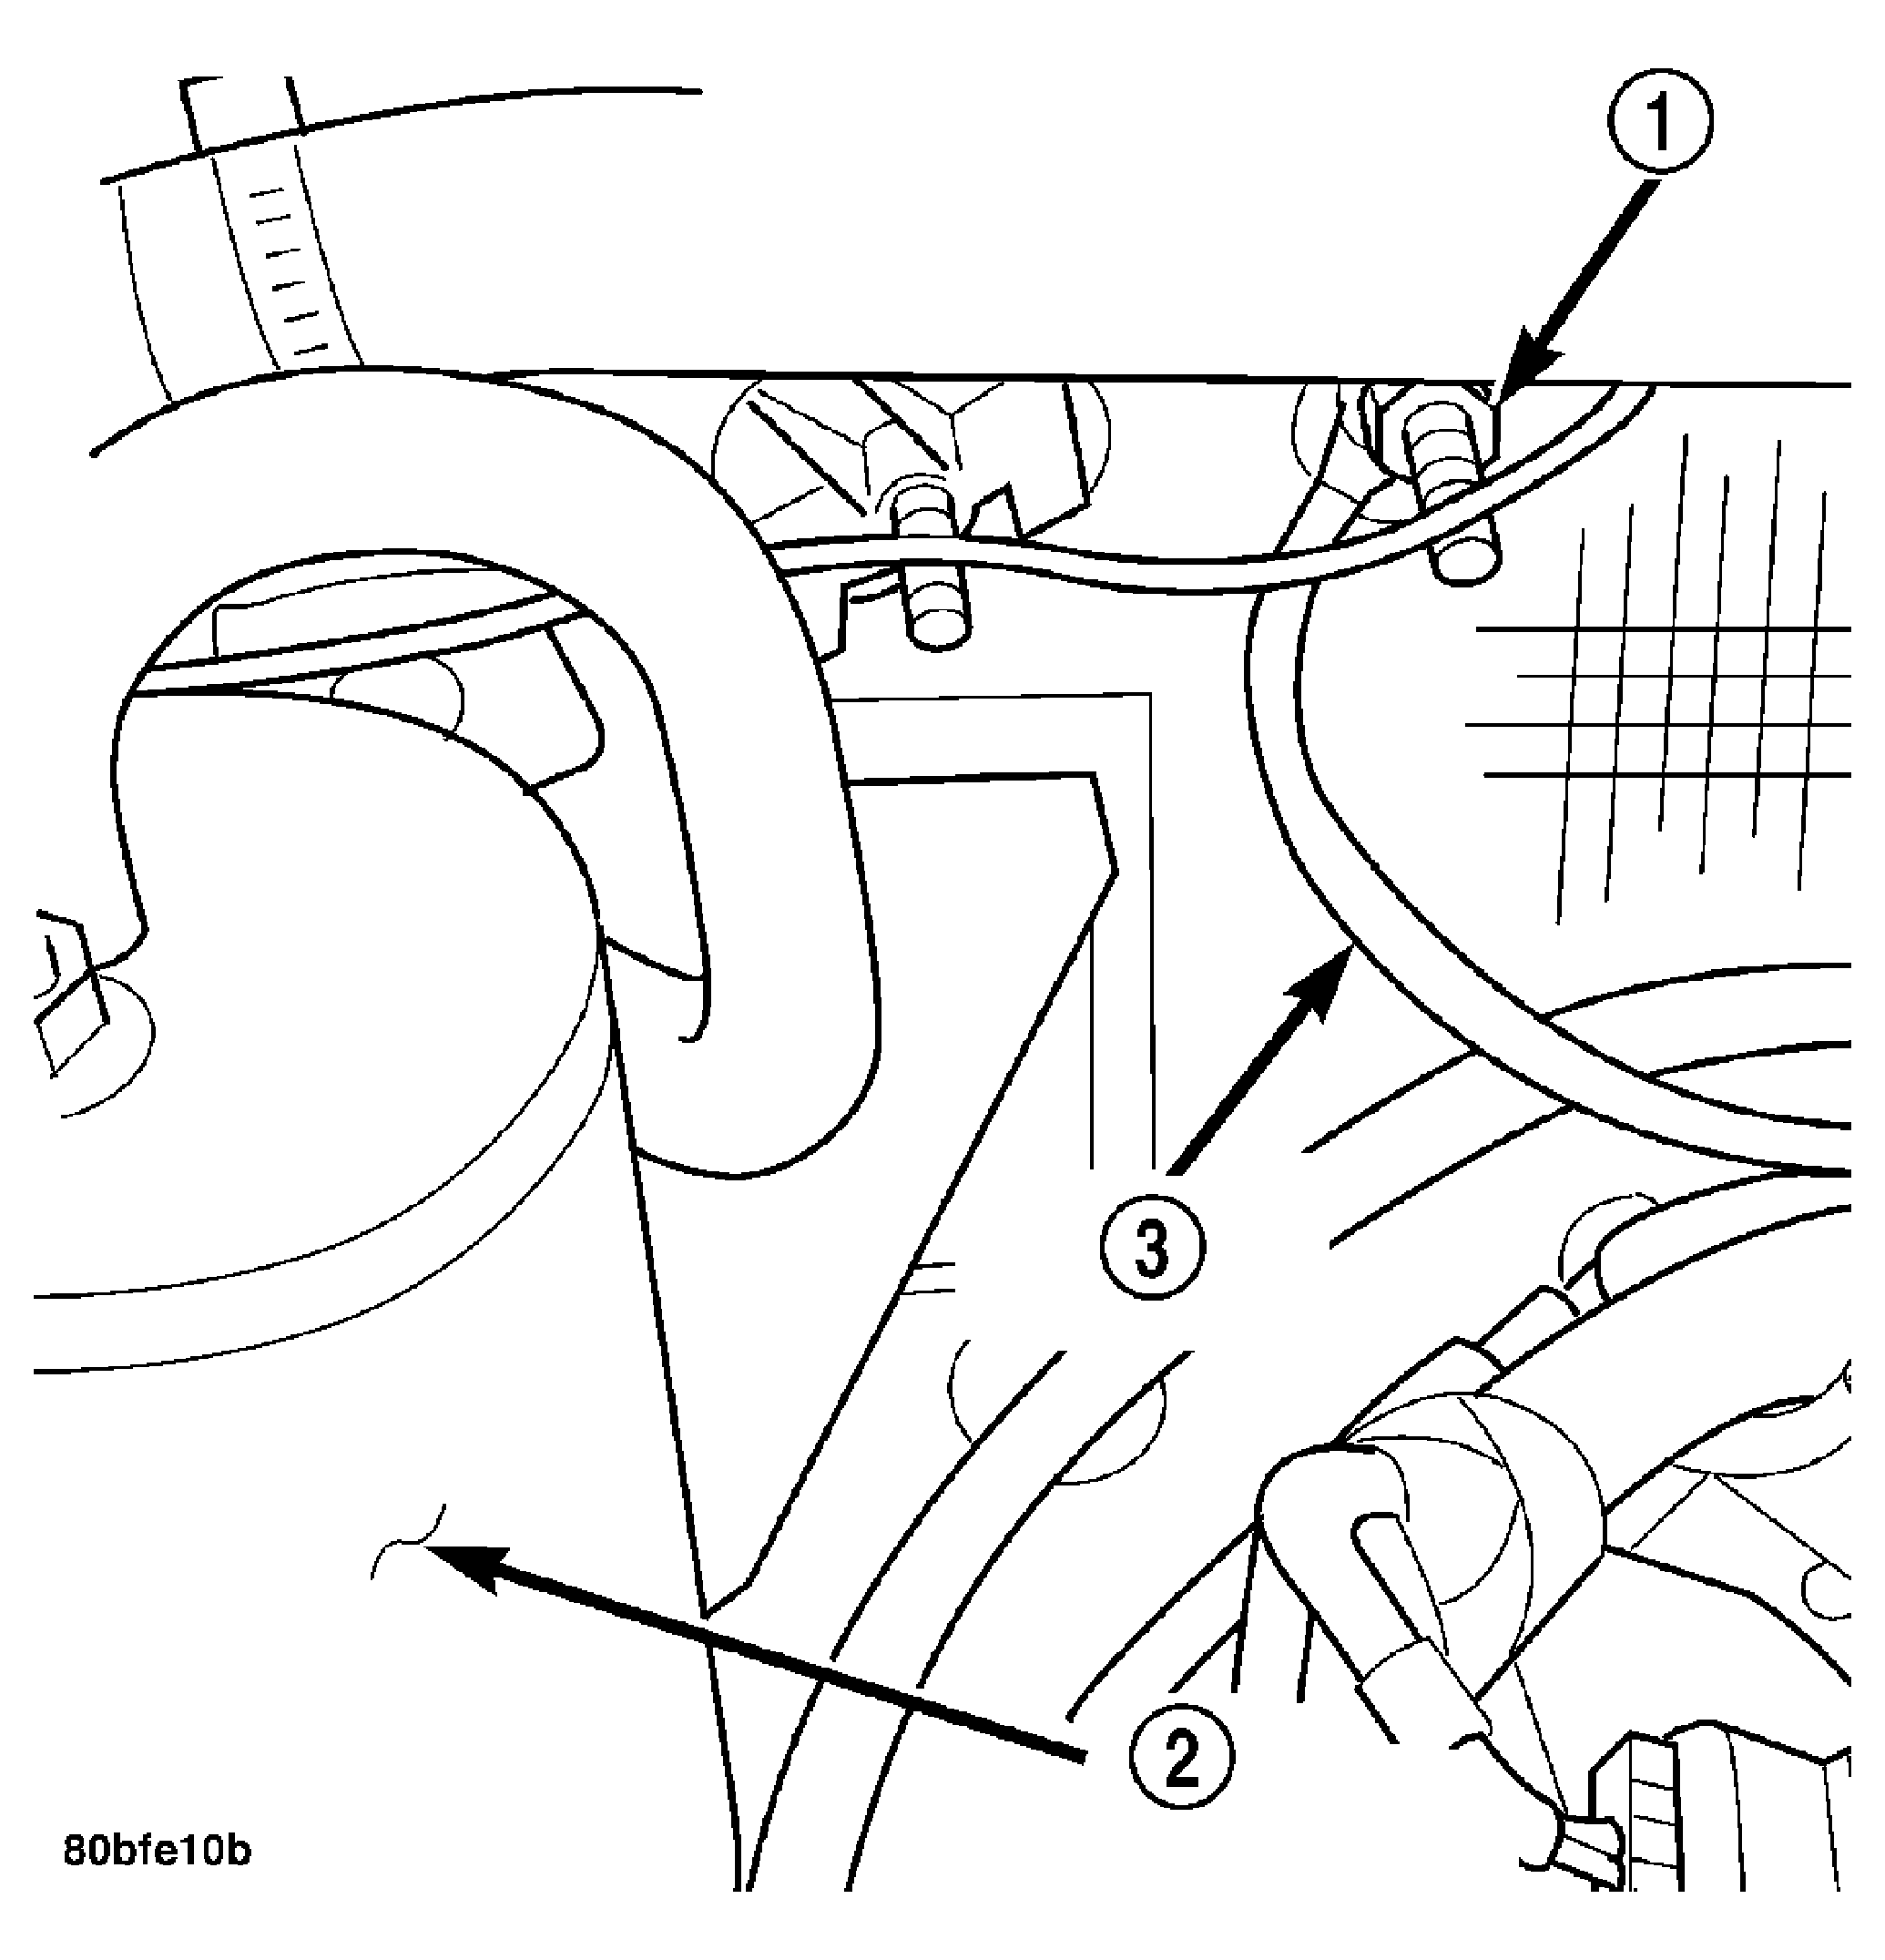
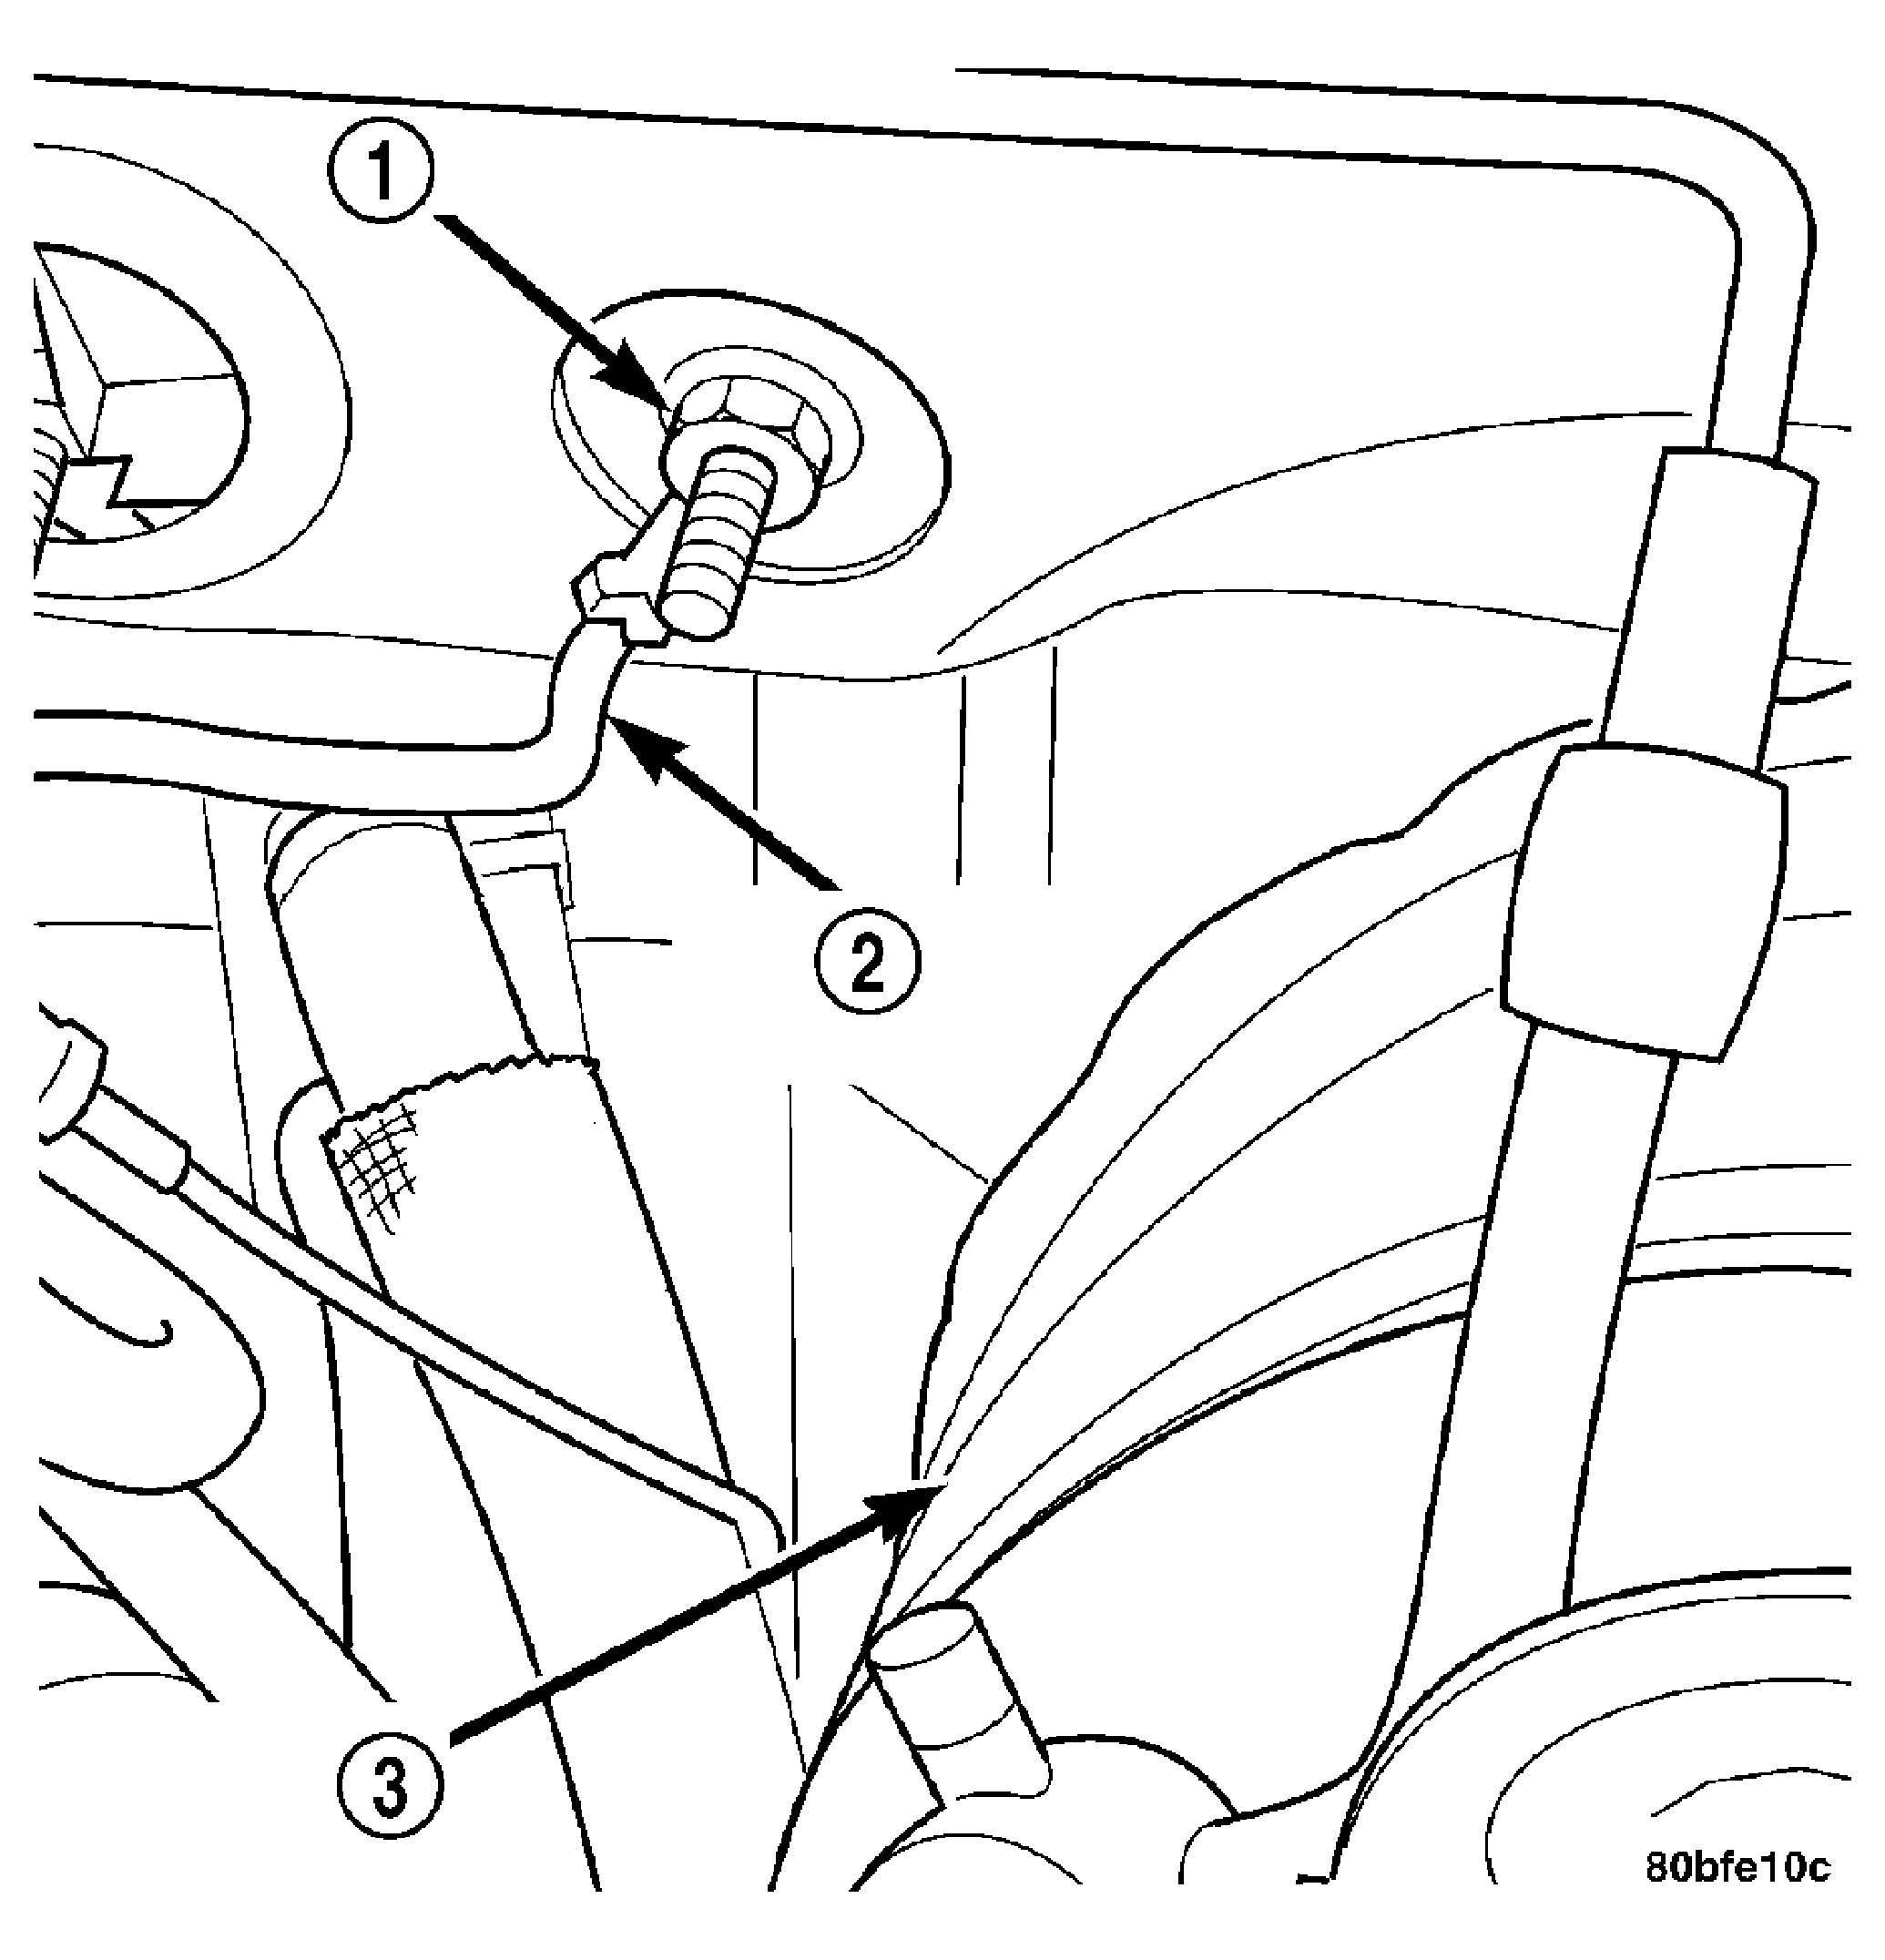
- Remove the ground straps from the left (2) and right (3) side of the block.
 Courtesy of CHRYSLER LLC
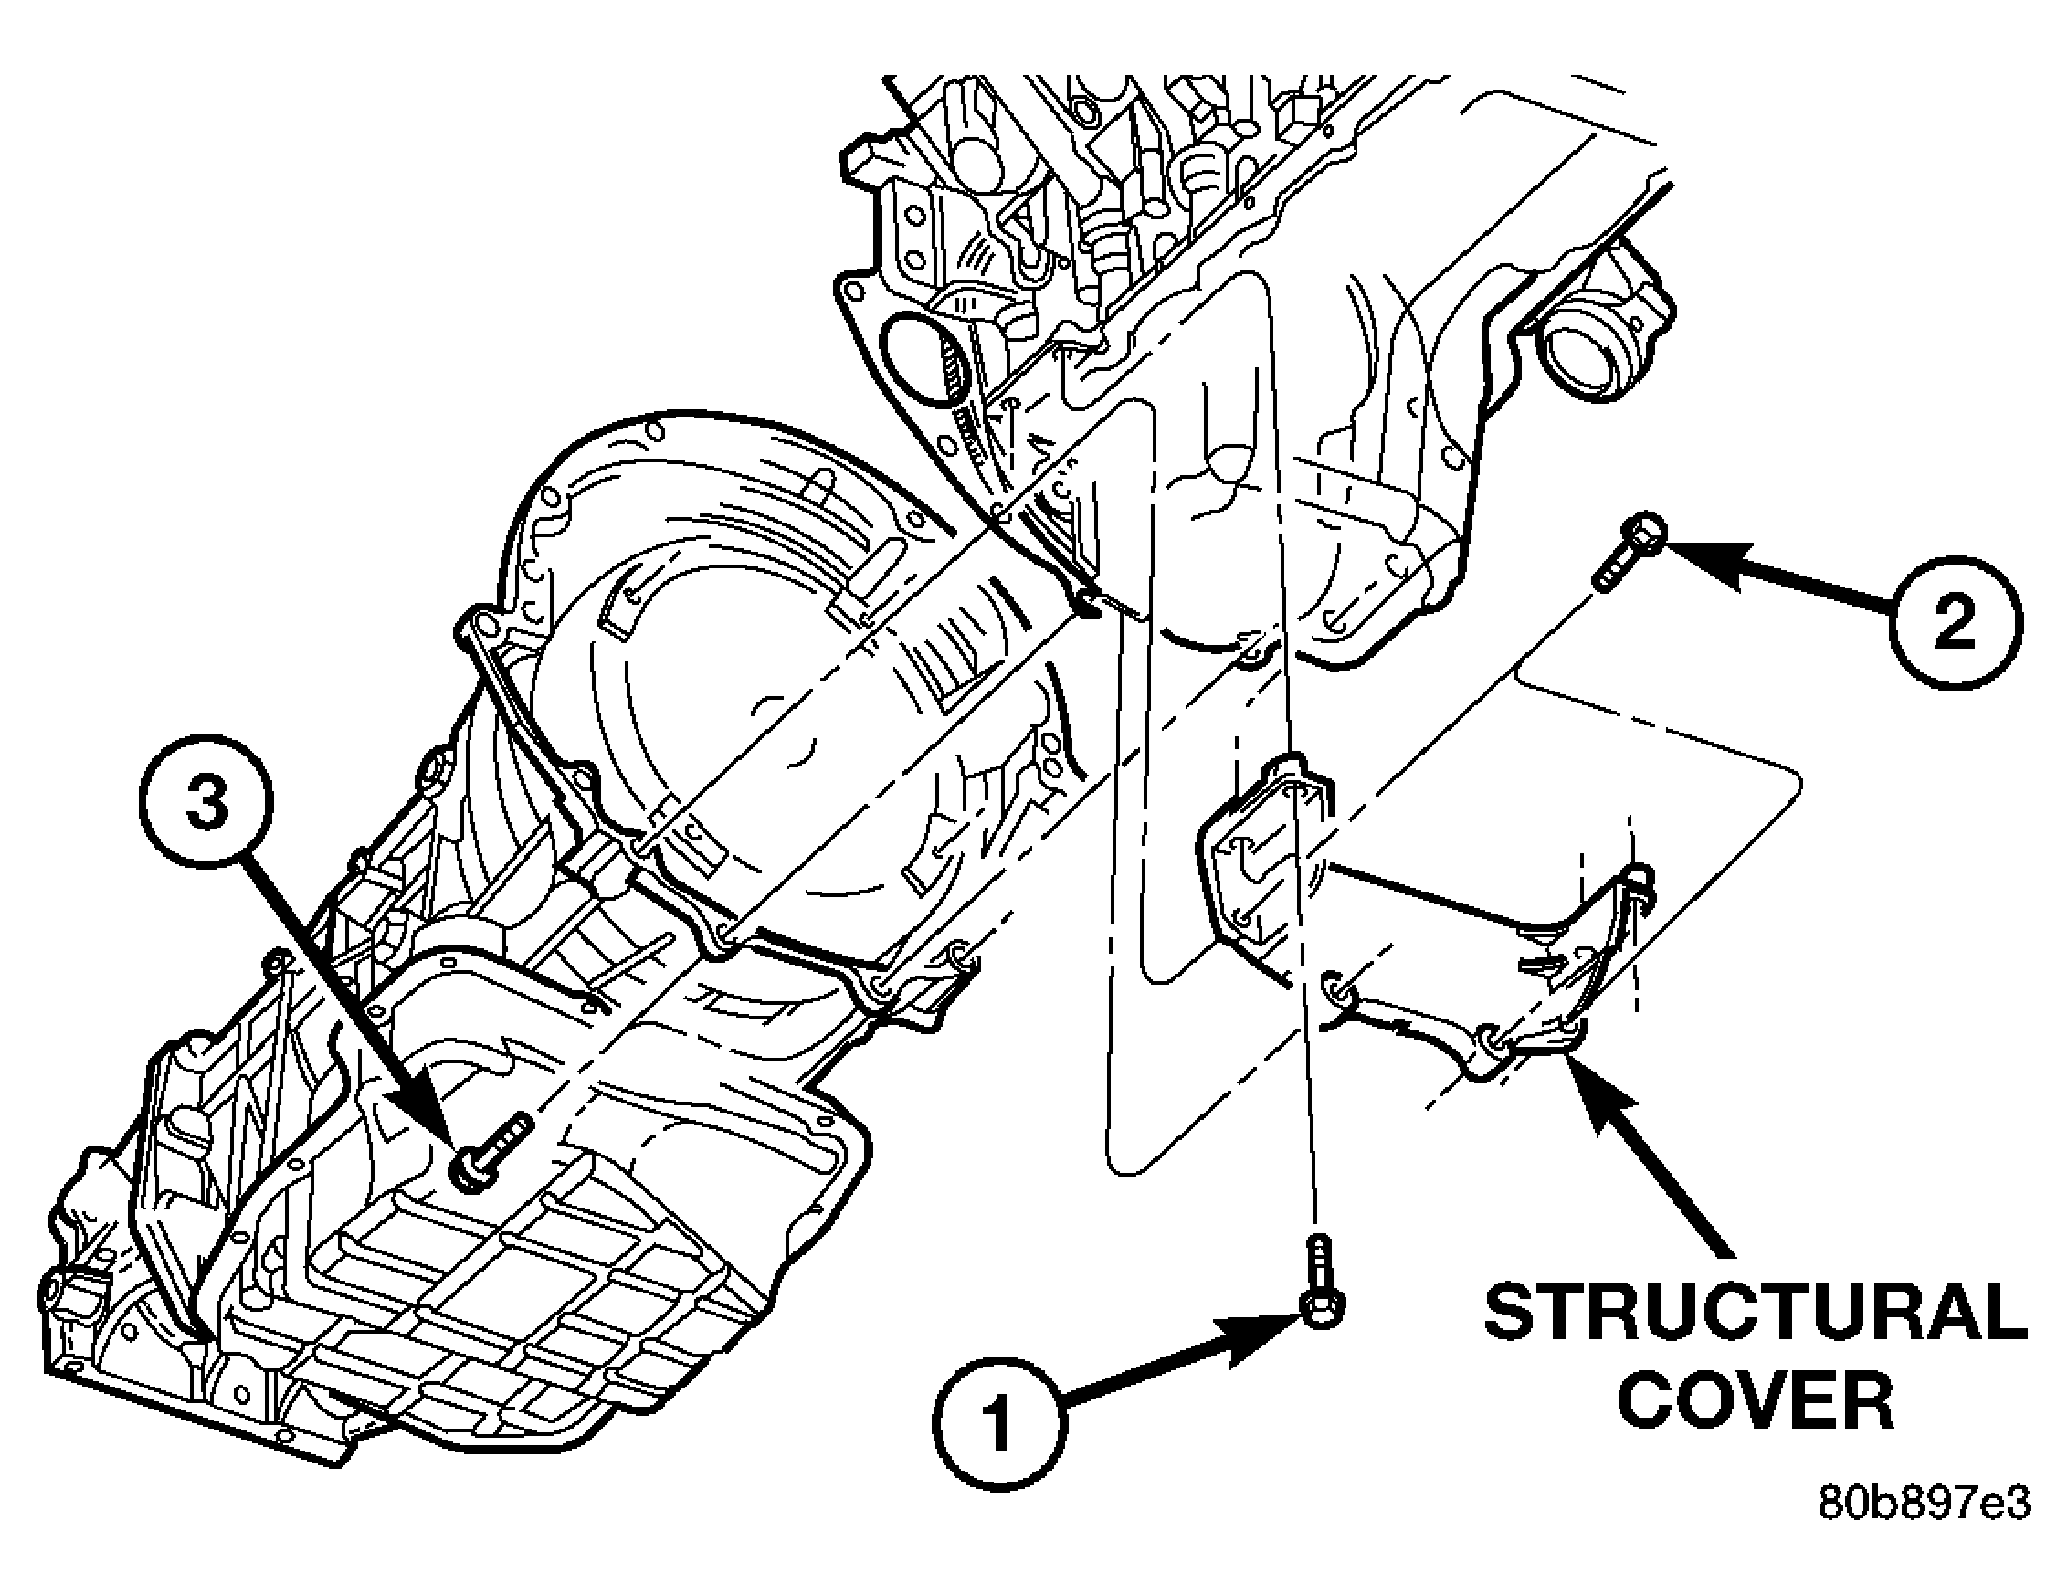
- Remove the structural cover.
- Disconnect the right and left exhaust pipes at the manifolds and from the crossover, and remove from the vehicle.
NOTE:
The exhaust clamps at the manifolds cannot be reused. New clamps must be used or leaks may occur.
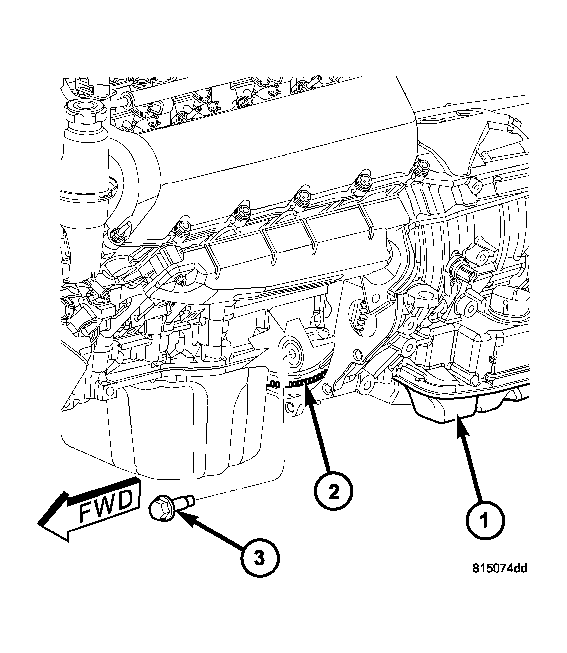 Courtesy of CHRYSLER LLC
| 1 - TRANSMISSION |
| 2 - DRIVEPLATE |
| 3 - TORQUE CONVERTER BOLTS |
- Remove torque convertor bolts (3), and mark location for reassembly.
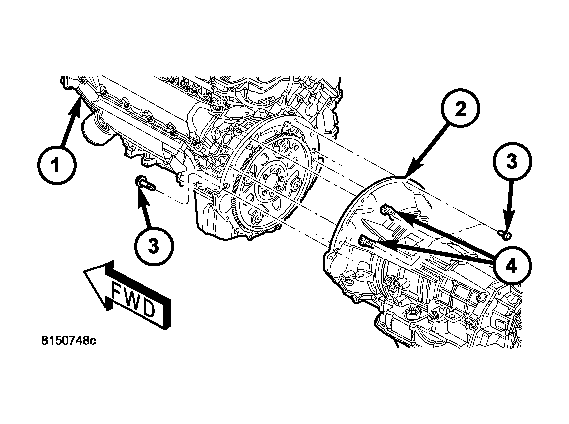 Courtesy of CHRYSLER LLC
- Remove transmission bellhousing to engine bolts (3).
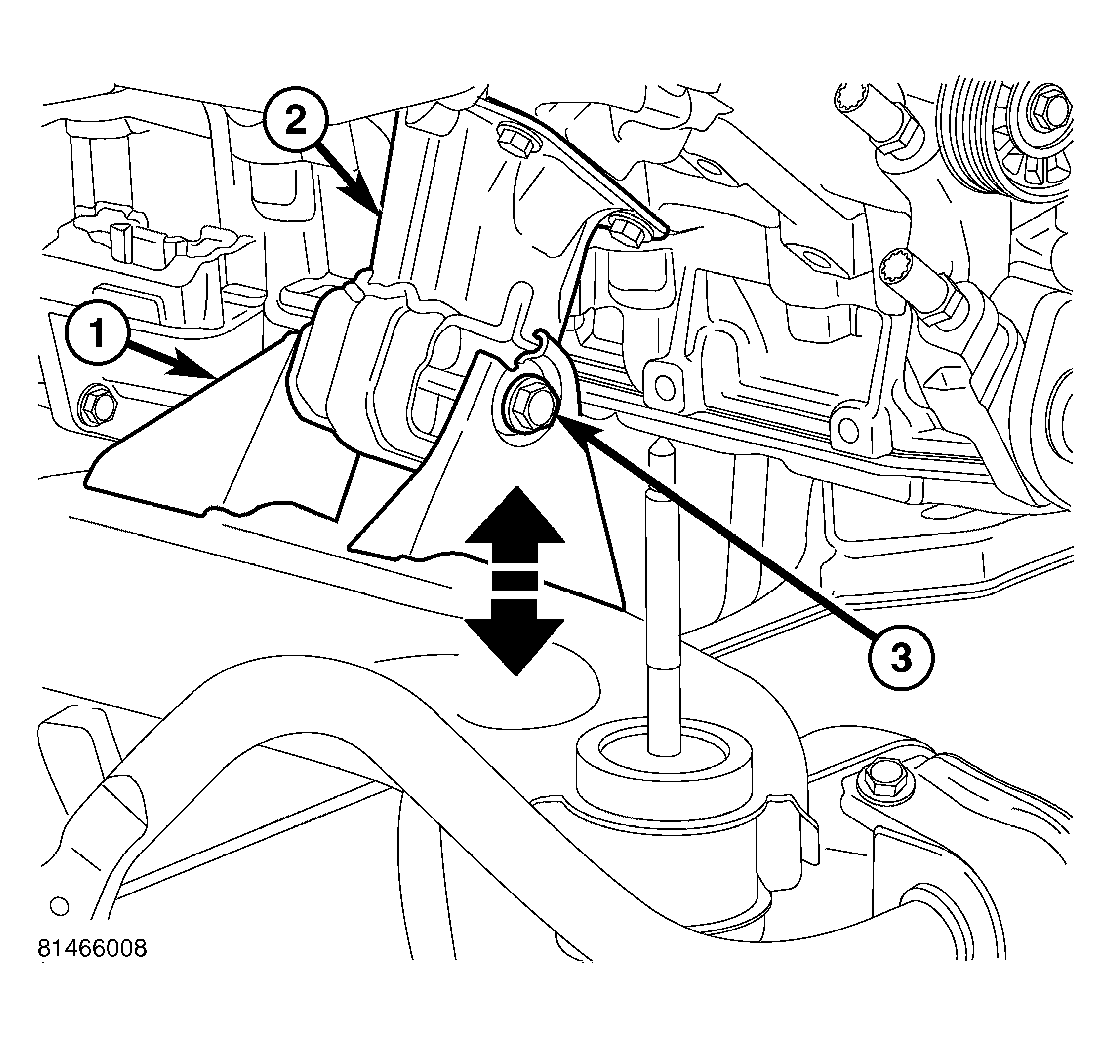 Courtesy of CHRYSLER LLC
- Remove left and right engine mount thru bolts (3).
- Lower the vehicle.
- Support the transmission with a suitable jack.
- Connect a suitable engine hoist to the Engine Lifting Fixture 8427.
- Remove engine from vehicle.